views
Applying Individual Nails to Create Trim
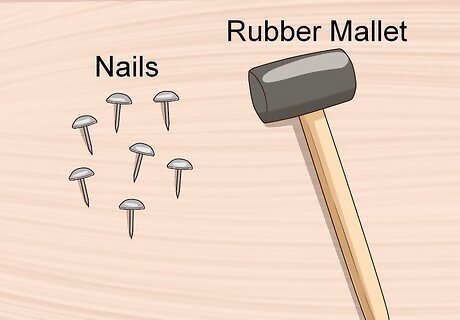
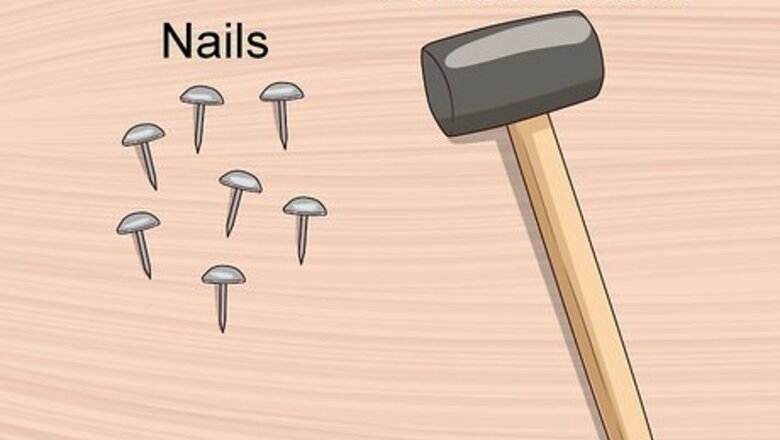
Choose quality tools and materials. Poor quality nails will bend and warp when you’re installing the trim, which will make the process more difficult. A regular hammer will work just fine on nails, but a rubber mallet or hammer covered in cloth will protect your upholstery should you miss a nail. There are many different size, shape, and color nails you can use in this project. Check your local hardware or craft store to find unique nails for your trim. For a more precise pounding tool, you might want to use a specialized tack hammer. These can be found at most hardware stores and craft shops.
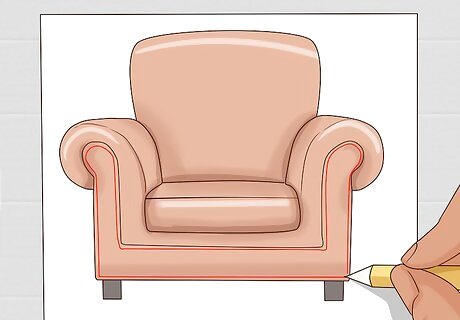
Plan your trim design. When using individual nails to create your nailhead trim, you can be more flexible with its spacing and pattern. For instance, you can have the nails occur immediately one after another, or you might space these out so there are gaps between them. It may help to visualize different patterns, spacings, and styles for your trim by doing a rough sketch of the chair and drawing your desired trim design on it.
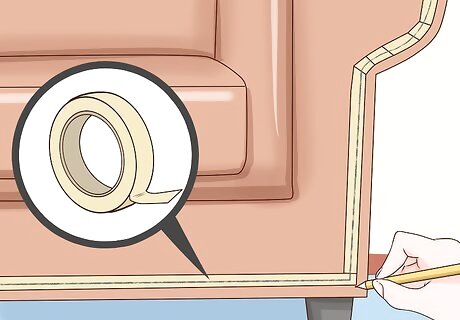
Draw your design on the upholstery. Use painter’s tape to overlay the area you’ll be applying your trim. Trim is often used along edges and seams. With a pencil, mark the locations you’ll be pounding in nails on the tape. If you’re including spaces between nails, measure these carefully with a tape measure so the end result looks uniform. If you’re planning on using nails without any spaces in between, it may be easiest to draw a straight line on your tape where the nails will be attached. Be especially careful that your marks are even. If the nails forming your trim are angled or otherwise out of alignment, it will be easy to see. In some cases, you may be able to write directly on your upholstery and erase marks that are unaligned. However, to prevent damage to your upholstery, tape is recommended.
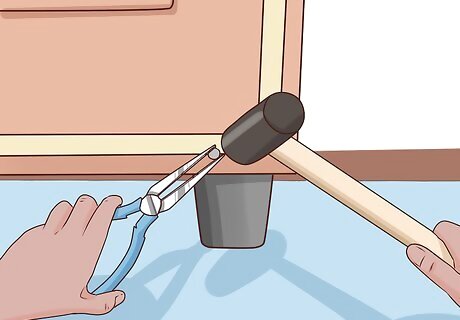
Pound in the nails according to your pattern. Pound the nails into your upholstery following the marks on your painter’s tape. To protect your fingers and increase visibility so you can see the mark on the tape better, hold the nail with a pair of needle nose pliers, then pound it in with a hammer. If using painter’s tape, pound the nails in most of the way, but leave a small space between the nail head and the tape. This will make removing the tape easier. Needle nose pliers aren’t a requirement for this project. You may be just as accurate holding nails between your pointer and middle fingers, sinking the nail partway into the upholstery, removing your fingers, then finishing pounding.
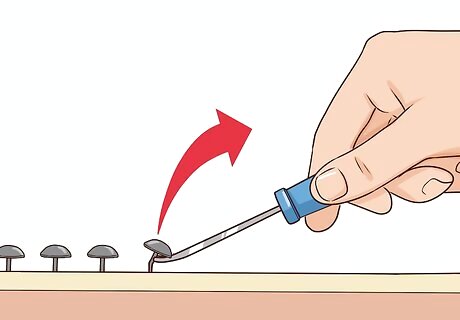
Remove bent or warped nails. It’s likely that while installing the nails a few will bend, warp, or become deformed. Don’t try to force these into place. Doing so can make them look unsightly and difficult to remove. Instead, use a tack puller to remove ruined nails. Tack pullers are generally long handled tools with a prong on the end. Slot the nail inside the prong, then pry upwards with the puller to remove the nail.
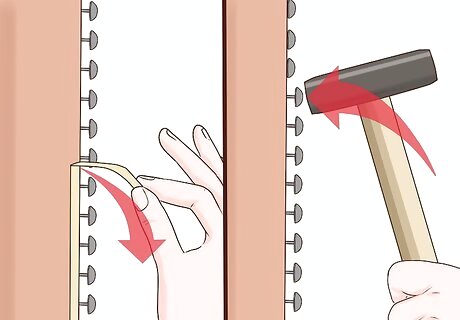
Pound the nails in the rest of the way and enjoy your trim. Once you’ve attached the nails for your trim, you’re nearly finished. Peel away the tape from the nails. Then use your hammer to pound the nails in the remainder of the way. Your nailhead trim is complete. You may need to tear the tape in certain places to completely remove it from around the nail. In the event tape sticks stubbornly to the upholstery, use your fingernail or a knife to gently peel away the tape.
Using Pre-made Nailhead Trim

Select a suitable pre-made trim. Pre-made trim comes in many different styles, colors, and shapes. Choose a trim that matches or compliments your upholstery. You can find pre-made trim at most hardware stores and craft stores. Some trim is accented with a piece of leather or cloth beneath the nails. This can be a great way of drawing a little more attention to your trim.
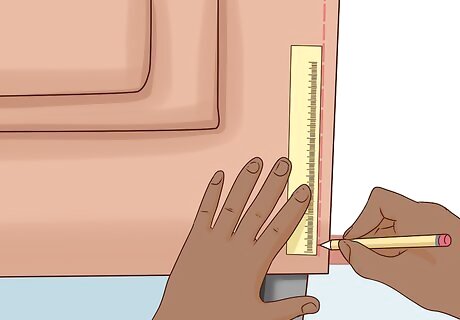
Outline your trim placement on your upholstery. Use a pencil and a straightedge, like a ruler or meter stick, to draw an unbroken line where your nailhead trim will go. Be especially careful that this line is the same distance from the outside edge of the upholstery. This will help keep your trim straight. When attaching your pre-made trim, you’ll only have to pound in nails every few inches (7 to 10 cm). The trim will cover your outline, hiding it from view.
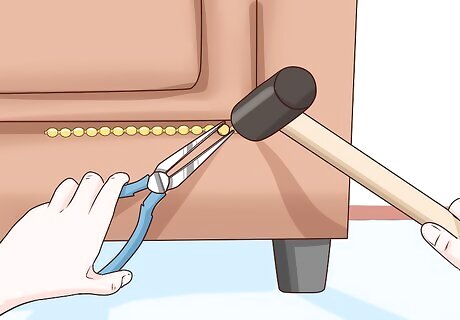
Install your trim along the trim outline. Attach your trim in sections to the outline. Do this by holding the trim in place over the line and pounding in nails to attach the trim where it has gaps. Continue this for the entire length of the outline. Your pre-made trim should have come with special nails that match or accentual the design of the trim. Use these for attaching the trim. If your pre-made trim didn’t come with nails, go to the hardware store to find nails that match your trim pattern. This way the nails used to attach the trim won’t look out of place.
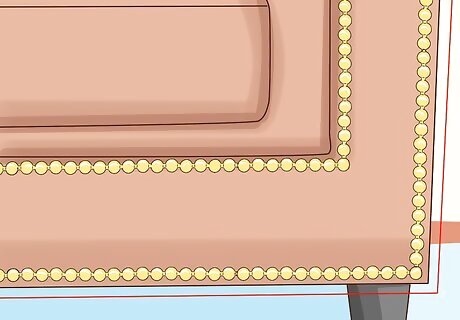
Check the straightness of your trim and enjoy. Even slight deviations from your trim outline can leave your trim looking unsatisfactory. Step back and check for evenness. Adjust the trim where necessary by pulling out nails with a tack puller and reattaching the trim. Enjoy your nailhead trimmed furniture. When adjusting trim that is uneven, use fresh nails to reattach it. Nails that have been pulled out will be more likely to warp and need to be removed again, or they may deform, which can result in an undesirable appearance.
Improving the Design
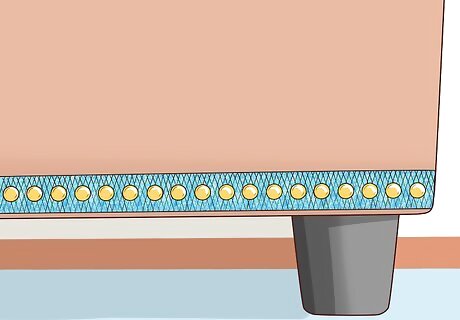
Add ribbon or fabric beneath the nails of your trim. Cut a piece of fabric or find a ribbon of suitable thickness. Use a pencil to draw an unbroken line on your upholstery where the trim will go. Attach the ribbon or fabric to the upholstery with tape so it follows your trim outline. Pound in nails or a pre-made trim to attach the ribbon or fabric according to your trim pattern. For certain kinds of fabric, like braid, it might be easiest to draw your nail placement on the fabric, push the nail through the fabric, then pound in the nails with the fabric already attached.
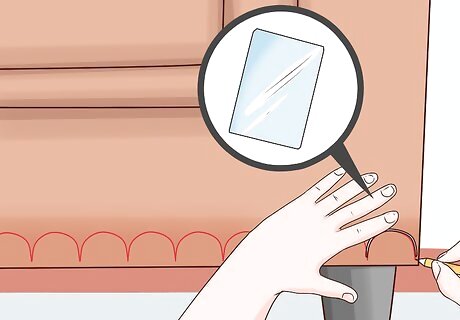
Make a curve in your trim design. Get a piece of semi-rigid card stock that will flex if it's bent. Cut a thin strip from it that is 1¼ times the size of your edge. Hold the ends of your strip at the start and end of your planned arc. Flex the strip so it bows in an arc shape. Draw a guide line with a pencil by following the arc formed by the strip. In some cases, you might need to adjust the size of your card stock to achieve the right kind of arc.
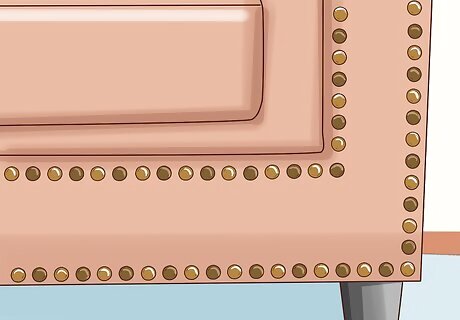
Use different finishes in your nails to create variety. Bright silver or gold nails are the most common colors in nailhead trim, but a different combination of finishes in your nails can create a new dimension in your trim design. Try mixing and matching burnished or tarnished colors to add character to your trim. Some nails have a colored finish that might look great when added to uniform designs. Nails with different finishes can be found at hardware stores and craft stores.
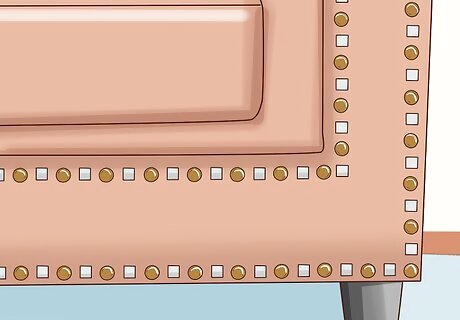
Create unique designs with different shaped nails. Nails come in many different shapes and sizes. Alternating between square and circular head nails, for example, can create a pleasing pattern. Explore different nail shapes at your local hardware store or craft shop. Nails are relatively cheap, and even if you find some don’t work with your design, you can always save them for a later project.
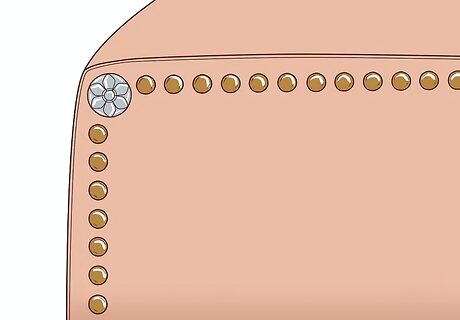
Anchor corners with larger studs and ornate nails. Corners form the outside boundary for the lines of the trim and are natural places the eye is drawn. This is why corners are often embellished with larger or more ornate designs. For this reason, you might want to use a larger or more ornate stud or nail in the corners. You can find ornamental and large sized nails at most hardware and craft shops. If you’re looking for something fancy, a craft store might be your best bet.




Comments
0 comment