views
- You can add slow motion to an iPhone video using the iMovie app.
- When using iMovie, you'll need an existing video to edit.
- You can also record a movie in slow motion with the iPhone's camera.
Adding Slow Motion to Pre-Recorded Video
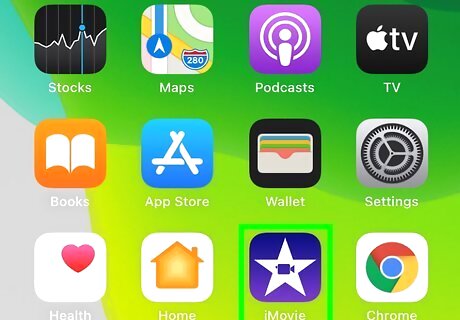
Open iMovie on your iPhone. It's the purple-and-white star icon containing a video camera. If it's installed on your iPhone, you'll find it on your home screen, or by searching for "iMovie." Otherwise, you can download it for free from the App Store.
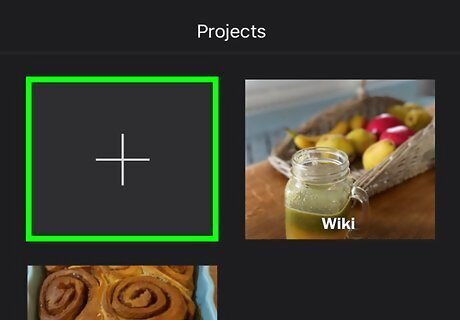
Tap + to create a new project. It's at the top-left corner of the screen.
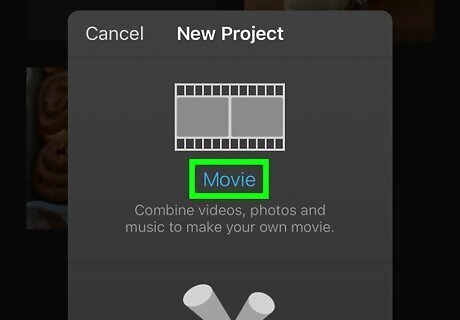
Tap Movie. It's the first option.

Select a video and tap Create Movie. This opens the video for editing in iMovie.
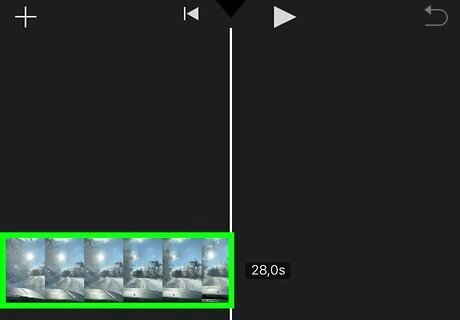
Tap the video in the editor. Rather than tapping the larger version (the preview) at the top, you'll want to tap the elongated one in the bottom-half of the screen. This displays icons and options at the bottom.
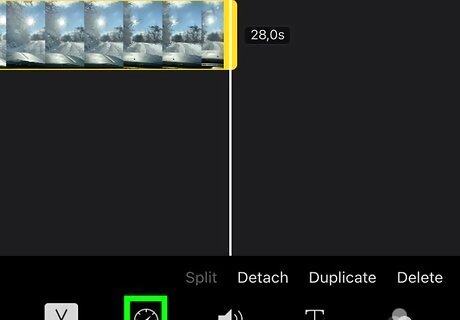
Tap the speedometer icon. It's the second icon at the bottom. This opens your speed controls.
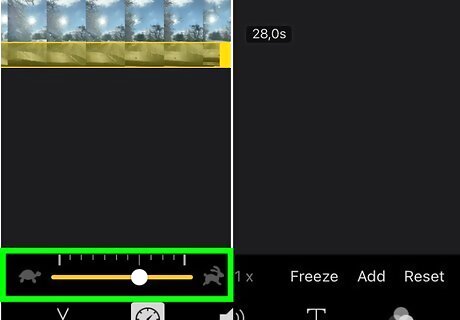
Drag the speed slider left to slow down the video. The default is "1," which means the video plays at regular speed, the farther you drag the white-and-yellow slider to the left, the slower the video will play. Tap the preview to see how the video looks and sounds at its new speed. If you drag the slider to the right past the "1" value, it will speed up the video instead.
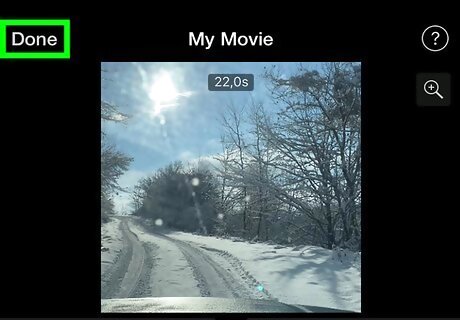
Tap Done to save your project. The video's new speed is now saved to iMovie, but you'll still need to save the completed video to your iPhone.
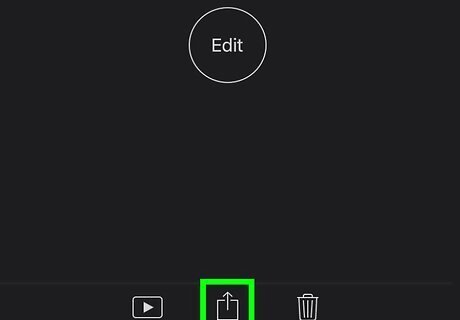
Tap the Sharing icon iPhone Share. It's the square with an up-arrow below the movie. A list of sharing options will appear.
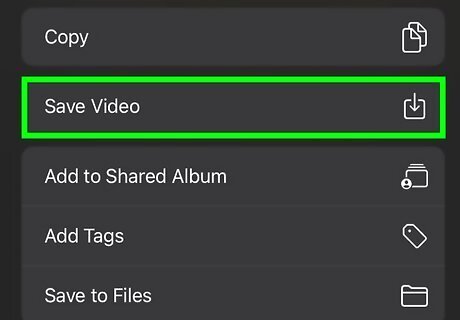
Tap Save Video. This saves your new slowed-down video to the camera roll.
Recording in Slow Motion
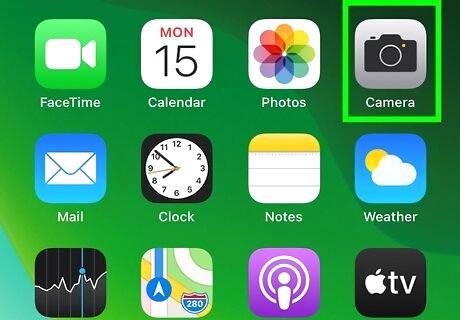
Open the Camera app on your iPhone. It's the camera icon typically on the home screen. If you don't see it, swipe left on the home screen, type camera into the search bar, and then tap the Camera option.
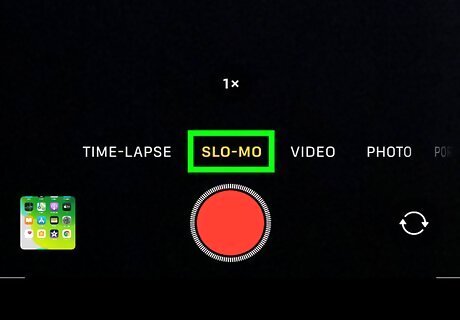
Swipe left to select the SLO-MO option. You'll want to do this on the tabs that run along the bottom of the screen, just above the red shutter button. SLO-MO is selected when the text is yellow and appears right over the red button.
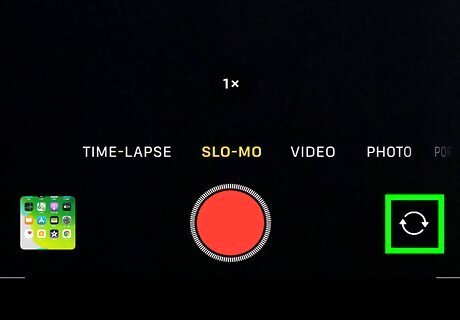
Select a camera to record with (iPhone 11 and 12 only). If you're using an iPhone 11 or 12, you can switch to the front (selfie) camera by tapping the two curved arrows at the bottom-right corner. Other iPhone models can only record in slow motion using the back camera.
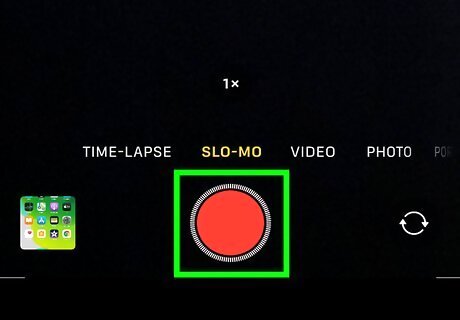
Tap the red shutter button to start recording. The timer at the top of the video will display the duration as you continue to record.
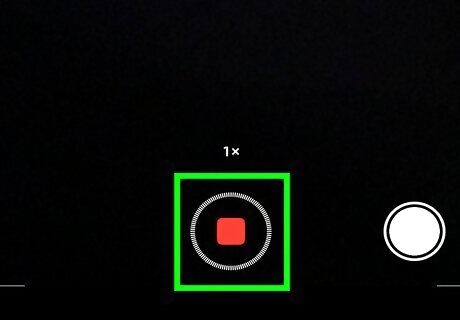
Tap the red shutter button to stop recording. This saves your slow-motion recording to the camera roll.
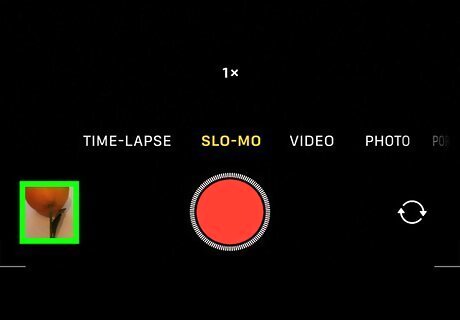
Tap the thumbnail to view your recording. It's at the bottom-left corner. Your new slow-motion video will start to play automatically.
Edit the recording (optional). Now that you've recorded in slow-motion, you can edit the video to make part of it play in regular speed. Here's how: Tap Edit at the bottom of the video. The second slider at the bottom controls the speed. Drag the left and right sliders to select only the parts of the video you want to appear in slow motion. Anything outside of the two sliders will play at regular speed. Tap Done to save your edits.





Comments
0 comment