views
Learning the Associated Zones on Your Hands
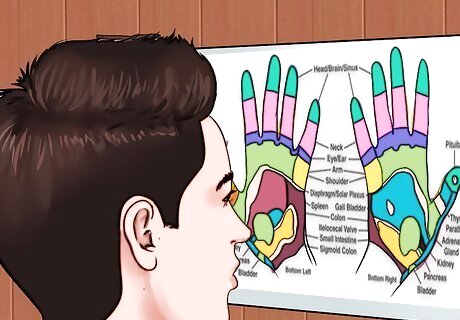
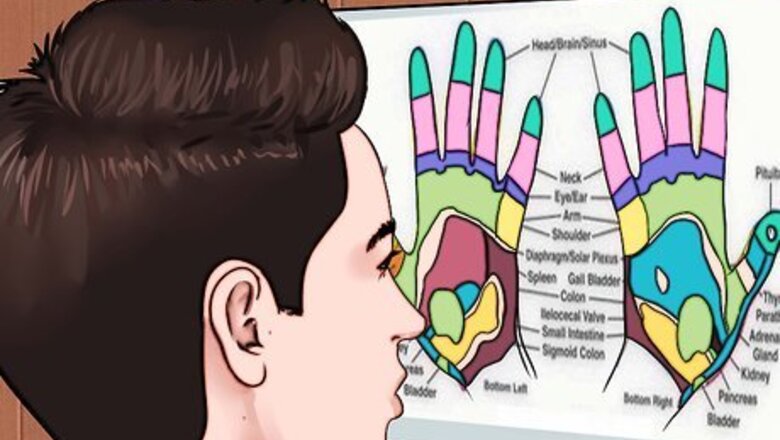
Look at a hand reflexology chart. Though this Part will describe some of the points on the hands that reflexologists associate with different parts of the body, some of the points can be easier to visualize with an actual hand reflexology chart.
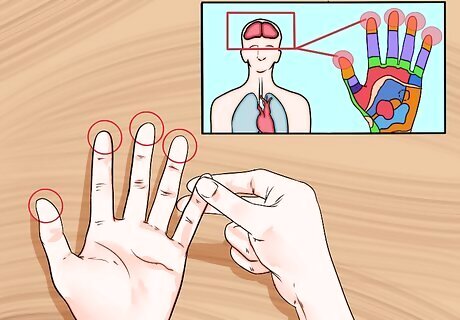
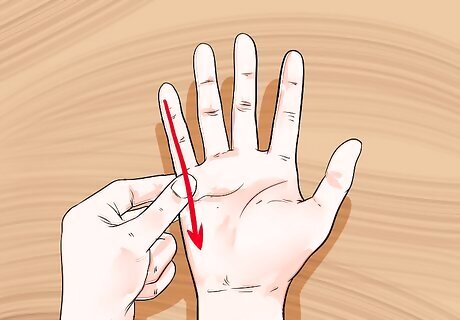
Apply to the tops of the fingers for the head, brain, and sinuses. From the tip of each finger—including your thumb—to the first joint represents the head, brain, and sinuses. The center of the pads of your thumbs specifically represent the pituitary, pineal, and hypothalamus glands located in the center of the brain, which can make them beneficial for insomnia and other sleep issues.
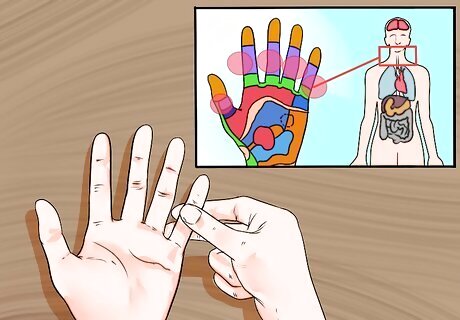
Apply between the first and second knuckles for your neck. The section of all four fingers and your thumb between your first and second knuckles corresponds to your neck. Additionally, the zone for your throat is at the base of your thumbs, aligned with the webbing of your thumb.
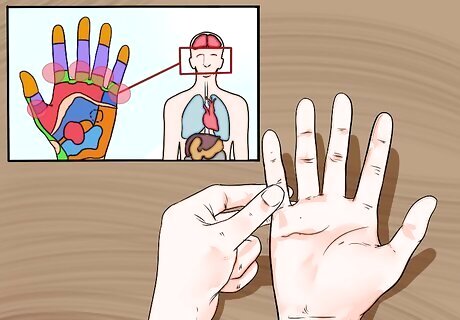
Apply between the second and third knuckles of each finger for your eyes and ears. Your fingers between the second and third knuckles represent either your eyes or ears depending on the finger. Your index and middle fingers are associated with your eyes, whereas your ring fingers and pinkies are associated with your ears.
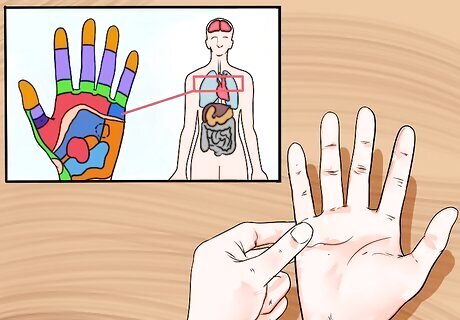
Apply to the upper portion of your palm for your upper chest. The chest, breast, lung, and bronchial areas are located just below the knuckles of the four fingers on the palm sides of both hands.
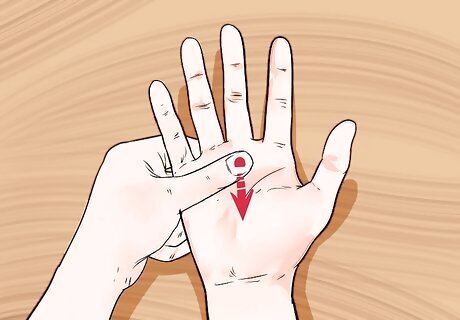
Extend a line from your middle finger down the center of your palm. Just below the previous upper chest zone, picture four more zones descending down in line with your middle finger. Each of the four is about the size of a dime, and the fourth ends at the bottom of your palm. In descending order, these zones represent your: Solar plexus Adrenal glands Kidneys Intestines
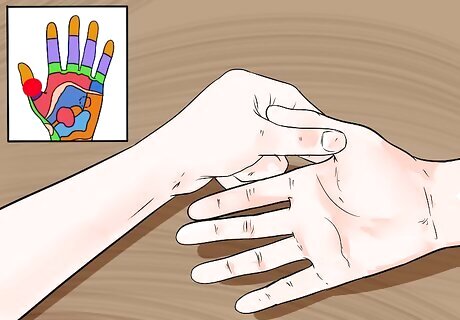
Apply to the outside of your palm (toward your thumb). Starting at the base of your thumb (the throat zone described above) and leading down to the bottom of your palm on the side closest to your thumb, you quickly descend through four thin zones. In descending order, these zones correspond to your: Thyroid gland Pancreas Bladder Uterus/prostate Note that the outside ridge of this same area represents your spine and spinal column. The spinal column is found along the side of the right and left thumb, reaching down to the wrist with the cervical spine located closest to the thumb, followed by the thoracic, lumbar, and sacral areas.
Apply to the inside area of your palms. Imagine a line running down the insides of your palms from your pinkies down to your wrists. There are three more zones here with each about the size of a nickel. The top zone on both hands applies to the arm and shoulder on the respective side of the body, and the bottom of the three zones on each hands corresponds to the respective side’s hip and thigh. The middle zone on the left hand applies to the heart and spleen while the middle zone on the right hand represents the liver and gall bladder since these organs themselves are located on particular sides of your body.
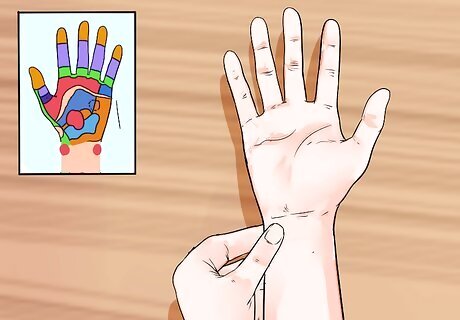
Apply to the wrist. Just beneath your palm on your wrist, you will find three more zones. The lymph system is located in line with your middle finger right where your palm ends and your wrist begins. Right next to this zone (in line with your pinkies), you will find the zones representing the testes/ovaries. Finally, beneath both of these zones in a long thin line, you will find the location corresponding to your sciatic nerve.
Applying Reflexology Techniques to the Zones of the Hands
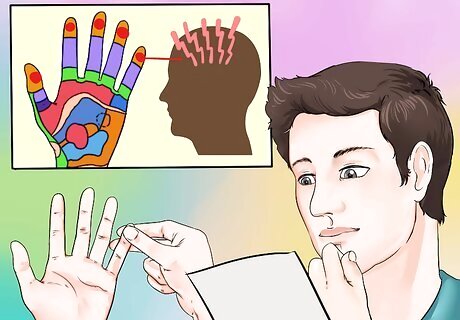
Locate the correct, corresponding area. Use a reflexology chart or Part One to find the zone that corresponds to the area of your body on which you want to work. Or you can simply work the entire hands, which reflexologists believe helps to promote overall wellness. For instance, if you suffer from a sinus headache, then you would work on your fingers between the fingertips and the first knuckles since this zone represents the head and sinuses. This area may also help relieve symptoms of sinusitis, although no proven evidence exists. As another example, if you’re suffering from constipation, you would apply the techniques to the zones corresponding to your intestines, which is at the bottom of the palms straight down from your middle fingers.
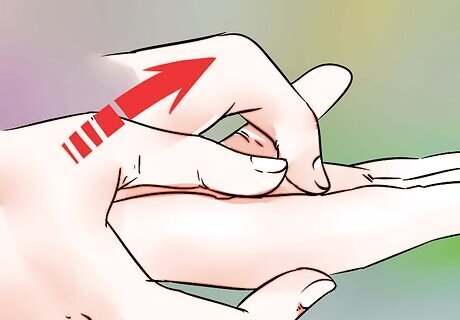
Use thumb-walking techniques. Place your fully extended thumb on the area you want to focus on. Slide the thumb back slowly while flexing the first thumb knuckle upward. Moving slowly and steadily move the thumb knuckle up and down, walking it over the reflex point.
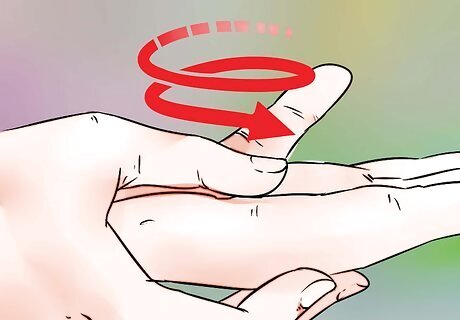
Use a rotating motion. Rest your thumb on the area you wish to manipulate. Maintain a steady touch and rotate your thumb in a circle on the area while slowly increasing pressure.
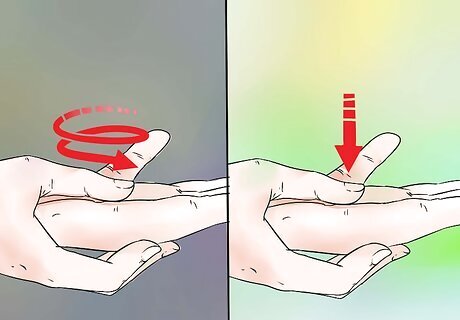
Apply pressure after rotating. After performing a rotating motion, holding your thumb on the reflex point with medium pressure increases relaxation. Hold for a count of three.
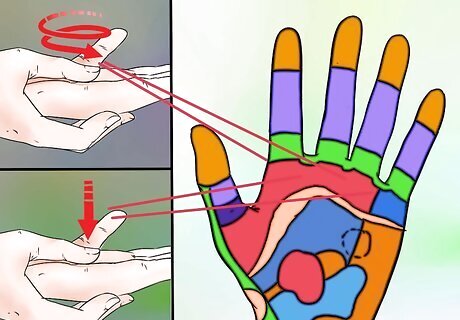
Integrate the different techniques. If you have chest congestion, for instance, you would isolate the correct zone on each hand (the top of the palm just below the last set of finger knuckles). Then you can use a thumb-walking technique across the zone. Finally, apply the rotating technique to smaller sections of the zone with a hold on the section before moving to the next.
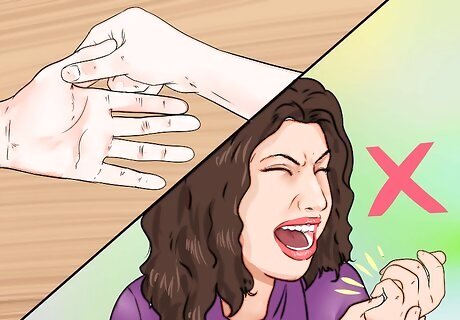
Press firmly without causing any pain. As you increase pressure on portions of the hands, you should apply as much pressure as you can without causing yourself (or the person on whom you’re applying reflexology) any pain. The firm pressure will ensure that you trigger the reflex, but the action should never cause pain or discomfort.
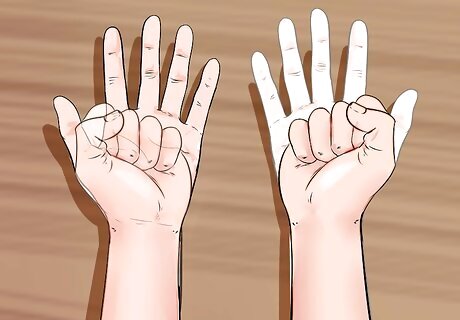
Stimulate the zones on both hands. Reflexologists believe that it is important to stimulate the corresponding zones on both hands when applying the techniques. For instance, do not work the fingertips (associated with the head) on just your left hand. Instead, work the fingertips on both hands. Note that this isn’t the case for zones that are only represented on one hand—the heart of liver, for example.
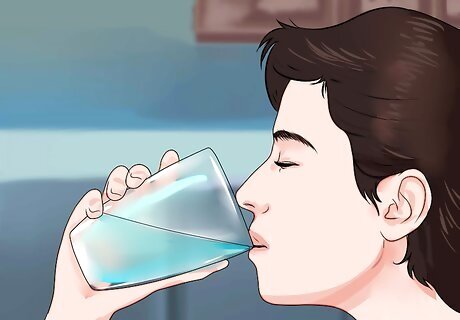
Relax and drink plenty of water after your session. Much like a regular massage, reflexologists recommend that you drink lots of water after a hand reflexology session to help your body remove the lactic acid that builds up and is released during the session. As your body flushes out this lactic acid (the 24 to 48 hours after the session), it is also normal to experience increased urination and bowel movements, as well as sweating and changes to sleep patterns. Lactic acid release is also responsible for the feeling of burning or tingling sensation in muscles that have recently been stimulated (such as by massage). You can also drink a sports drink containing electrolytes to help you hydrate.





Comments
0 comment