views
X
Research source
Whether you’re a seasoned chef or just starting out in the kitchen, you can baste with a few simple utensils at home. By using a turkey baster, trying alternate basting methods, or basting on the grill, you can have a golden, delicious chicken in no time.
Using a Turkey Baster
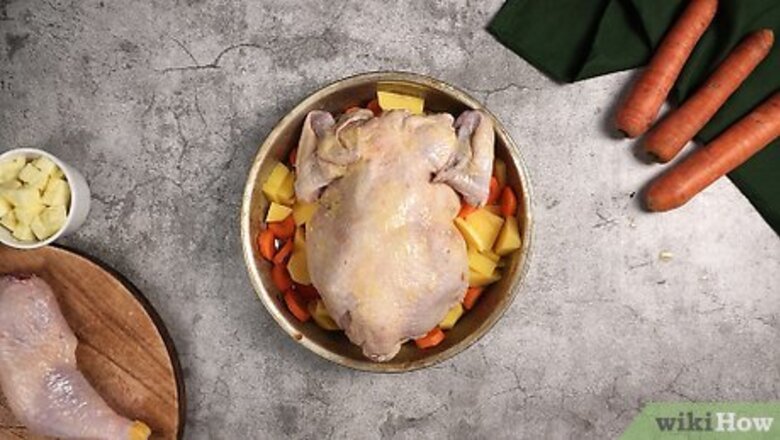
Follow your favorite roast chicken recipe until it's time to roast. Place the chicken in the oven at the temperature called for by your recipe. It’s best to roast your bird in a roasting pan rather than on a baking sheet, since its juices may spill onto the floor of the oven. If your recipe calls for roasting vegetables in the same pan as the chicken, roast them in a separate pan so they don’t get overcooked by the basting liquid. Chickens will typically take 20 minutes per pound (0.45 kg) plus an additional 15 minutes of total roasting time to cook through. The chicken is ready when the internal temperature reaches at least 165° F (74° C) with a meat thermometer.
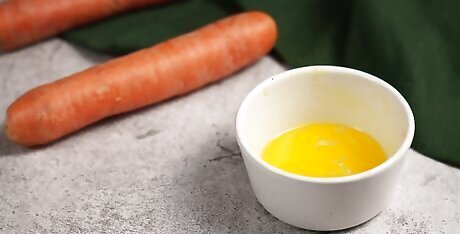
Melt 1 stick of butter (1/2 cup or 110 g) in the microwave. Unwrap 1 stick of butter (1/2 cup or 110 g) and place it in a microwave-safe bowl. Heat the butter in 15-second intervals until it is fully melted. Because it takes a little time for your chicken to begin rendering its own fat into the pan, you will baste with just butter to begin with.
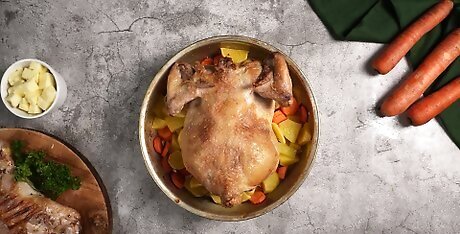
Remove your roasting pan from the oven 30 minutes into the roast. Set your pan on a heat-safe surface, such as the top of the stove. Close the oven door to make sure the oven stays hot. Have your melted butter and a turkey baster nearby.
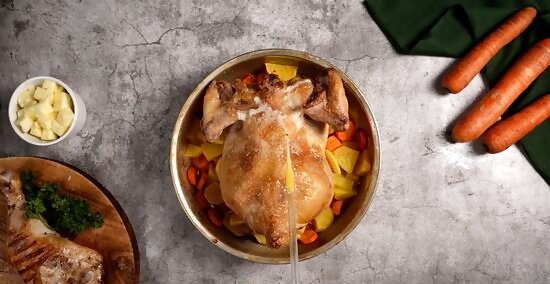
Perform your first baste. Being careful near the hot roasting pan, squeeze the bulb of the baster while the tip is submerged in the melted butter. Gently release the pressure on the bulb, which will draw warm butter up into the baster. Gently squeeze the bulb over the chicken to coat it in melted butter. Draw up more butter from your bowl as necessary to coat the chicken. If you have a very large chicken, you can melt a little more butter as needed to fully coat your bird. Work quickly (but carefully!) so the chicken is not out of the oven for more than a minute or two. Taking too long to baste will cool your chicken and add additional cooking time.
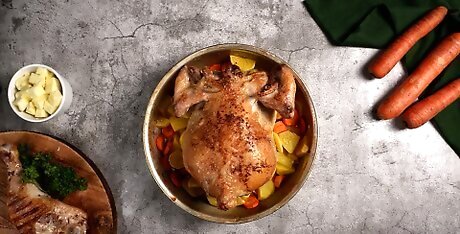
Place the hot roasting pan back in the oven. Wear oven mitts to protect your hands as you place the roasting pan back in the oven. Set a timer for 30 minutes.
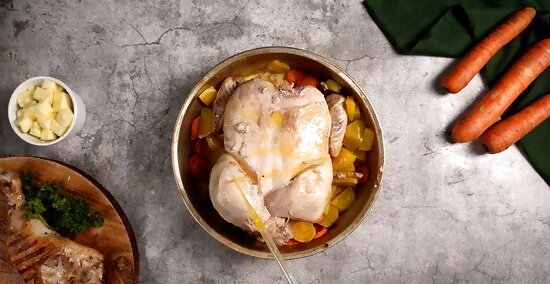
Perform the second baste when the timer goes off. After removing your chicken from the oven, dip the tip of the baster into the rendered chicken fat at the bottom of the roasting pan. Suck this liquid up into the baster, and use it to coat the chicken completely. Repeat as necessary. After coating, place the chicken back in the oven. Be careful not to touch the tube of the baster when it is full of hot liquid. You can burn yourself.
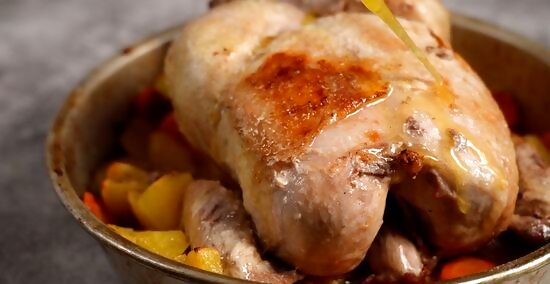
Baste the chicken every 30 minutes until it is fully cooked. When you think your chicken is done, use an ovenproof meat thermometer to check the internal temperature of your chicken. Place the thermometer tip in the thigh, which usually takes the longest to cook. The chicken is ready when the internal temperature reaches 165° F (74° C). If you are basting chicken parts in the oven rather than a whole chicken, baste every 15-20 minutes rather than every 30 minutes.
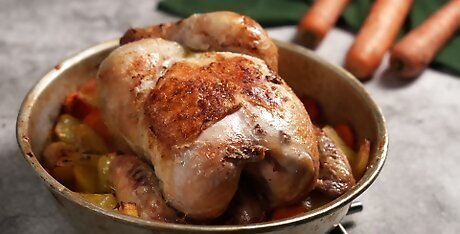
Remove your chicken from the oven. When your chicken has reached the right temperature, tent the chicken in foil and let it rest for 10 minutes in the roasting pan. Move it to a cutting board with kitchen tongs. Carve the chicken and serve.
Trying Alternate Basting Methods
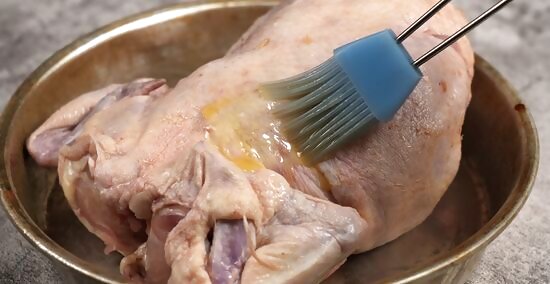
Use a basting brush. Try using a basting brush to coat your chicken instead of a turkey baster. Dip the bristles of the brush into your melted butter or rendered fat and paint the chicken with the liquid, coating it completely. Perform the baste every 30 minutes. Make sure your basting brush has bristles made of a heat-safe material, such as silicone. If it doesn’t, it may be a pastry brush, which is not meant to be used at high heat.
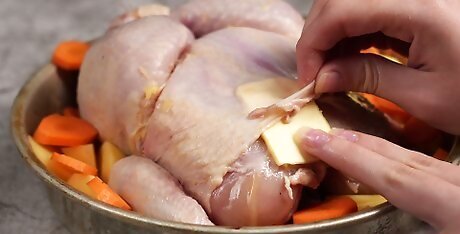
Place butter underneath the chicken’s skin. Using your hands, break a stick of cold butter into coin-size pieces and deposit them evenly over the chicken between the skin and the muscle. You may need to gently pull the skin away from the chicken to create space for your hand to fit. This one-time baste method slowly melts the butter over the chicken as it roasts. You don’t need to remove the chicken from the oven to perform any touch-ups. The butter bastes the chicken continuously. For additional flavor while cooking, you can add spices or chopped herbs to your butter before adding it to the chicken.
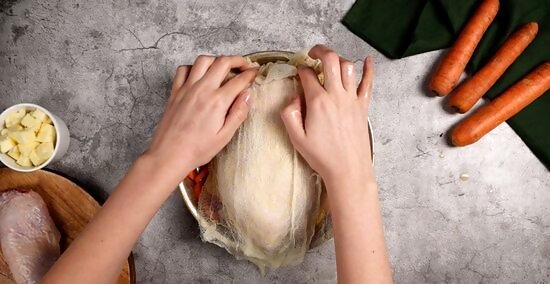
Use a buttery cheesecloth to cover your chicken. Soak a layer of cheesecloth in melted butter, and lay it over your prepped chicken. Place the cheesecloth-covered chicken in the oven. As the chicken roasts, the butter in the cheesecloth will drip over the chicken, basting it and creating a golden skin. Roast your chicken for the amount of time your recipe indicates. There is no need to open the oven to re-baste. The cheesecloth will do the work for you. Remove and discard the layer of cheesecloth before serving your chicken.
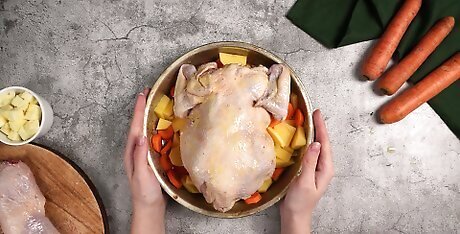
Roast your chicken breast-side down. Start your chicken breast-side down and then, halfway through the roasting time, flip it breast-side up. Roast it the rest of the time in the oven as your recipe directs. Kitchen tongs can help you flip your hot chicken without hurting yourself. Always take care around the hot pan! Starting the chicken breast-side down enables the fat-rich dark meat in the thighs and legs to drip down over the leaner meat, basting it.
Basting a Chicken on the Grill
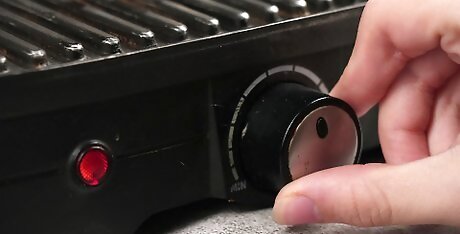
Heat the grill. Use a clean grill and bring it to the desired heat for your recipe. You can use either a charcoal or gas grill to baste your chicken. Basting on the grill is about adding flavor thorough periodic brushing with a marinade rather than a fat. Brushing your chicken with a fat, such as butter, over an open flame is not advised and may be a fire hazard.
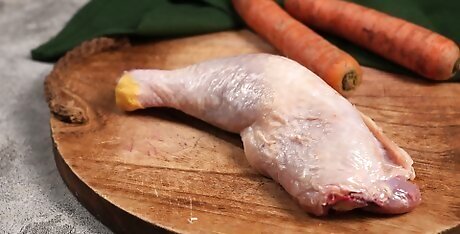
Use chicken parts instead of a whole chicken. Choose chicken thighs, breasts, wings, or drumsticks, which cook more quickly than a whole bird. You can marinate your chicken pieces for additional flavor before grilling.
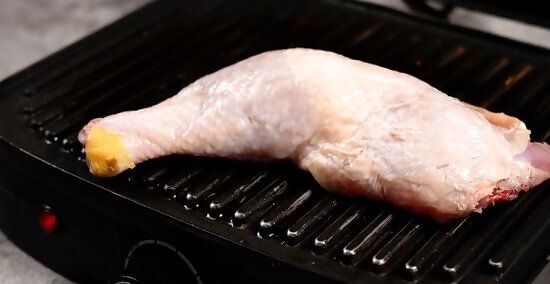
Place your chicken on the grill skin-side down with tongs. If your marinade is high in sugar, place the chicken towards the outer rim of the grill to start. This will keep the sugar from burning during cooking. Replace the lid of the grill, and let the chicken cook for 3 minutes.
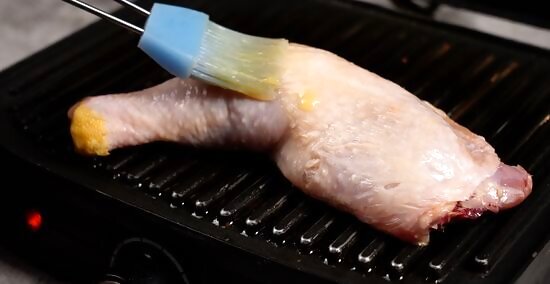
Baste the chicken. Remove the lid of the grill, and use tongs to turn the pieces of chicken, so that they are now grill-side up. Use a silicone brush to coat the chicken pieces with a light coat of marinade. Replace the lid and cook for 5 more minutes. Only use marinade that has not been in contact with raw poultry to baste the meat. You can reserve some marinade to baste before marinating the chicken.
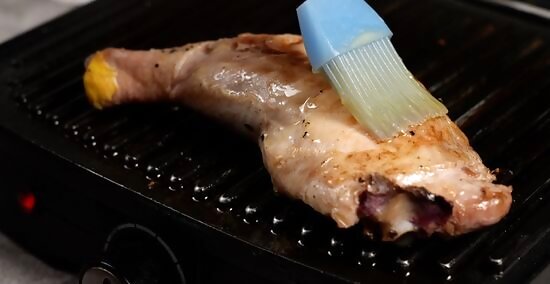
Baste the chicken every 5 minutes until it is cooked. Use a meat thermometer to check the internal temperature of the chicken. The chicken is ready when the internal temperature reaches at least 165° F (74° C).. If you’re grilling chicken pieces of varying sizes, take the temperature in a chicken thigh, which will often take the longest to cook.
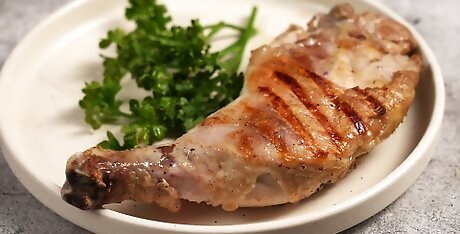
Remove the chicken from the grill. Use tongs to move your cooked chicken onto a clean plate. Tent the pieces in foil, and let them rest for 5 minutes. Dinner is served.


Comments
0 comment