
views
Getting Prepared
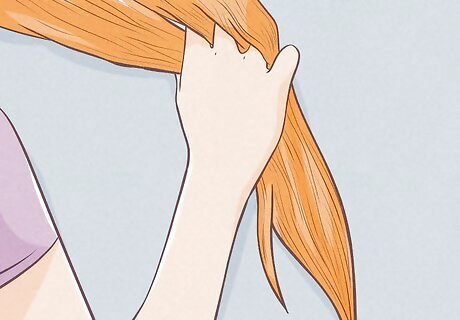
Assess the risk. The best results happen on hair that has not been colored before and hair that is light brown or lighter. You can bleach darker hair, but it will require some patience, and the damage will inevitably be greater. You will also need go through the bleaching process several times in order to see the results you want. Professional colorists recommend spacing out bleachings by a few weeks. If you bleach too frequently, you could damage your hair to the extent that it will begin to fall out. If you can't wait, visit a salon.
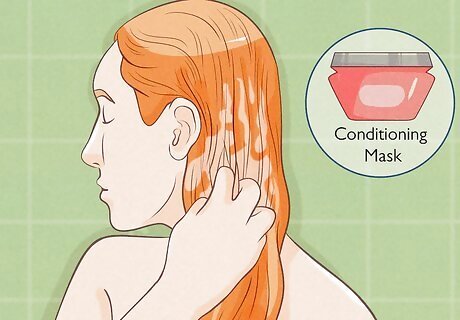
Prep your hair. Bleach can really strip your hair of its body and texture, so take a few proactive steps to keep your hair from turning dry and frizzy. Use lots of conditioning masks for two weeks before you bleach. This will build up your hair's strength. Skip a couple of hair washes a few days before the treatment. Freshly washed hair can cause the bleach to irritate the scalp.
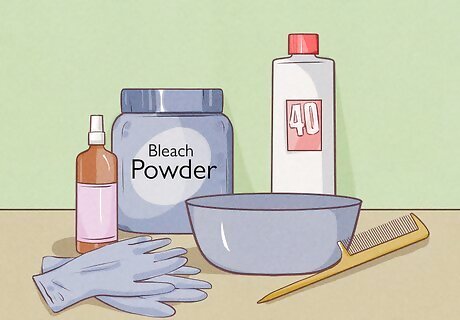
Gather all the supplies you will need. There's quite a list so you'll want to make sure you have everything before you start the bleaching process. Most importantly, you'll need to purchase a powder bleach and a developer, preferably of the same brand as the bleach. L’Oréal Quick Blue is the cheapest and most trusted option. The developer is the liquid that reacts with the powder bleach to strip the color out of your hair. Developer comes in different volumes, such as 20, 30, 40, etc. The higher the volume, the greater the strength of the bleach. For example, you'd have to leave a developer of 20 on your hair for quite a while to cause significant damage, whereas a 40 will burn your hair pretty fast. On the other hand, a 40-strength developer will also lift the color without turning your hair bright orange or needing to repeat the process multiple times. If you’re nervous, use a 30-volume developer; it’s better to not have the exact color you want than to fry your hair. off. You'll also need to get a toner and deep conditioner, as well as instruments, including a plastic mixing bowl (don't use metal!), a plastic spatula, a plastic rat-tail end brush, and gloves. All of these items are readily available at beauty supply stores like Sally or Ricky's. It should cost you anywhere between $40-$50 and you should be able to get a few bleaching jobs out of it. Be sure to also grab some old towels and old clothes that you don't mind getting ruined with bleach.
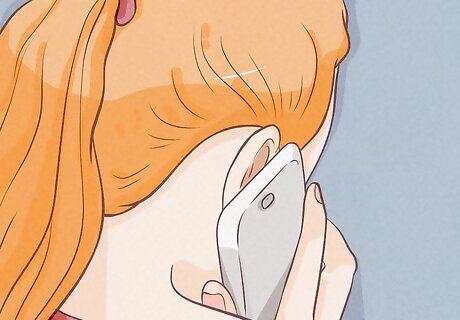
Ask a friend to help you out. You'll need assistance getting those hard-to-reach areas, unless you are insanely flexible. Very few people can bleach all of their own hair themselves. Don't take any chances doing it on your own until you've done it several times and feel confident in your ability.
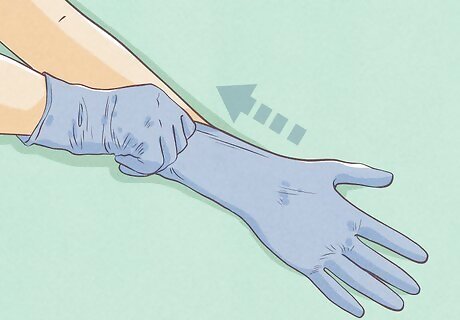
Get yourself and your assistant ready. Put on the old clothes you've located. Put a towel around your neck. Put gloves on.
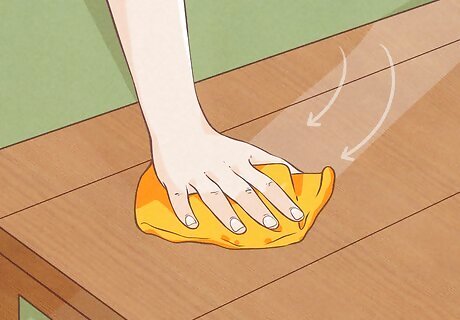
Clear off a space on a table. You might want to lay a tablecloth or rag down on the table. Lay out all of your materials so that you have everything you need when you begin to mix the solutions.
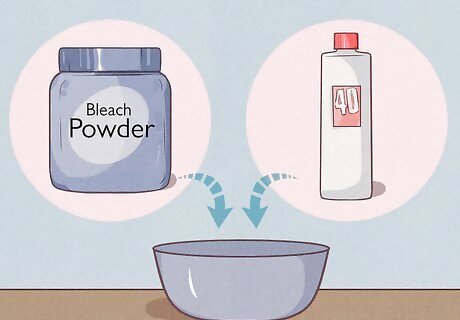
Combine the bleach and the developer. Follow the instructions on whatever brand of both items you have purchased. Quick Blue, for example, calls for 1 scoop of bleach powder to 1.5-2oz developer. If you want to make sure you have enough for all of your hair, double the mixing amounts. Pour the developer in the mixing bowl first since you’ll need to measure it using the graduated lines on the bowl, which can be challenging if there’s already powder in there. Instead, add the powder to the developer.
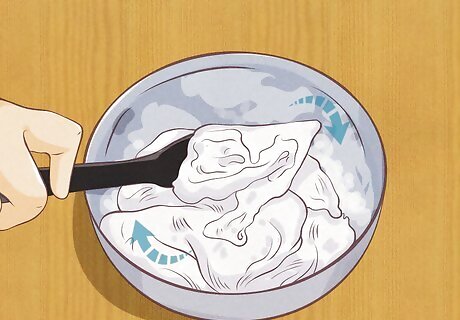
Stir up the mixture with the plastic spatula. It should reach a mousse-like texture.
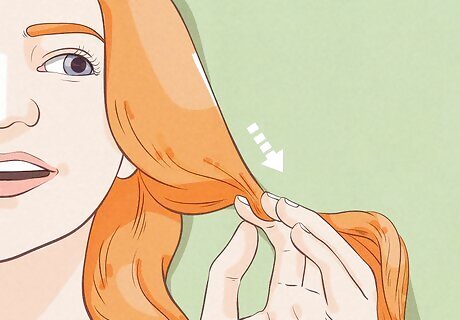
Get ready to bleach! If you have a friend with you, get them to follow the next few steps. If you feel confident that you can apply the bleach yourself, then go for it.
Applying the Bleach to Your Hair
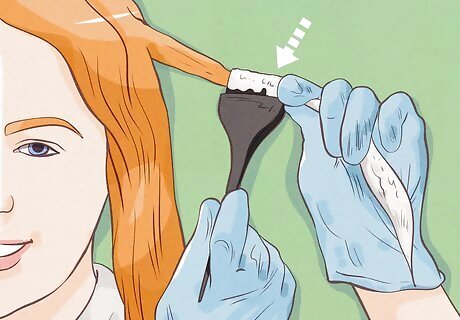
Use the pointy-end of the brush to section off hair. Then, use the brush end to apply the mixture. Sections should be very thin to ensure even application – think of how this looks at the salon when they do this with aluminum foil. Make a small part in the hair, spread the bleach on it in both directions, and then create another part directly behind the one you just made. You'll probably need to lift the hair up to do this. Think of it like the pages of a book. You are turning the page and the two already bleached 'pages' will touch and you will move on to the next fresh "untouched" section. If you are doing more than an inch of roots, the hair closest to your scalp will bleach quicker and become a few shades lighter than the rest because bleach is activated by heat. So, if you're bleaching more than just your roots, apply the bleach everywhere but the roots for the first 20 minutes and then go back.
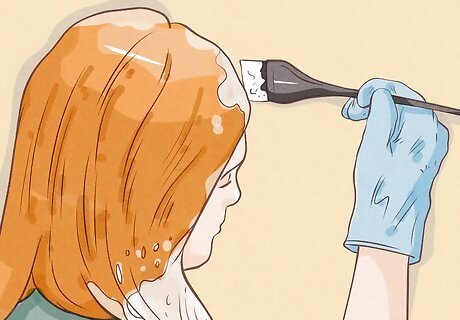
Start at the crown of the head. Work down through the sides, front, and back. Do the same thing on each section, bleach both sides.
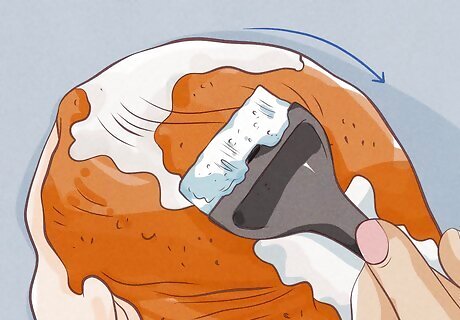
Go back over and apply bleach to any missed spots as the hair begins to lighten. "Lift" is the hair professional word for "lighten." This is when you should be adding bleach to the roots if you haven't touched them yet. Blend into where you already applied. This also lets you see parts that aren't lifting as quickly or spots that you missed. You can thus fix any mistakes as you go.
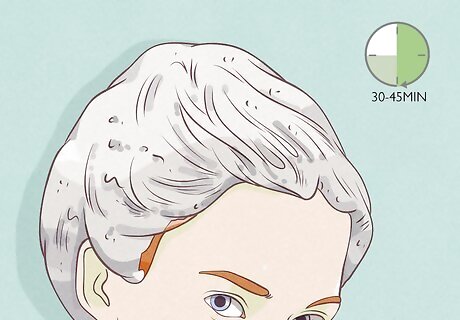
Wait. Once the bleach has been sufficiently applied, you will need to wait around 30-45 minutes while it does its magic. Your head will be very itchy and should feel hot because the chemical reaction produces heat. However, if you are in pain or feel too much of a burning sensation, move to the next step. It's better that you get it done professionally or fixed up in a salon than burn your scalp. You could also use a foil-lined cap or heat to speed things up, but this isn't recommended until you've become more experienced at bleaching and know how your head and hair react to the process.
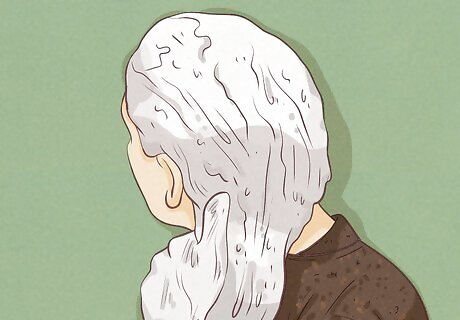
Check hair periodically. You can see as it lightens and gets to the level you want. The hair will remain yellow. Focus instead on the lightness, not on the color, since you'll be toning it shortly. That said, yellow is what you're looking for, not orange. If your natural colour doesn’t lift enough after 45 minutes or so and is still an orange color, wash it out, deep condition, and either go to a salon and get it fixed OR deep condition for a few days and then try again. Do not try to leave the bleach on for longer and do not try to repeat the process immediately after a failed attempt; this will seriously damage your hair.
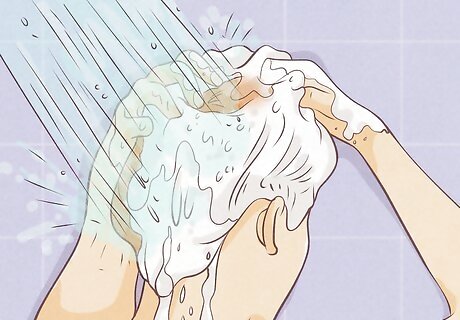
Rinse your hair in a cool shower. Rinse the bleach out and wash your hair with a mild shampoo. Then condition, rinse, and towel-dry your hair.
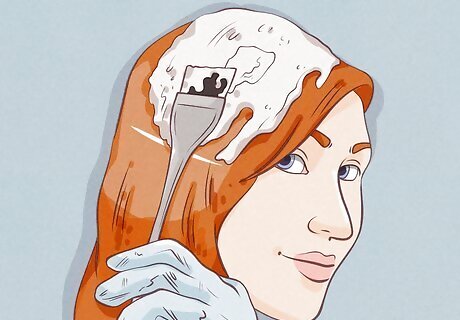
Treat with toner. Your hair will probably be quite light now, but very yellow-y. Use the toner to get the color you want. This is the most important step. Put on another pair of gloves, and slather the toner solution over your hair, but not on the roots quite yet. Once applied, comb the toner through to the roots and ends with a wide-tooth comb. This too should turn into a mousse-like texture. Follow any instructions that may be on your toner.
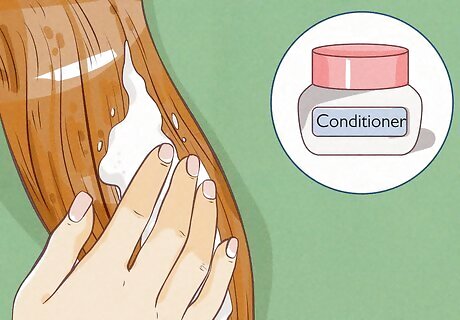
Wait for 20-30 minutes. Keep checking the color. Rinse again and then deep condition again.

Enjoy your new hair color! Be sure to do some upkeep and maintenance. Use a mask or deep conditioning treatment once a week to keep hair healthy. Use a shampoo specifically for blondes and condition frequently. Re-tone (without bleaching) if you find the color is going yellowy after a week or two, If you missed any spots, wait a couple of days and make up a little batch of bleach to touch up the problem spots, You should only leave the bleach on for 15 minutes or so. Then, rinse, condition, and tone all over again.






Comments
0 comment