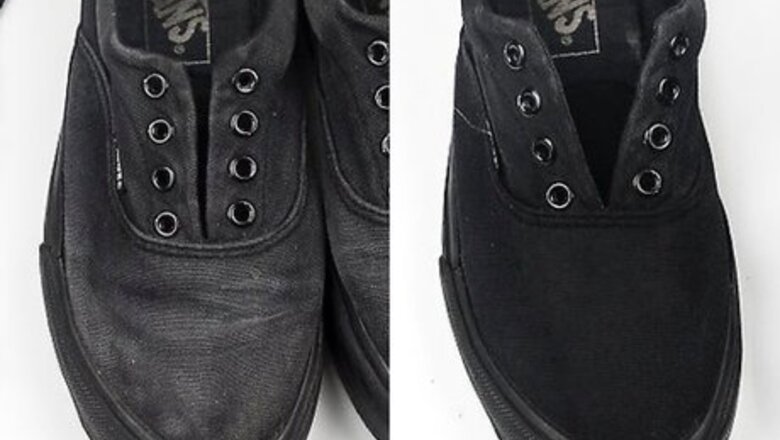
views
Removing Dirt and Stains
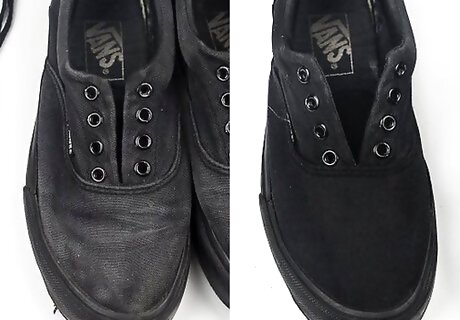
Remove the laces and set them aside. You’ll be washing the laces by hand separately. Take them out and put them aside to concentrate on the shoes themselves. The shoelaces will not be replaced until after they’ve been cleaned, and the shoes have been washed and polished.
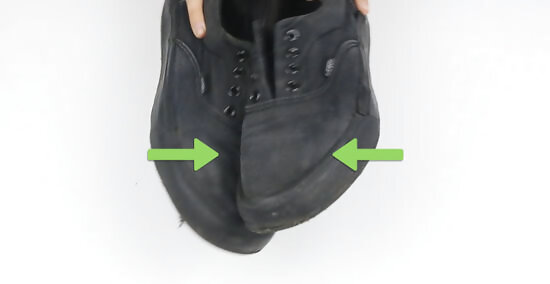
Knock off any excess dirt. Take your shoes outside and knock them together a few times to remove any caked on mud. For stubborn mud, use a dry brush with stiff bristles to get the mud off. You don’t need to scrub at the dirty fabric, just get off the large hunks of dirt and debris before getting them wet.
Mix a solution of mild detergent and lukewarm water. Pour a small amount (just a quick squeeze will work) of mild dish detergent, such as Dawn, into a medium-sized bowl or shallow pan. Fill the bowl with lukewarm water. The soap should get sudsy; if it doesn’t, use your fingers to swish the water and soap together until you get suds.
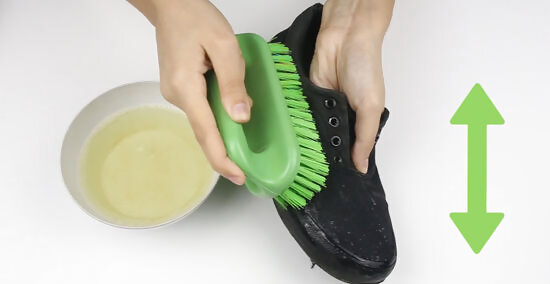
Scrub the surface vigorously with a stiff-bristled brush. Dip a stiff bristled brush into the cleaning solution, then begin scrubbing. Start at one end of your shoe and methodically work your way to the other end, making sure to scrub all areas. You don’t need to get your shoes soaking wet, just get them wet enough to keep a lather worked up as you scrub.
Scrub the black rubber side strip around the shoe's perimeter. Many black Vans have black rubber soles, making them easy to get clean. If your rubber side strips are white, spend a little extra time scrubbing them until they look clean and bright white. A Mr. Clean Magic Eraser can also help remove stubborn grime on rubber soles.
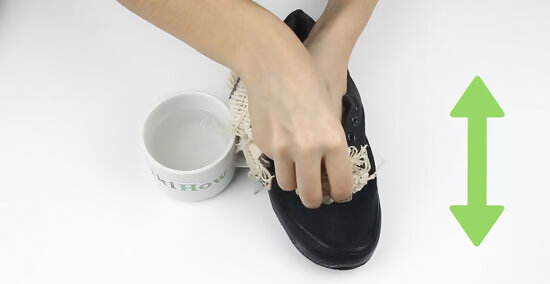
Rinse away the solution with a wet cloth. Wet a clean cloth with fresh water, then wring it out. Use the wet cloth to wipe away the soap on your shoes. Rewet it, wring it out and continue wiping until you’ve removed the soap completely. Don’t use a soaking wet cloth and avoid drenching your shoes with water. Let them dry for a few minutes before moving on to polishing them; however, it’s fine to polish them when they are slightly damp.
Restoring the Color
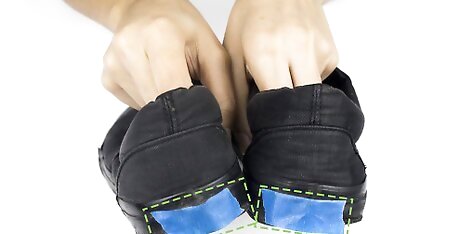
Cover the red Vans tag on the heel of your shoes with masking tape. Both shoes have a small red Vans logo tag on the heel. These tags are located on the rubber strip, not the shoe fabric. Tear two small tag-sized pieces of masking tape off the roll. Stick them over the red tags, covering them completely. Most people prefer to preserve the original look of the tags, so they need to be protected against the black shoe polish.
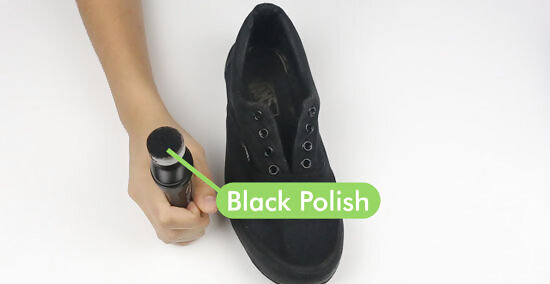
Dab a small amount of liquid black shoe polish onto one shoe. When you remove the cap, you’ll see a sponge applicator on the end. Turn the bottle upside down over your shoe and squeeze a dollop of shoe polish directly onto the fabric of your shoe. You can get this kind of shoe polish at any shoe store, as well as grocery stores and big box stores. Start with one shoe and complete the process before moving on to the next one.
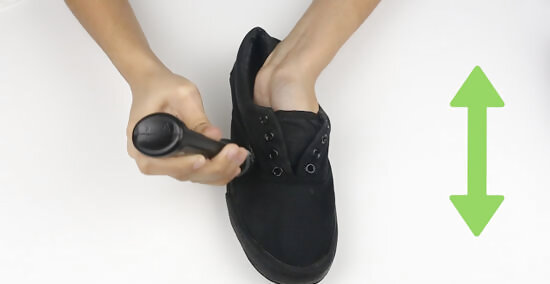
Use the sponge applicator to spread the polish. Move your hand quickly back and forth, spreading the small amount of polish on one area of the shoe until the polish soaks in. You don’t need to push the applicator hard against your shoe. Keep your grip loose so you can work the polish over the surface quickly. You’ll see the black polish immediately begin to renew the color of the fabric.
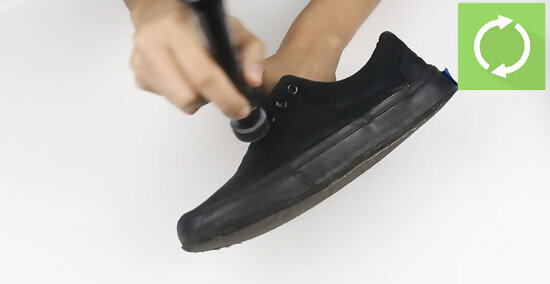
Work quickly and use small amounts of polish. Continue to squeeze small amounts of polish onto the shoe and use the same quick back and forth motions to cover the entire surface. Avoid adding more polish until the first application has soaked in. Work quickly so you can spread the polish evenly, before it seeps deeply into one spot and over-saturates the fabric. The surface of the shoe should not look soaked in polish. Don’t leave any polish pooled on the surface of the shoe. Give scuff marks and faded areas additional attention as needed.
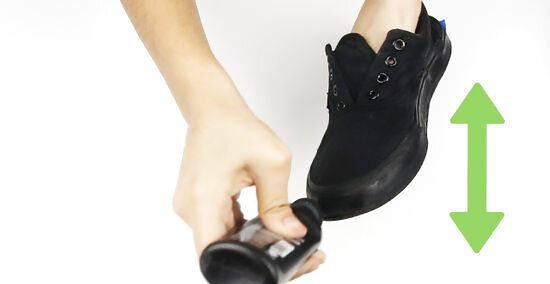
Apply the polish to the black rubber strips on the side. Once you’ve completely covered the fabric, use the same process to renew the black rubber along the sides of your shoes. Apply a small amount of polish and work it quickly around the perimeter. The rubber will immediately look refreshed. Don’t forget to polish the black plastic rings around the lace holes. The tiny brand tag near the lace holes should be avoided, unless you don’t mind covering up the Vans logo. Some black vans have white rubber side strips. If yours don’t have black rubber soles, you can omit this part.
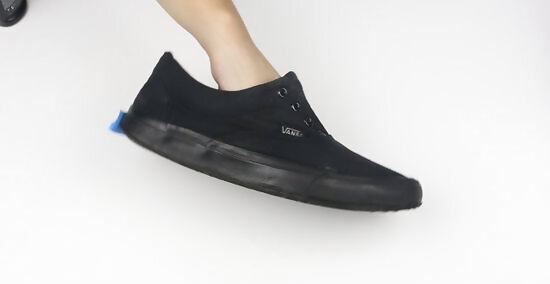
Inspect the shoe closely and add more polish where needed. The black polish should bring the whole shoe to a consistent color. Check your shoe for uneven application or remaining visible scuff marks or stains. Be sure to get into any crevices you may have missed.
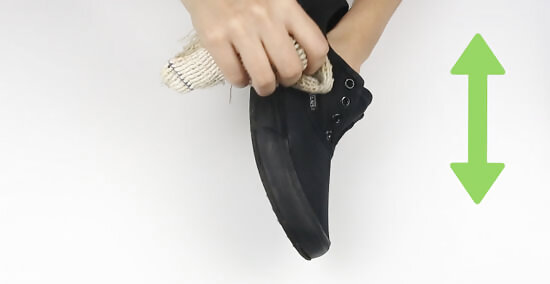
Dampen a clean cloth and buff the surface of the shoe. Run a clean cotton cloth under the tap. Wring it out. Brush it lightly over the shoe’s surface, buffing the polish into the fabric and rubber completely. If you notice any areas pooling with excess polish, dab and buff until the shoe’s surface looks uniform. Your shoe should look shiny, renewed and slightly wet.
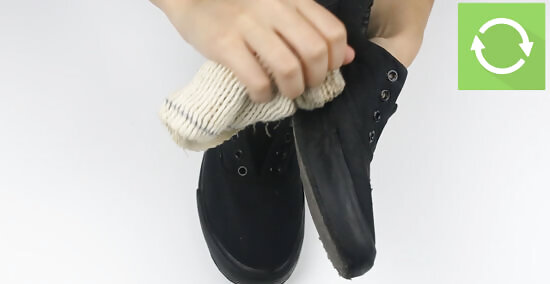
Move on to the next shoe and repeat the process. Work on one shoe at a time. Once you’re satisfied with the way the first one looks, set it aside and work on the next shoe. Repeat the same process of quickly spreading the black polish over the entire surface of your shoe, including the black rubber side strips.
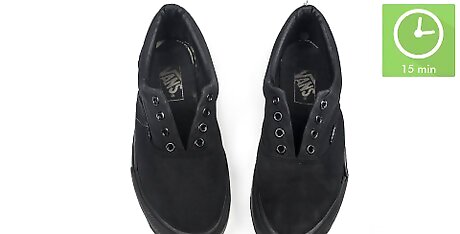
Allow the polish to dry for 15 minutes. Set your shoes aside to dry while you move on to cleaning the laces. Polish usually takes around 15 minutes to dry completely. If you used a lot of polish, it may take a little longer. Make sure they feel dry to the touch before wearing your shoes. Peel the masking tape off the heels once the shoes are dry to the touch.
Cleaning the Laces
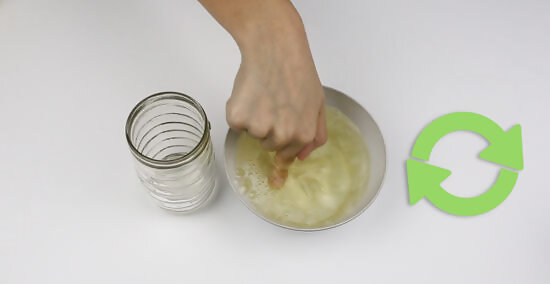
Mix up a fresh batch of cleaning solution in a bowl. Dump the used solution out and start over with another squirt of mild soap and lukewarm water. Fill up the bowl with enough water to completely submerge your laces. Make sure the soap and water incorporate thoroughly. The solution should look sudsy.
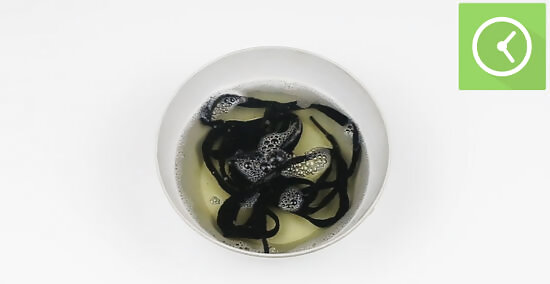
Drop both laces into the bowl. Submerge them completely in the solution. Allow them to soak for a few minutes, which will loosen up any embedded dirt or stains. Use the end of an old toothbrush or your finger to lightly agitate the laces in the solution for a little extra cleaning power.
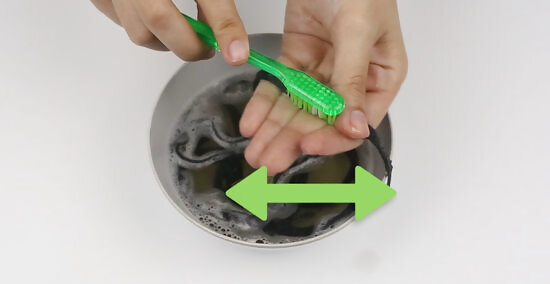
Scrub the laces with an old toothbrush. Pull one lace out of the bowl and squeeze the excess water out of it. Starting at one end, scrub the lace vigorously, concentrating on any stained areas. Work your way to the opposite end. Flip the lace over and do the other side. Then move on to the second lace and repeat the same actions.
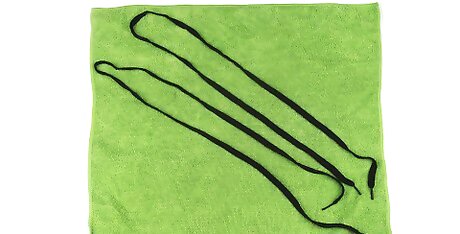
Lay the laces out flat to dry. Put them on a clean dry cloth or a few paper towels and give them a few hours to air dry completely. Once they no longer feel damp to the touch, lace your shoes back up and wear them as usual. The polish should be long dry at this point, but it wouldn’t hurt to brush your fingers over the surface of your shoes to make sure.




Comments
0 comment