views
- Open the Settings app and tap "Internet." Disable "Airplane mode" if it isn't already.
- Toggle on "Wi-Fi" and tap "Wi-Fi preferences."
- Tap your Wi-Fi network and enter the password. Tap "Connect."
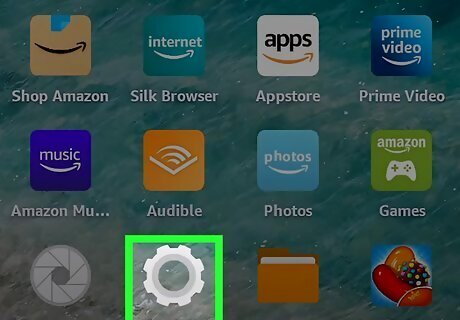
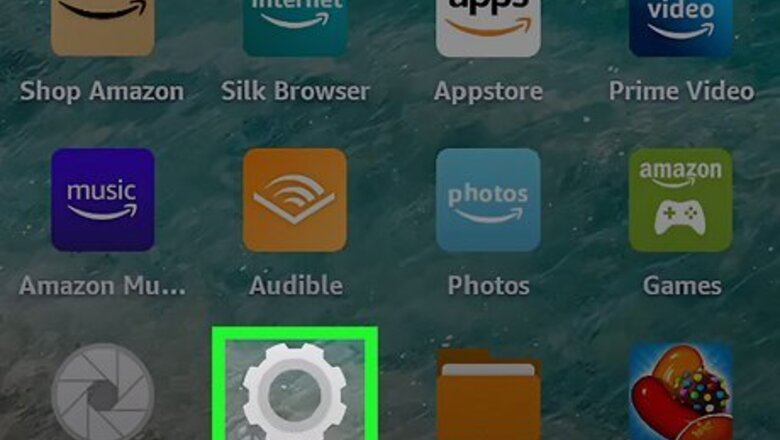
Open the Settings app. This is the cog icon on the home screen. Connecting to Wi-Fi is an important part of setting up your Kindle Fire. This is how you'll get access to the web, apps, games, and more.
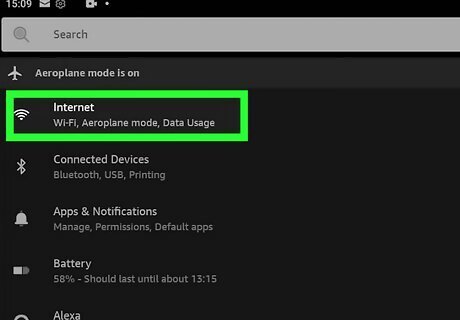
Tap Internet. You can find this at the top of the page.
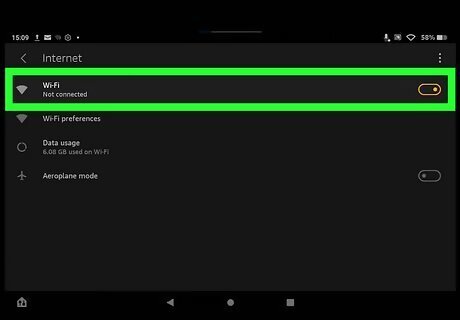
Tap Wi-Fi to toggle it on. The toggle will turn orange when enabled. If you have Airplane mode enabled, tap it to turn it off.
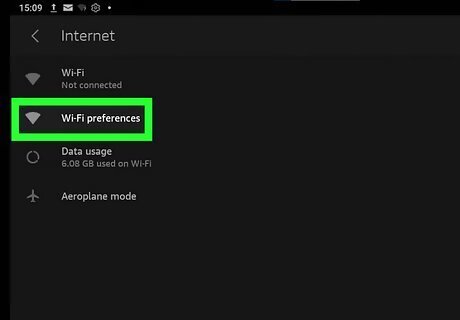
Tap Wi-Fi preferences. This will be below Wi-Fi.
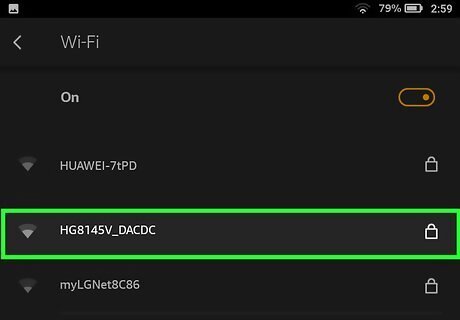
Select a Wi-Fi network. If you don't see your Wi-Fi network, you may need to troubleshoot your Wi-Fi or restart your tablet.
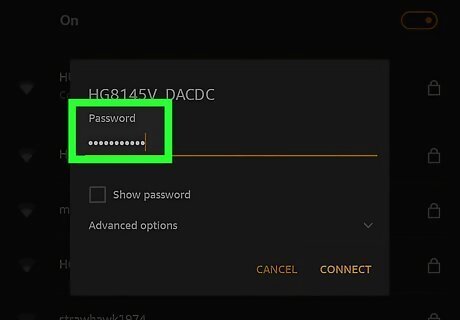
Enter the Wi-Fi password. Make sure it's the correct password. If the network doesn't require a password or is public, you should be able to connect automatically. When using a public network, avoid logging into important websites to stay safe.
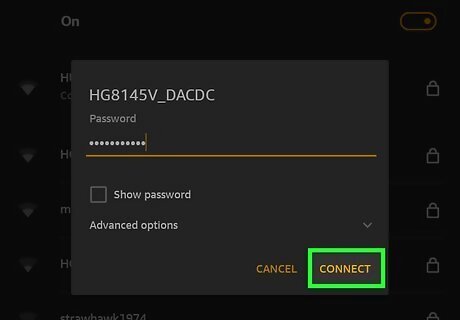
Select Connect. You should be connected to the Wi-Fi network. You can now use your Kindle Fire to watch movies, play games, and more.





Comments
0 comment