views
Soaking Dry Beans before Cooking
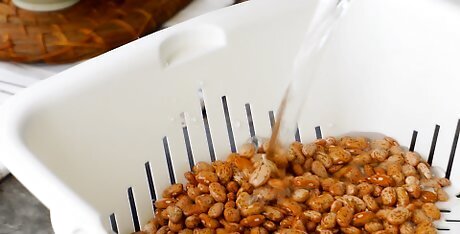
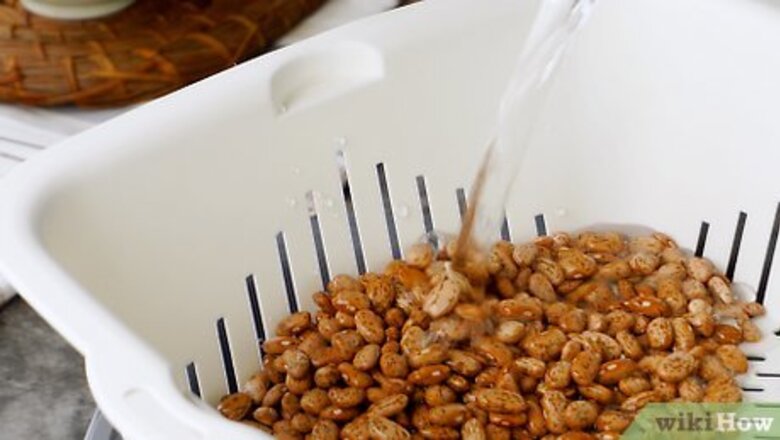
Rinse your pinto beans under cool water with a colander. Fill a colander with your beans and turn your sink on. Run the beans under cool water and move the colander around so that water touches each side of the beans. Move your colander up and down and side-to-side to rotate your beans so that the entirety of each bean gets wet. You only need to soak uncooked pinto beans. If you’ve got a can of pinto beans, they’ve already been cooked and only need to be reheated. If you see any blackened or cracked beans, pick them out and throw them away.
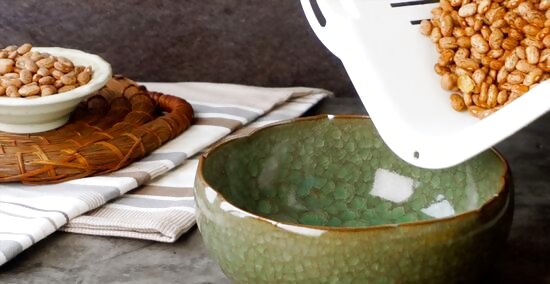
Put your pinto beans in a large bowl by dumping them in. Any bowl that can sit in your refrigerator and can be covered will work. Pour beans into the bowl by dropping them in.
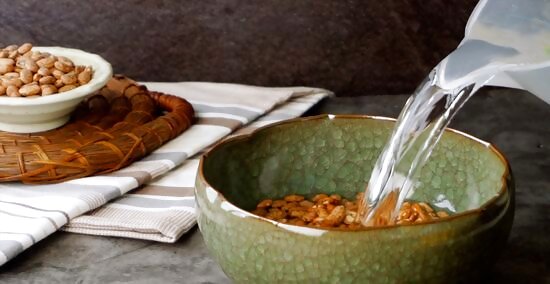
Fill the bowl with water so the beans are covered by 4–5 in (10–13 cm) of water. Add enough water to the bowl to fully submerge the beans. The beans are going to absorb a lot of water, so add enough to cover an additional 4–5 in (10–13 cm) on top of the beans. If a few beans float to the top, it just means that there’s some air trapped in the shell. Don’t worry about it, they’ll sink as they take on more water.
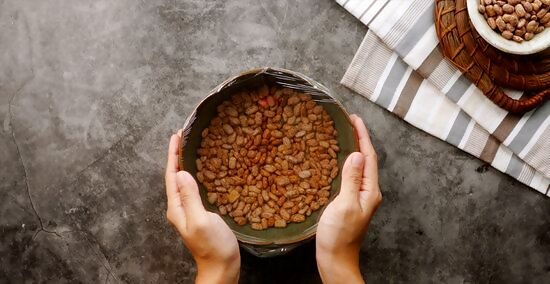
Cover your bowl with a lid or plastic wrap. Seal your bowl with a lid if you have one. If you don’t, place a sheet of plastic wrap over the top and apply pressure around the rim to seal it.
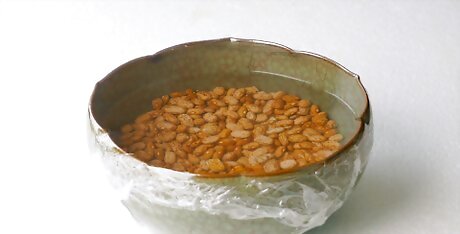
Leave the beans in your refrigerator for at least 12 to 24 hours. Place your beans in the refrigerator. Let them soak for at least 24 hours. Soaking the beans allows them to absorb some water, making them a little more flavorful when you cook with them. If you don’t soak your beans, they’ll take much longer to cook and they will taste a little chalky. They can also have some unpleasant digestive side effects if you don’t soak them.
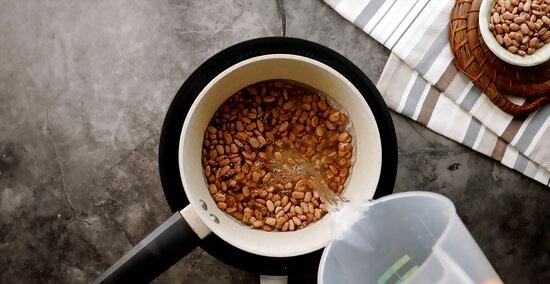
Quick-soak your beans with boiling water if you’re in a rush. To soak beans quickly, rinse the beans in a colander and then pour them into a pot. Fill the pot with enough water to submerge the beans and then heat the pot on your stove. Once the water starts to boil, turn the heat off and cover the pot. Let the beans sit in the water for 1 hour.Tip: This will soak your beans more quickly than traditional methods, but it may change the flavor a little bit. Many cooks think that quick-soaked beans taste better, since they tend to have a firmer skin while being softer on the inside than beans that have been soaked for 24 hours.
Heating Your Beans on the Stovetop
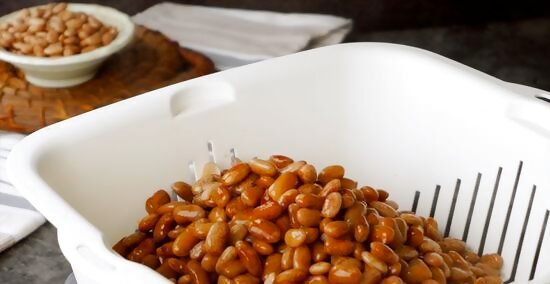
Remove your beans from the fridge or pot and drain them in a colander. Take your soaked or quick-soaked beans and pour them in a colander over your sink to drain them. Shake your colander up and down a little bit to remove the excess water. Let the beans sit for 1-2 minutes so that all of the soaking water drips off.
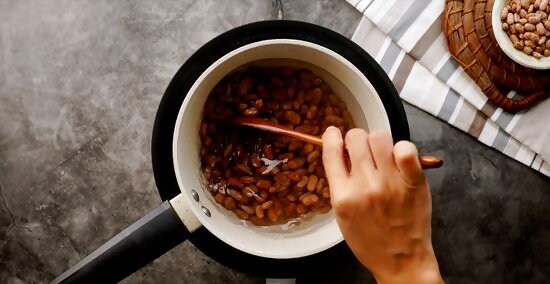
Put your beans in a clean pot with water or broth. Place your beans in a large pot. Fill the pot with water, broth, or broth concentrate. Add 1 tablespoon (15 g) of salt to the water and mix it in with a wooden spoon. If you want to dilute the flavor of the broth a little, use 1 teaspoon (4.9 mL) of broth for every 1 US quart (950 mL) of water.
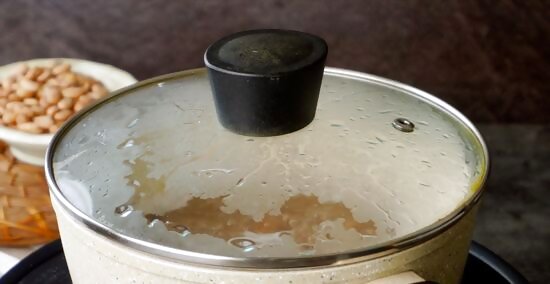
Heat the beans over medium-low heat for at least 2 hours. Turn the heat on medium-low and cover your pot with a lid. The water or broth should simmer after about 20-30 minutes. The water or broth needs to simmer, but if it starts to boil, turn the heat down a little bit.
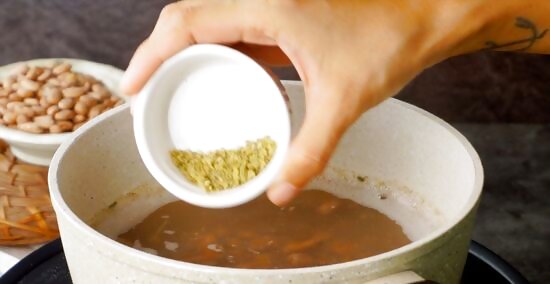
Add seasoning to your pot while the beans cook to change the flavor. If you’re following a specific recipe, add any seasonings that you need to add to your beans while they’re cooking. If you’re improvising, start with salt, which is the most common seasoning to add to pinto beans. Add 1 tablespoon (15 g) of salt for every 1 pound (450 g) of beans. Stir in any other seasonings that you want to add by adding them at the beginning of the heating process.Tip: You can also cut up and stir in some vegetables to make a simple stir fry. Onions and peppers work incredibly well with pinto beans. Garlic, garlic salt, rosemary, thyme, and cayenne pepper are all popular choices that pair well with pinto beans. Bacon is a popular ingredient to add while the beans cook. This is an essential step if you’re making baked beans. Add 1 strip of cooked bacon, chopped into 1 inch (2.5 cm) squares for every 1 pound (450 g) of beans.
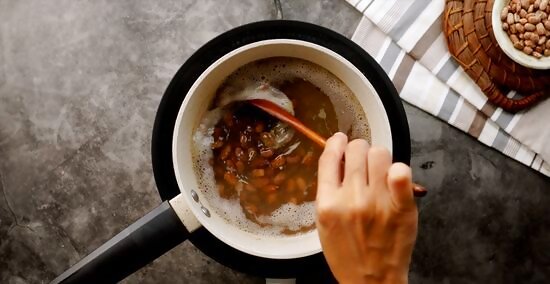
Stir once every 15-20 minutes while your beans heat to mix any seasonings in. Leave your beans covered as they heat. Periodically stir your beans with a wooden spoon to ensure that they’re heating evenly. This has the added benefit of moving the spices around so that each bean is as flavorful as the last. Avoid stirring too aggressively. As the beans heat, the skin softens. If you stir too firmly, you could crush some of your beans.
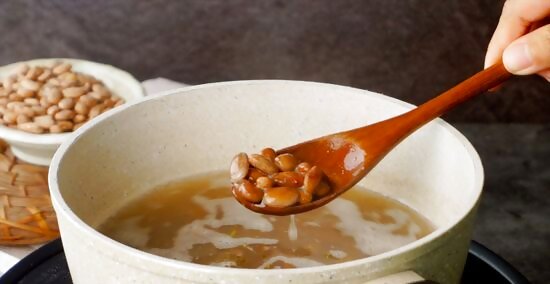
Check a bean after 2 hours of cooking to see if it’s tender. After 2 hours of cooking, use a fork or your wooden spoon to remove a single bean. Let it cool for at least 45 seconds and then bite it. If the bean is soft, flavorful, and tasty, the beans are done. If it’s still hard, cook it for another 30 minutes. If the inside is kind of firm or strangely-textured, heat them for another 10-20 minutes before checking them again. Drain the beans in a colander after they’re done cooking.
Using a Slow Cooker
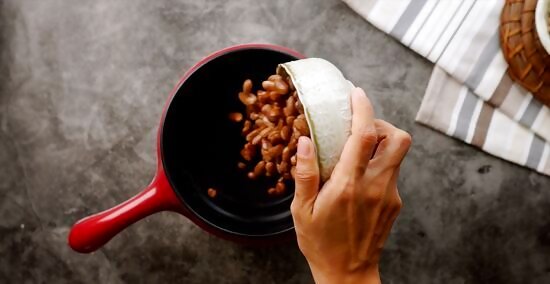
Place your soaked beans in the crock pot or slow cooker. After you’ve soaked or quick-soaked your beans, drain the water by pouring your beans into a colander. Once they’ve drained, add your beans to the crock pot or slow cooker. If you’re using a slow cooker or crock pot, you can soak your beans in it to save yourself from washing an extra dish.
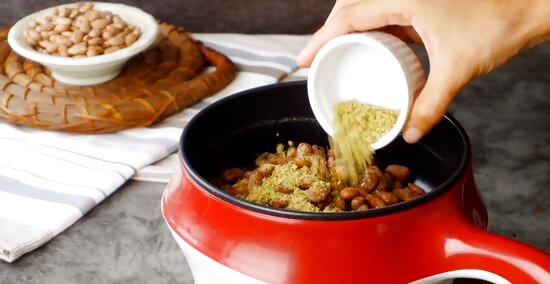
Add any seasonings or vegetables you want the beans to cook with. Add any salt or other seasonings to your pot. If you have any vegetables, meats, or sauces that you want to add, pour those on top of your beans as well. Cooked ham hock and bacon are common additions to slow cooker recipes involving pinto beans. Chopped or diced onions pair well with slow cooker beans. Add 1 onion for every 1 pound (450 g) of beans.
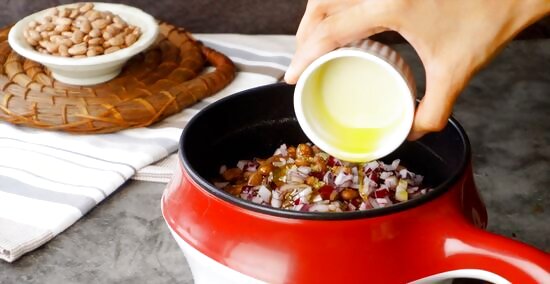
Add 2–3 tablespoons (30–44 mL) of olive oil to your slow cooker. If you don’t have any olive oil, you can use canola oil or walnut oil. A little bit of olive oil will soften the beans as they cook and make it easier for them absorb heat.
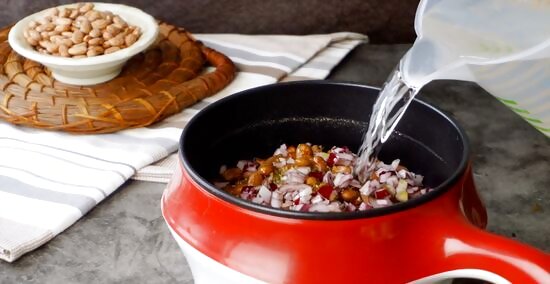
Cover the beans with water until the water is 1–2 inches (2.5–5.1 cm) past the beans. Add water to your slow cooker or crock pot until the beans are completely submerged. Then, add an additional 1–2 inches (2.5–5.1 cm) so that there’s some extra water on top. You can use broth if you want, but the beans will really absorb the flavor more than they usually would. This makes water the more preferable option.
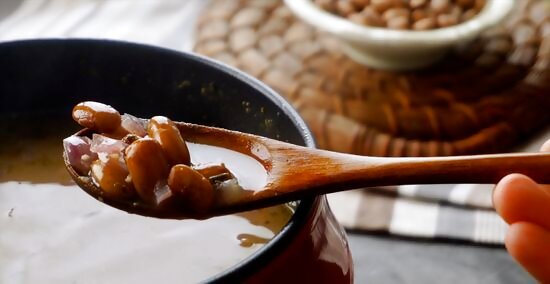
Cook the beans on medium for 8-10 hours until they’re soft. It will take your beans 8-10 hours to cook. Test a bean by taking it out after 8 hours. Let it cool for 30-45 seconds and blow on it a little. Taste it to see if it’s soft and tasty. If it’s still hard, cook it for an additional 30 minutes-2 hours based on the firmness. You can raise the heat towards the end of the cooking process to speed it up a little bit.
Rinsing and Heating Canned Beans
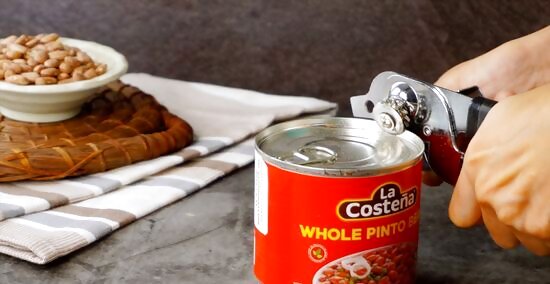
Open a can of pinto beans with a can opener. Take a can opener and place the circular disc on the inside rim of the can. Clamp the 2 handles down to puncture the can with the disc. Rotate the knob on the exterior side while keeping the handles clamped together to rotate the disc around the can and cut it off. If you have a manual can opener (also called a camp opener), hold the opener in your right hand. Puncture the inside rim of the can with the pointed blade. Then, turn it like your turning the ignition in a car until you’ve carved around the entire can. Canned beans are already cooked, so you really only need to heat them. If you were really hungry though, you could eat them right out of the can.
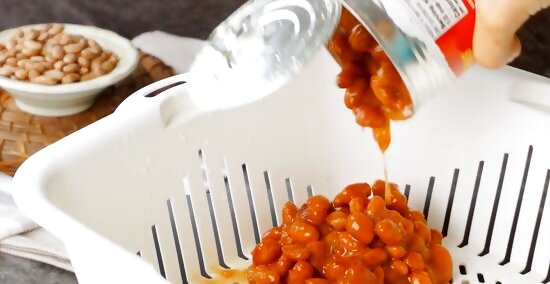
Drain and rinse the beans under water for a healthier dish. While beans are generally quite good for you, there tends to be a lot of sodium in canned pinto beans. To remove a lot of the salt, pour the beans into a clean colander, letting the water or sauce in the can drain out into your sink. Then, rinse the beans under a soft stream of cool water to rinse them. If you don’t want to rinse them, draining the can and replacing the water removes a lot of the sodium on its own.
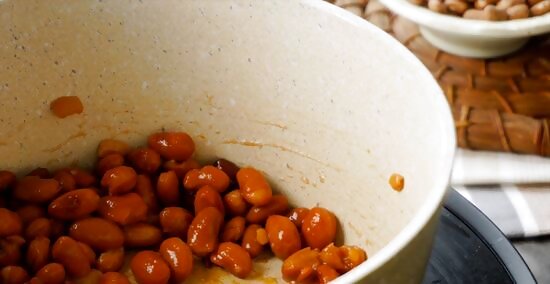
Pour the beans into a pot and heat them for 10-15 minutes on the stove. Get a nonstick pot or saucepan with a tall rim. Pour your beans into the pot or pan and cover them with a lid. Heat them on medium heat for 10-15 minutes until the beans are starting to bubble (or sweat if you drained them). Mix the beans with a wooden spoon once every 3-4 minutes while they heat. Add any seasonings that you want to add while the beans are heating. Stir them in with a wooden spoon after you’ve added them. You really don’t need to add more salt to canned beans unless you’ve purchased a sodium-free can and want to add a little bit of salt. Heating the beans on the stove is preferable to heating them in the microwave because the beans will cook more evenly. The microwave is quicker though.
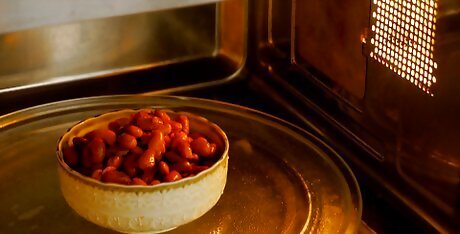
Heat the beans for 6-8 minutes in the microwave for a quicker dish. Get a microwave-safe container and pour your beans in. Cover the beans with plastic wrap and puncture 3-4 holes in the top of the plastic wrap with a fork. Read the label on your can for specific directions on heating the beans in the microwave; usually, the beans need to be microwaved for 6-8 minutes. Glass and ceramic are always microwave-safe unless they’re painted. To check, look on the bottom of a bowl and look for the words “microwave safe.” Some containers will have a symbol with 3 waves on it to indicate that the container is safe for the microwave. Be careful when removing the container that the beans were heating in. It may be exceptionally hot when you take it out depending on the material that the bowl is made out of. Seasonings can be added before you microwave the beans by mixing them in before you heat them. You can also add them after they’ve heated and mix them in while you’re letting the beans cool if you want.


Comments
0 comment