views
Learning the Basics
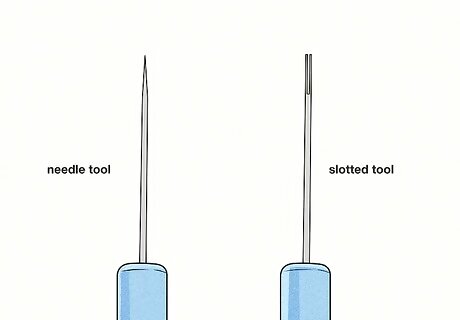
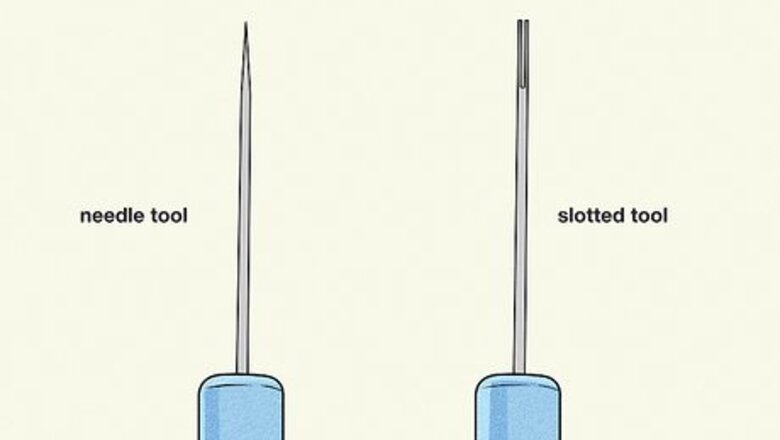
Know the two different types of paper curling tools. These two tools are the slotted tool and the needle tool. The slotted tool is best for beginners, while the needle tools lends itself to a more perfect creation. You can also use a toothpick or corsage needle if you do not want to buy either of these tools. Slotted tool: This is thin pencil-like instrument with a slit or slot at the top. The one downside of the slotted tool is that it creates a tiny crimp in the center of the paper where you slide the paper into the head of the tool. If this doesn’t bother you then you should definitely try this tool when you are first starting out. Needle tool: This tool is harder to use but will result in an uncrimped (meaning it looks more professional) and perfect spiral.

Make or buy your quilling strips. The art of quilling is based, not surprisingly, on the paper used to make your pieces of art. Quillers use thin strips of colorful paper, curling them with their tools to form incredible designs. You can make your own strips by cutting pieces of paper into equal-sized strips, or you can buy pre-cut paper. The length of your strips will depend on the pattern that you are following.
Try coiling the paper. Before you make any cool decor, make a bunch of plain coils. To get started, insert one end of a quilling strip into the tiny slot in your quilling tool. Make sure it's nice and snug, then start twirling the tool away from you. The paper should wrap around the end of the quilling tool, making a coil. Keep twirling the paper until the whole quilling strip is twisted on the quilling tool. To try coiling with a needle tool or toothpick, get your fingers a little damp and then curve one end of paper strip around the needle (or other tool). Use your thumb and index finger to apply pressure and roll the paper around the needle.
Gluing Your Designs
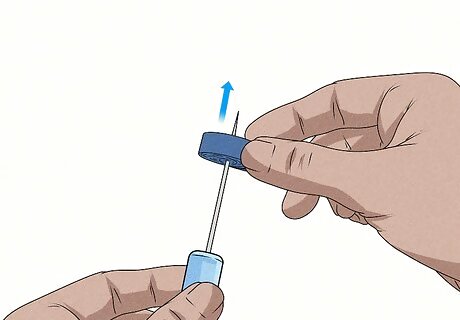
Gently pull the coil off. When you have rolled the piece of paper all the way around your tool, take it off. If you want a loose coil, put it down and let it loosen.
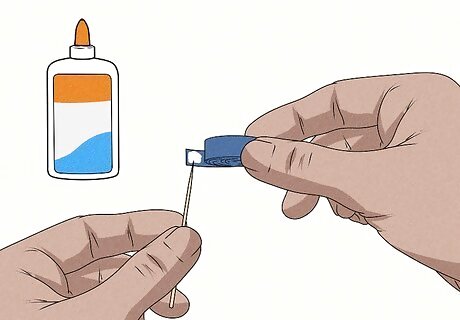
Glue your paper together. Once the coil is as big or small as you want it, glue the tail. You should only apply a tiny amount of glue. Use a toothpick, paper piercing device, or T-pin to dab a small amount of glue on the inside side of the end of the paper (the tail). Hold for twenty seconds. Basic glue, such as Elmers, will work just fine for quilling. You could also try tacky glue, as it dries more quickly than basic glue. You could also try water-based super glue, which dries incredibly quickly and holds the paper well.
Pinch the coil into a shape if desired. If you do this or not will depend on the pattern you are following. You may want to pinch it into an eye shape for a leaf. You could also do a triangle for an ear. The possibilities are endless!
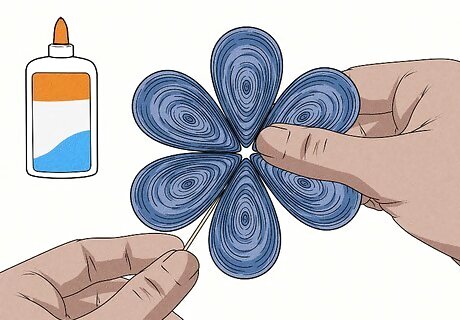
Glue all your pieces together. Again, be very sparing with the glue--glue can make the paper soggy or warp your masterpiece. It is almost impossible to have too little glue. Remember to hold the pieces together for twenty seconds!

Finished.

Try out some patterns and projects. You can go to a craft store and buy a book of quilling patterns, search the internet for quilling patterns, or try out some of wikiHow’s patterns and projects! These wikiHow patterns and projects include: Making a Quilled Angel. This design creates a beautiful angel that will make a cherished gift or a cute Christmas tree topper. Making a Quilled Heart. Nothing says ‘I love you’ like doing something crafty and cute for your loved one. Show off your quilling skills with this heart pattern. Making Quilled Earrings. Learn how to make domes, cones, or flat designs and piece them together into stylish ear jewelry.

Finished.


Comments
0 comment