views
Preparing to Drill
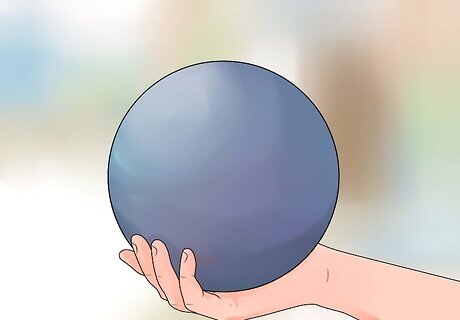
Choose a ball. Choose the bowling ball that's right for you, based its weight and the materials it is made of. Bowling balls can be made of plastic (the cheapest balls), urethane, reactive resin, or particle. Each of these different materials provides differing degrees of friction, power, and control. If you can, it's a good idea to experiment with different types and weights of balls before selecting one. Once you drill a ball, it's yours for good.
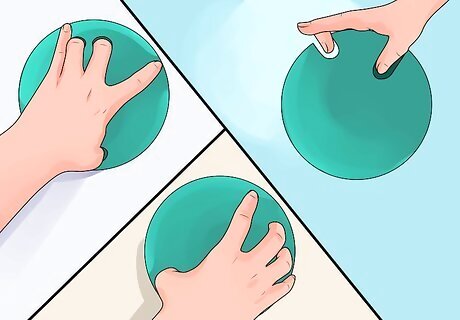
Choose a hole configuration. Different finger hole configurations will provide differing amounts of control and power. Choosing the configuration that's right for you will require you to assess your own strengths and weaknesses as a bowler. A conventional grip is achieved by drilling holes deep enough so that your fingers and thumb are inserted into the ball up to the second knuckle joint. This is the traditional bowling alley ball configuration because it is the easiest to control. It is the recommended configuration for beginners and players of moderate skill. A fingertip grip is achieved by drilling holes that allow your fingers to be inserted into the ball up to the first knuckle joint. This is an advanced configuration that is much harder to control, but provides increased lift, power, and spin. A semi-fingertip grip is achieved by drilling holes that allow your fingers to be inserted into the ball between the first and second knuckle joint. This is a happy medium between the grips described above and is easier to master than the fingertip grip while providing more power than the conventional grip. There are also other types of grips, such as the Sarge Easter grip, but the three above are the most common.
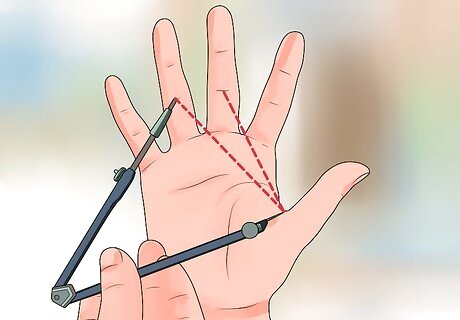
Measure your span. Measure the distance from the base of your thumb to the points at which the two fingers you will use to hold the ball will bend (some people prefer the forefinger and middle finger while others prefer the middle finger and ring finger). For a conventional grip, this means measuring from the base of the the thumb to the second crease in the appropriate fingers. For a fingertip grip, measure to the crease closest to your fingertip. Using an adjustable bowling ball makes this process much more precise and is strongly recommended. Adjustable bowling balls have movable holes and various depths of finger inserts. A bowling ball manufacturer, sports and recreation store, or possibly your local bowling alley probably have a measuring ball. If you do not have access to an adjustable bowling ball for measuring your grip, you can simply place your fingers onto the surface of your un-drilled ball and mark around each finger once the placement feels comfortable. This isn't as exact, but it is comparable. Alternatively, you can also measure your span using a compass or calipers, keeping your fingers together and thumb out, and then reducing your measurement by about 1/8 of an inch (or 1/4 for a fingertip grip). To determine the depth the holes will need to be without a measuring ball, measure the distance from the edge of your span to the ends of the fingers that will be going into the holes.
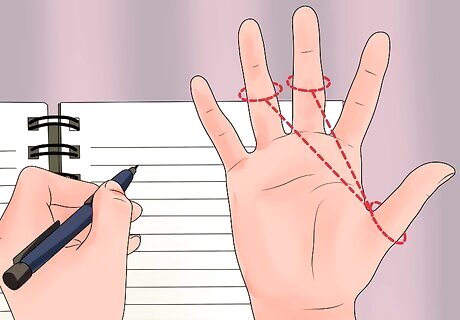
Record your measurements. Write down both your finger depth measurements and the distance between holes for reference when drilling.
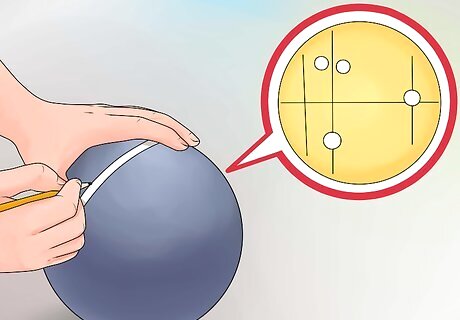
Decide on an angle. Having an angle that fits your hand is crucial for comfort and performance. For example, if the holes are angled forward, the ball will have more lift when released because your fingers will remain inside until the last minute. This is a decision you'll have to make based on what's comfortable for you, as well as your individual strengths and weaknesses as a bowler.
Drilling the Ball
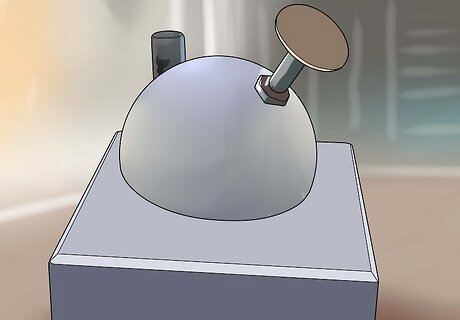
Clamp the ball in place. Place the ball into a tight clamp to ensure that it does not move during drilling. If the ball moves during drilling, the holes may come out uneven, making the ball uncomfortable to use or difficult to control.
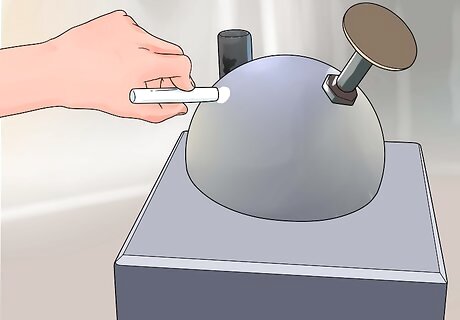
Mark the ball. With an erasable marker or piece of chalk, mark the hole configuration, placing a mark at the center of the spot you plan to drill each hole. Use your span measurement to assure the holes will be properly placed. When bowling balls are molded, they are suspended by a small rod that, when removed, leaves a hole that must be filled in. This is called the "pin." You should avoid drilling through the pin, as this may void your warranty and negatively affect the ball's performance. Make sure your nearest hole is at least an inch away from the pin. The pin should be easy to locate. It is usually a different color than the rest of the ball. For advanced ball drillers, the pin is used to determine properties of the bowling ball's core that can be used to determine the ideal location on the ball to drill finger holes, depending on the qualities you want the ball to have. This will vary from one model of ball to the next, so if you want to try this, you should consult the instructions that came with your ball. It's a good idea to double check your marks against your span measurements before drilling. Once the holes are drilled, they are permanent.
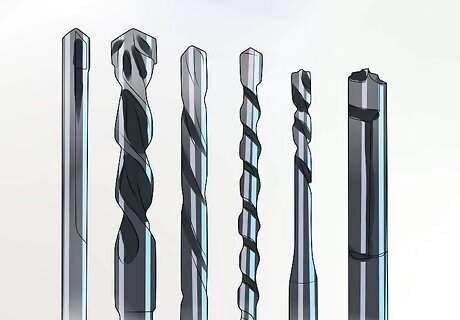
Select your bits. Determine the correctly sized drill bits to create comfortable holes for your thumb and fingers. You can determine this easily if you used a sizing ball to get your hand measurements, as these balls also provide information on your thumb and finger widths. If you did not have the benefit of a sizing ball, a good way to determine this is to experiment with different bits, drilling holes of different sizes into a block of wood and then determining which ones most comfortably fits your thumb and fingers.
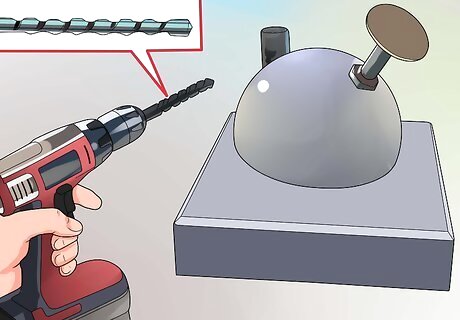
Insert the first bit. Prepare your bowling ball drill with the proper bit for your thumb width. It is strongly recommended that you use a bowling ball drill. Attempting this with an ordinary drill may damage your ball.
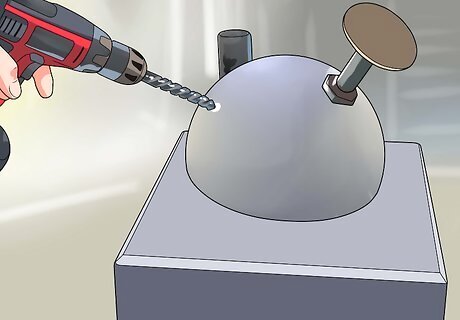
Drill your thumb hole. Drill the hole slowly at your desired angle, checking the depth often so as not to drill too deep.
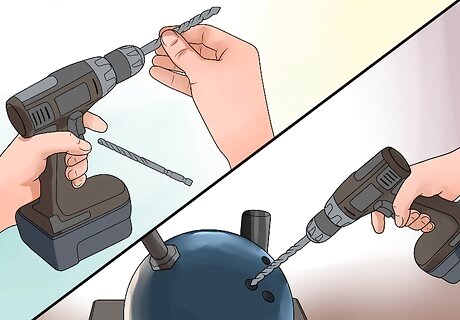
Switch bits and drill the finger holes. Swap out the drill bit and drill the two finger holes. As with the thumb hole, check the depths often to avoid drilling too deep.
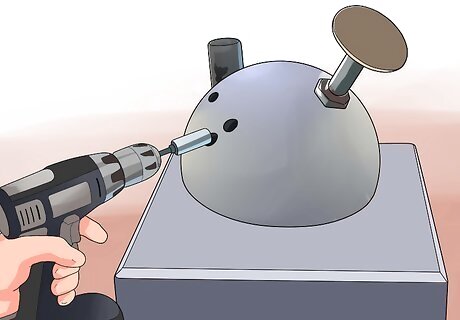
Sand the holes. Replace the drill bit with a sanding attachment and sand the interior of the holes until they are smooth and our fingers slide in and out easily and comfortably.




Comments
0 comment