
views

Create a graphic using a vector based graphics software Any vector based graphic software will do, as long as it has the ability to save documents as an SVG It will be useful to design your graphic at the size that you intend for it to appear on the page, however, you will be able to dynamically change the size using CSS later on.
Organize the groups and layers of your graphic. Within your graphic editor, it is very useful to keep your image well organized. Doing so will make future steps far easier. In Adobe Illustrator, group paths together by holding shift and selecting multiple paths. Then, right click and choose "group." You will see your new groups in the layers window.
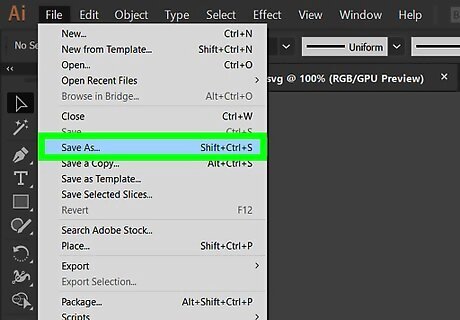
Save your graphic as an SVG. Any vector based graphics editor will should allow you to save your graphic as an SVG. In illustrator, select "Save As" from the file tab. In the dialog box, select SVG from the dropdown list, then click save. You may encounter an "SVG Options" dialog box. There are several versions of the SVG file format, generally, version 1.1 is fine. Select OK and continue.
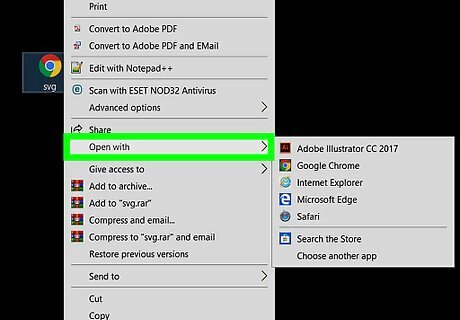
Open your SVG in a text editing software. In the file explorer, right click your new SVG file and select "Open with" from the list. From the available programs, select any text editor. You may need to select "More Apps" or "Choose another app" if your desired text editor is not in the list. Notepad is fine, however, you may choose to open your SVG in an IDE such as Visual Studio.

Copy the SVG tag. Once opened, use your cursor to select only the contents of the
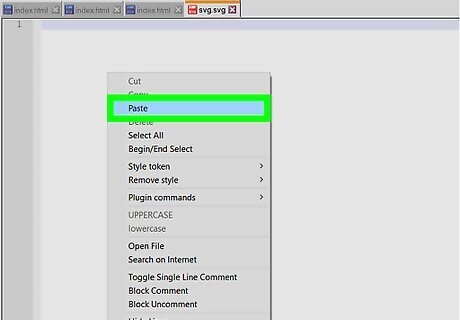
Paste the SVG into your HTML page. Open your HTML page in a text editor and paste the block of code you copied from the last step into your web page. The SVG tag may be place anywhere in the body of your HTML markup.
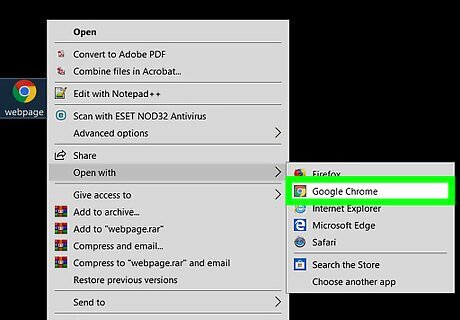
Check your results in a web browser Open your web page in a browser and your graphic will appear on your page, however, it may require some extra styling to properly format the graphic within your page. If your graphic is already sized properly and appears as you desire it, you may stop after this step.
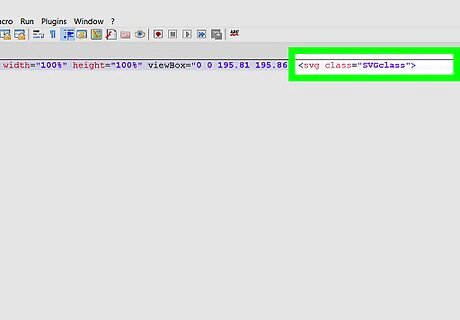
Give your SVG a class attribute It will be useful to give your SVG a descriptive class for styling In some instances a class attribute may already exist on the SVG tag. If this is the case, simply add classes to the existing attribute. e.g





Comments
0 comment