views
- Use a Q-Tip soaked in a solvent like brake fluid, acetone, or rubbing alcohol to lift ink out of the page.
- If chemicals don’t work, try carefully rubbing the ink off with an eraser, razor blade, or even a fine-grit sander.
- If the ink just won’t come out, cover it with correction fluid or paper. If you can, camouflage unwanted ink with a drawing or background design.
Erasing Ink With Household Chemicals
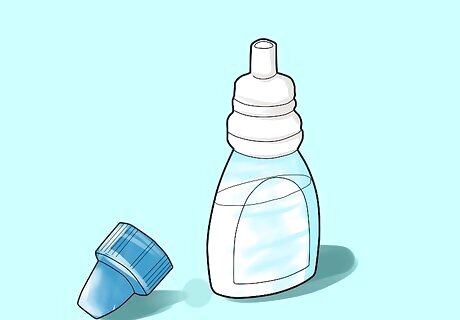
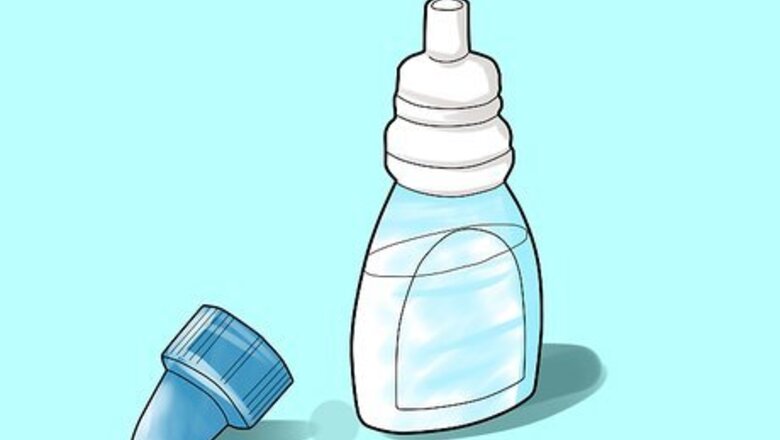
Use brake fluid to remove pen ink from the sheet of paper easily. Use a pipette/dropper to drop onto the precise area and rub with a clean cotton bud or swab.
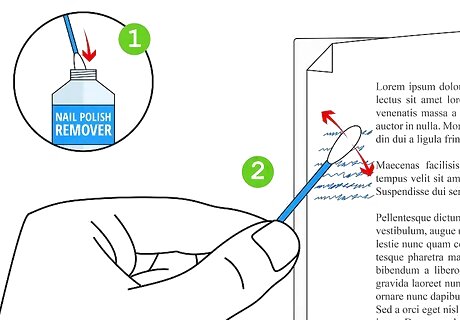
Use acetone to erase ink. Most nail polish remover is made of acetone, and this can be used to remove ink from paper. Apply a small amount of acetone to a cotton swab, and rub into the ink you're trying to erase. This works best on regular ballpoint pen ink. Blue ink is more easily erased than black ink.
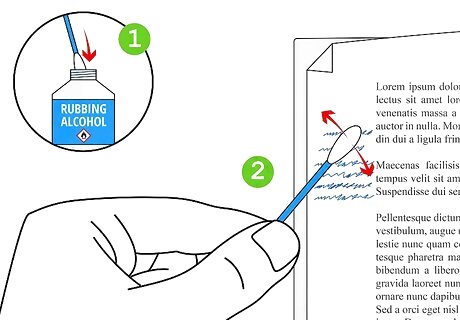
Try rubbing alcohol to erase ink. Isopropyl (rubbing) alcohol is commonly used to remove ink stains. So you can apply it to any paper you're trying to erase the ink from. If you only have a small amount of ink to erase, use a cotton swab. If you want to erase most of the ink from a page, soak the paper in a small washing tray for 5 minutes. Any brand of isopropyl alcohol works for this method. Avoid any rubbing alcohol that contains scents or dyes. Make sure you cover any area of the paper you don't want to erase.
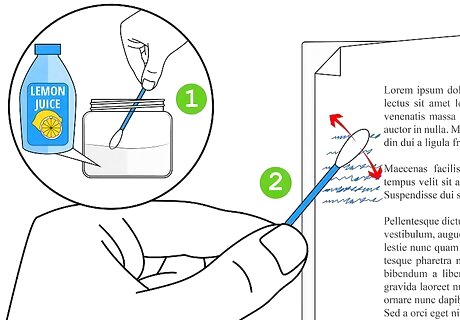
Apply lemon juice to your ink stain. Pour a small amount of lemon juice into an 8-oz jar. Dip a cotton swab into the lemon juice. Then, wipe the wet cotton gently across the inked paper you're trying to erase. The acid will dissolve the ink, but it also dissolves the paper. Be gentle, especially when erasing ink from fine paper. Heavy-weight paper will stand up to pen erasure more readily than light-weight paper.
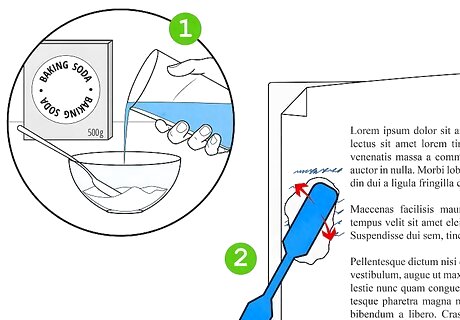
Mix baking soda and water to a thin paste. Mix it up in a small glass bowl for best results. Use a clean, white cotton cloth to dab your baking soda paste onto the inked paper. Gently rub the paste into the ink you'd like to erase. You might find an old toothbrush useful to carry the paste from the bowl to the page, or to rub it onto the ink. This works best if your toothbrush bristles are still relatively intact, not too frayed. Allow the paper to dry well. There's no need to rinse the baking soda off. The water will evaporate, and the baking soda will simply fall off the page.
Using Friction to Erase Ink
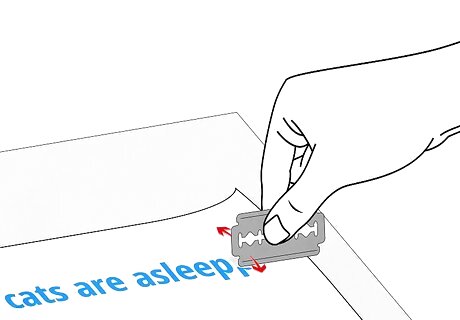
Use a simple blade to erase ink. This method works best for printed ink and use only when you need to remove only a few letters. Hold the blade vertical to the paper and rub gently. Do not press the blade very hard on paper or you get off layers of paper.
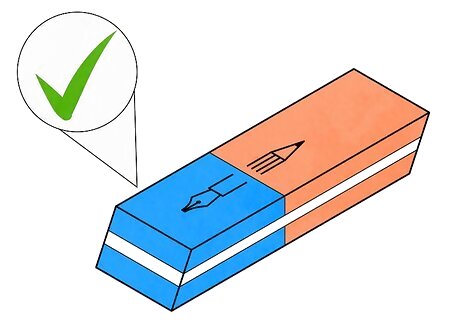
Use a special ink eraser. If you are using erasable ink, you can easily erase it with an ink eraser. Erasable ink is typically blue, not black, and will be identified as 'erasable' in its packaging. It's also often found like a pencil, with ink on one end and an eraser on the other. If you aren't sure whether or not your ink is erasable, try erasing it with an ink eraser to find out. Gum erasers and rubber erasers work best on pencil/graphite, and are not recommended for pen. It's possible to erase ink using a vinyl eraser, but be careful. This eraser is very rough and can easily rub away the paper itself along with the ink you're erasing.
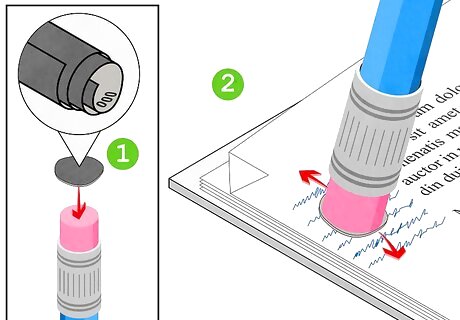
Sand ink off using sandpaper. Use a triple-ought (000) sandpaper and a small sanding block. If the ink removal requires you to manipulate the sandpaper more carefully than a small sanding block (or your fingers) will allow, cut off a small piece of the sandpaper and glue it to the eraser end of a pencil. Carefully rub the inky paper with your sandpaper using small lateral motions. Be careful not to press down too hard when rubbing the sandpaper to the inky surface. Blow gently across the page to remove any small pieces of grit, ink, or paper as you work to better see your progress.
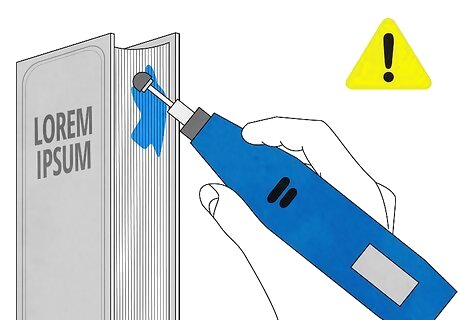
Use a fine-grit grinder to remove ink from paper. A grinder is basically a mechanical application of sandpaper surface that may be able to sand your paper more evenly and easily than you can do it by hand. A Dremel type mini grinder with a slightly rounded stone grinding head is recommended. Using a sander is particularly recommended for inky edges on books. A sander is often too rough for a paper's surface, unless the paper is quite strong.
Covering Ink Marks
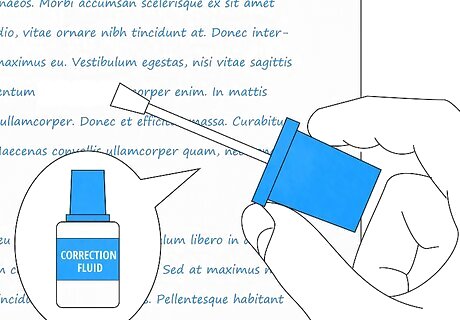
Apply correction fluid. Although correction fluid does not erase ink, it can cover ink as if it were erased. Correction fluid, often known by the brand names "Liquid Paper" or "Wite-Out", is a dense liquid, often white in color, that is intended to cover accidental marks or errors on paper. Correction fluid is commonly applied with a small, sponge-tipped applicator. Correction fluid may become dry, clogged or flaky. Make sure that your correction fluid is the proper consistency before applying. Correction fluid will be wet after applying. Make sure you don't touch the wet fluid to any other surface.
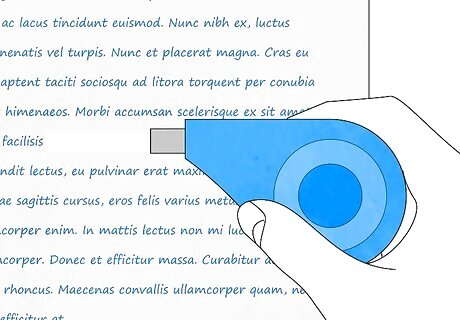
Cover ink with correction tape. If you need to erase ink in vertical or horizontal strips, correction tape might be best to cover your errors. One side of the tape is meant to mimic the appearance of paper, the other is adhesive and sticks to your original paper. Correction tape is usually white, but other colors are available to match your paper. You'll likely be able to see correction tape on your original page if you look closely. If you scan or copy a paper with correction tape on it, the reader may not be able to detect the correction tape.
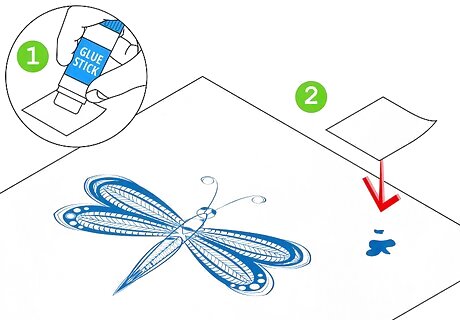
Cover ink spills or slips with paper. If you want to erase or change a section of an ink drawing, sometimes the easiest solution is to cover it with a small piece of paper. Find a blank paper that matches your original paper, and cut out a section large enough to cover the mistake. Glue the new paper over the mistake. Redraw your artwork or lettering on the restored surface. Make sure that the edges of the paper are pressed against the surface, not curled up or bent from the original surface. The careful observer will be able to discern your correction in the original, depending on how closely they are looking at it. If you want to copy or scan it from the original, it may be more difficult to notice your correction.
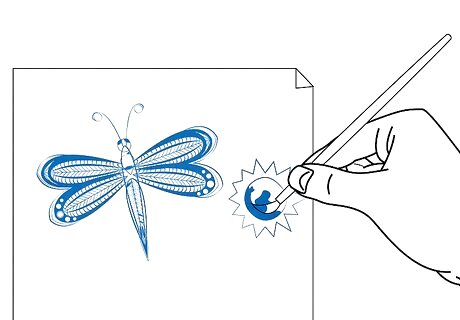
Camouflage your spilled ink. If you are working in pen and ink, and make a mistake or spill some ink, your first thought might be to erase the mistake. If none of the above methods are practical for your spilled ink, you might try camouflaging your error by adding elements to your artwork, such as background or color. Using opaque color over the ink can also hide the error. If you've accidentally drawn outside your original design, consider adding ornamentation to your design. If you do this will, it will look like you've intended to draw it this way from the beginning!
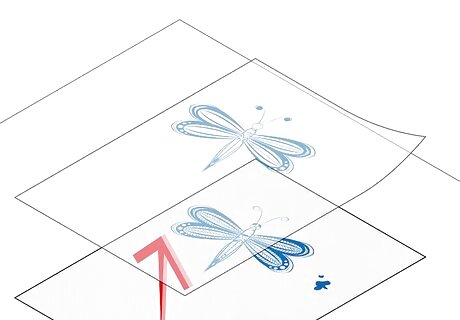
Trace the page and start again. Of course, this isn't erasing the ink, but it functions exactly the same as erasing an error would. If none of the above methods work for erasing ink from your page, lay a fresh page on top of your original. Trace the entire paper, leaving out the part you'd like to erase. Finish by making the correction on the new page. This method is intensive, but if you're working on a pen and ink artwork it may be the best way to go. Correcting your page this way results in a brand new page, as if the mistake never happened.






Comments
0 comment