
views
Combing the Beach for Sand Dollars

Shuffle your feet in the shallow water. It’s possible that a sand dollar can be buried just below the sand, which will make it difficult to spot right away. Stand where there is just a few inches of water and gently walk back and forth. Keep your feet close to the ground and move them in a shuffling motion. Watch to see if any sand dollars appear underneath the sand. If the water starts to get murky, you are moving your feet too fast. Slow down or you’ll lose visibility. You might stir up various types of sea life, such as crabs, while you shuffle your feet.
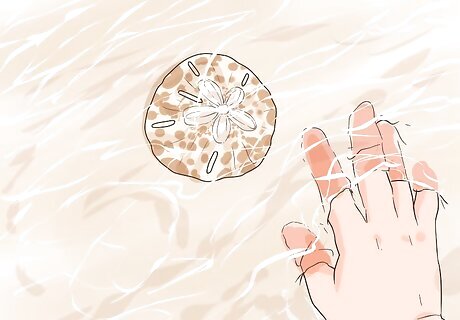
Look for circular depressions in the sand. Sometimes sand dollars get pushed high up into the sand dunes, far away from the waves. Walk around the base of the dunes and watch for any spots in the sand that appear slightly raised or lowered with a circle shape. Use your hands to dig down into these spots. You may just find a stack of sea dollars underneath. In some cases, the sand dollar may be buried 3 or more inches deep. Use a shovel to unearth it.
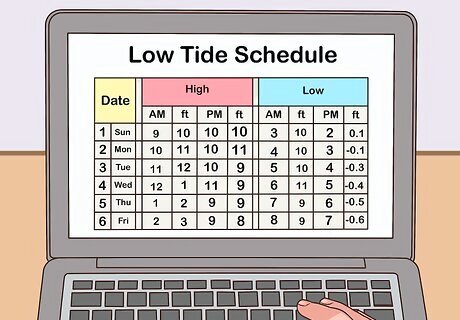
Look at low tide. Go online to the local beach authority’s website or grab a local newspaper. Find the listing of low and high tides times for the dates that you plan to visit the beach. Your best bet for finding sand dollars are in the minutes directly before and after low tide. This is when the ocean pulls back and extends the beach area. For the ultimate low tide times, hit a beach when the calendar shows a full or new moon. Most people prefer looking for shells during morning low tides. However, some argue that afternoon low tides reveal more shells if the winds pick up.

Hit more secluded areas. When the beaches get crowded, people tend to drive over, step on, or otherwise accidentally bury or damage shells. If you get up early and catch the low tide, you’ll have a better chance at getting first dibs on any available shells. This is especially important when searching for sand dollars, as they are easily broken.
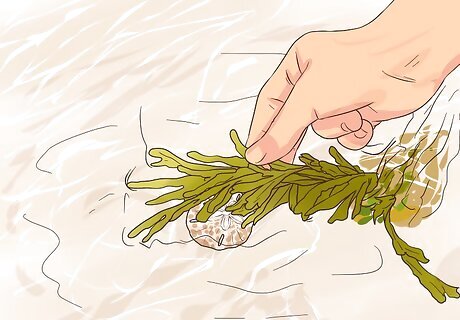
Sift through any washed-up seaweed. It’s tempting to overlook the gnarly bunches of seaweed that wash up on most beaches. However, these sea grasses can actually carry and protect a sand dollar from the water to the beach. Break apart the seaweed with your hands. Sift through it until you notice any shells caught up within it. This is an especially good tactic to use on a crowded beach, as most people will overlook piles of seaweed when searching for shells.

Scour the beach after a storm. A day or two after a hurricane or nor’easter hits, go down to the beach and look for intact sand dollars. Storms have a tendency to push large piles of seashells onto beaches. As the waves calm down post-storm, shellers can take advantage of this opportunity to find sizeable sand dollars. Make sure to be careful and watch for other debris that may have washed up during the course of the storm. Make sure that you do this safely, smartly, and while obeying all local and national authorities and warnings.

Go to a shelling hot spot. Some beaches are widely known for the numbers or variety of shells that wash ashore. You can find these places by typing in your location or vacation destination and the phrase “shelling hot spot.” Many of these beaches have a deep ocean “drop-off” fairly near to the shore. This results in larger shells being pushed on to the beach during low tide. For example, Sanibel Island in the Gulf of Mexico is known for exceptional shelling.
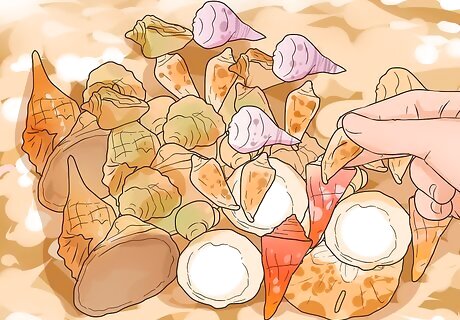
Sift through piles of shells. If you see a collection of shells sitting on the beach, squat down beside it and sift through them for a bit. It’s possible that a sand dollar might be mixed within other generic or broken shells. If you find pieces of shattered sand dollars in the pile, then keep looking for a whole one.
Taking Care When Shelling

Follow any laws or restrictions. Most beaches have a thorough set of guidelines regarding what you can and can’t take away from that location. Look for posted signs listing the rules. Or, ask a local official, such as a park ranger, about sand dollar collection policies. You may be limited to certain number of sand dollar souvenirs. Or, you may have to collect from the beach alone, not the ocean floor. For example, the Department of Wildlife is responsible for many of the regulations followed on U.S. beaches. You can check their official website for additional details. Collecting any natural produce from the beach, including sand dollars, is illegal in the UK, as outlined by the Coast Protection Act 1949.
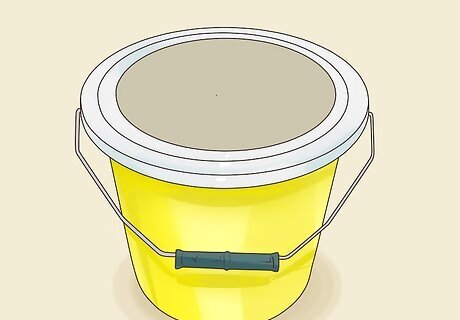
Bring a collection bucket. As you walk the beach and find sand dollars, place them in a small, plastic bucket. It’s even better if the bucket has tiny holes in the bottom to drain away any excess sea water and sand. Some of the best seashell collection buckets come as a part of a kid’s sandcastle set.
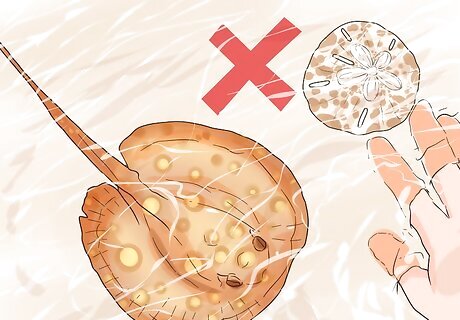
Respect the local wildlife. Your goal should be to leave the beach in the same condition in which you found it and that goes for the animals, too. If you dig deep holes searching for buried sand dollars, fill them in before you leave. If you notice a sand dollar buried near a stingray, leave it be! Stingrays like to partially bury themselves in the sand in shallow water. If you reach down to grab a sand dollar and startle a stingray, it might lash out with its barbed tail. If you get the urge to broaden your shell search, don’t go for the shells that are currently occupied by hermit crabs or other wildlife.
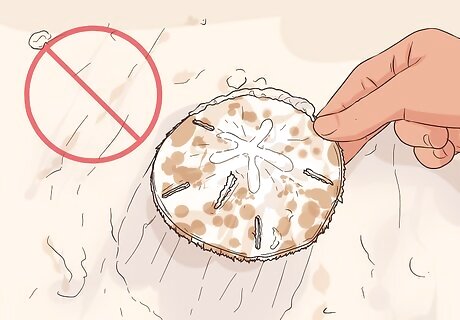
Leave live sand dollars alone. There are a few ways that you can tell if a sand dollar is still alive. If the spines on the sides of the dollar are still moving around, this means it is alive. Observe the color of the sand dollar. A live sand dollar will be colorful, ranging from brown to purple. A dead sand dollar will be white and bleached by the sun. Immediately place a live sand dollar back in the water and leave it be. If you handle a live sand dollar, it may coat your hand with a yellow substance called echinochrome. This is a natural and harmless secretion that indicates that the sand dollar is still breathing and is very much alive.
Preserving Your Sand Dollars
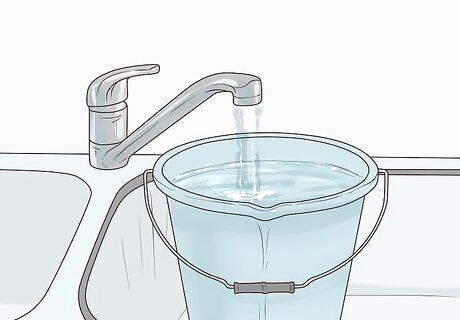
Rinse them in tap water. Place your sand dollars in a bucket or container with holes at the bottom. Add tap water and let it drain out. Repeat this process until the water runs clear out of the bucket and your sand dollars are cleaned off. If you try to rinse them off by hand, it’s more likely that they will break under the pressure. Instead, keep them in the bucket and be very gentle as you let the water drain out.
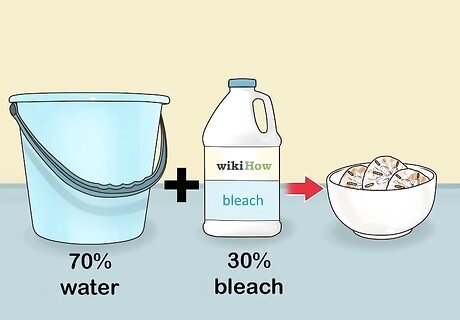
Soak them in a bleach solution. Get a bowl and mix together 70% water and 30% bleach. Soak each sand dollar in this solution for a maximum of 5 minutes. Remove the sand dollar, place it on a clean towel, and allow it to fully dry. This step is only necessary if you’d like your sand dollars to be even whiter than they currently are. Don’t leave a sand dollar in the solution for longer than 5 minutes or it will start to break apart due to the chemicals.
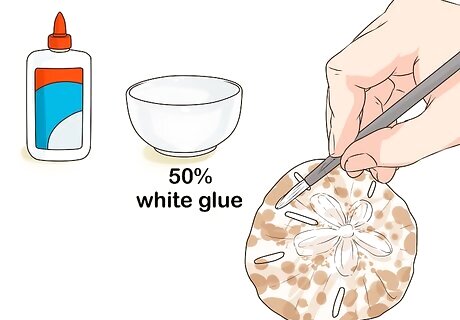
Paint them with a glue solution. In a fresh bowl, make a solution of 50% water and 50% white glue. Use a paint brush to apply this solution to one side of a clean, dry sand dollar. Place the sand dollar on a piece of wax paper and allow it to dry. Repeat the process on the other side of the dollar.




Comments
0 comment