views
- Buy a gold plating kit. Set up your workspace and materials according to the kit's instructions.
- Prep the item by using the kit's cleaning solution. If you don't have the solution, buff the item with a household degreaser and rinse it off with water.
- Coat the item with an activating solution and rinse with distilled water. Then, coat the item with a plating solution and rinse again with distilled water.
Purchasing a Gold Plating Kit
Choose the metal item you plan to plate. This can be a piece of jewelry, a clock part, decorative hardware, a car emblem, etc. The item you want to plate will determine the type of kit you should purchase. Some items such as large pieces may require a 'Brush Plating Kit', whereas other small items such as jewelry should be done with an "Immersion Plating Kit". An internet search of those terms will lead you to high quality equipment manufacturers. Most gold plated jewelry is made with a silver base, but other metals, such as copper or aluminum, can be gold plated as well. Silver and gold tend to diffuse into each other, which can cause a plated piece to become dull or tarnished looking as the gold plating wears. Layering the silver with copper first can create longer-lasting luster because it's not as reactive to gold.
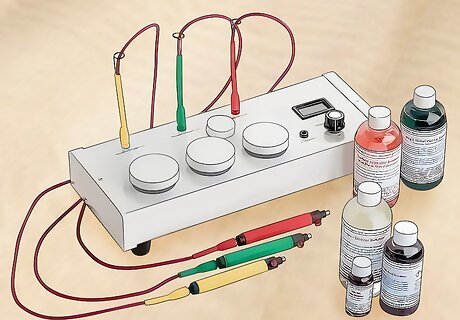
Purchase your gold plating kit. Now that you know what you want to plate, you can choose the correct kit for the job. If you’re still not sure, try contacting a gold plating service or kit manufacturer about which kit is right for you to use. The average gold plating kit will include a liquid gold solution, an electrical supply, and a plating wand or brush that links to the power supply and directs where the gold is bonded. An all-inclusive kit is ideal; due to the nature of gold plating, you may need other solutions or accessories depending on what metal or item you are working on. Gold plating solutions regularly come in 14-karat, 18-karat, or 24-karat gold. The color of the finished product may vary depending on the karat levels. Colour may also vary when metal alloys, such as copper or silver, are added to the plating solution.
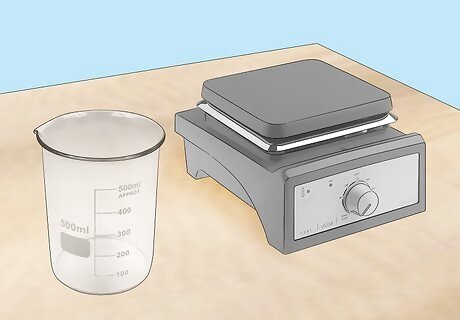
Gather all of the necessary materials for the process. While your plating kit will come with most of the necessary materials, it might not come with everything. Some plating solutions need to reach a certain temperature for the best results, for instance, so a hot plate and heat-resistant beakers may be needed. You will additionally need an electrical current. If your kit does not come with one, then a twelve-amp rectifier with variable amp and voltage controls will do. Finally, you will also need distilled water.
Preparing Your Gold Plating Kit
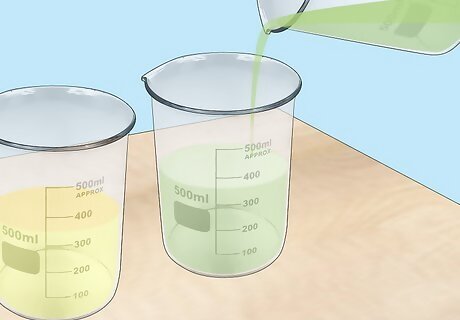
Set up your beakers and solutions. In addition to the actual plating solution, your kit will come with an activating solution. These solutions do not go into the same beaker. Instead, set them up next to one another, so you can easily move the item to be plated from the activating solution to the distilled water to the plating solution when the time comes without the risk of introducing contaminants.
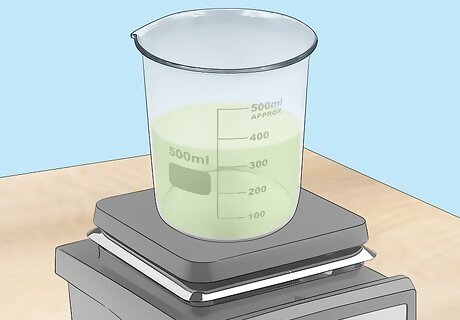
Start heating your solutions. The solutions will not need constant heat, but they will need to be at a certain temperature when you actually plate the item, so start heating them early in the process. The exact temperatures to which you heat your solutions will depend upon the specifics of the kit you purchased, such as the karat count. Follow the directions closely.
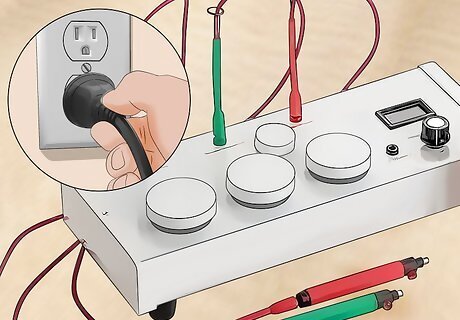
Set up your power supply. Whether you have your own or your kit came with one, set up your current source to the guidelines specified in your specific kit. Purchasing a start-up kit designed for gold plating is optimal. However, If your kit did not come with a source for the electrical current, do not worry because you can still set up your own. The process requires a DC power source, so you may need to purchase a rectifier in order to change an AC power source (such as a home outlet) to DC. The easiest solution is to purchase a variable power supply. For small home projects such as gold plating a coin or a pen, you can purchase an inexpensive variable power supply, which makes setting up your power source as easy as plugging it in, clipping your kit's plating brush to the positive output, and setting the voltage dial to your kit's specifications. For most kits, the current is going to be somewhere around three volts, though some may go as high as twelve volts.
Cleaning the Surface to Be Plated
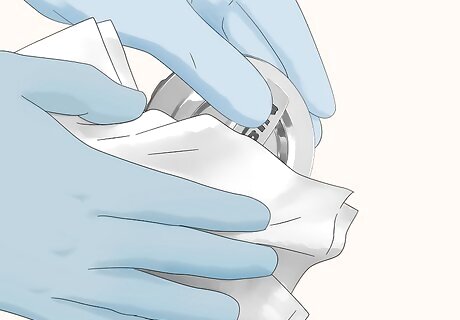
Clean the surface of the item you will be gold plating. For the best results, the item to be plated needs a deep cleaning before you begin the bonding process. Do not simply rinse the object. Any traces of oils or grease must also be removed from the object. Failure to properly clean the item will prevent deposition onto your item. Wear cotton gloves to avoid leaving skin oils or other deposit on the item.
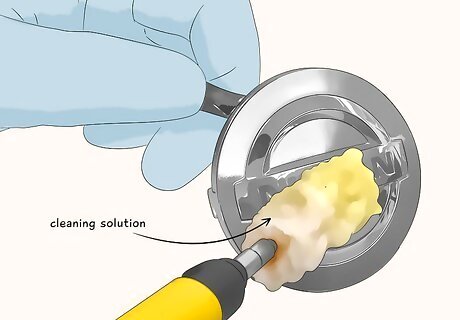
Use the cleaning solution in your kit. Some kits include a cleaning solution. Depending on your kit, this solution can be anything from a polish to a full on acidic solution. Handle the solutions with care and always use gloves. If your kit does not come with a cleaning solution, you can use a household degreaser and buff the item yourself. Rinse it thoroughly in clean water after. Be sure to remove all fingerprints, smears or any other residue. The surface of your item should be completely smooth.
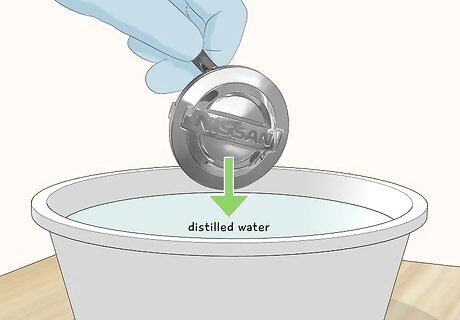
Test the cleanliness of your item by sinking it into distilled water. Study how the liquid leaves the surface as you remove it from the water. If the water slides smoothly from the piece without beading or forming small droplets, it is clean.
Plating the Surface
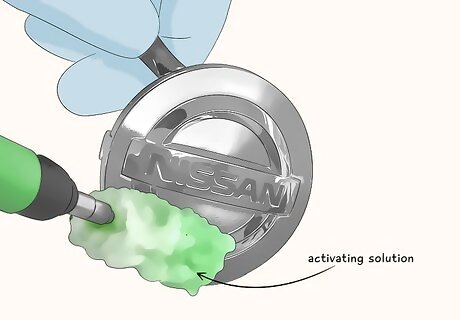
Coat your item with the activating solution. With the brush in your kit connected to the current source, coat your clean item with the activating solution. The tip of the brush is actually wrapped around the anode, which both coats and ionizes your item in preparation for the actual plating solution. Alternatively, you can dip your item into the beaker with the activating solution and fully submerge it to coat it. However, the brush must also be in the activating solution with the item since the brush is also the anode helping to charge the surface of the item.
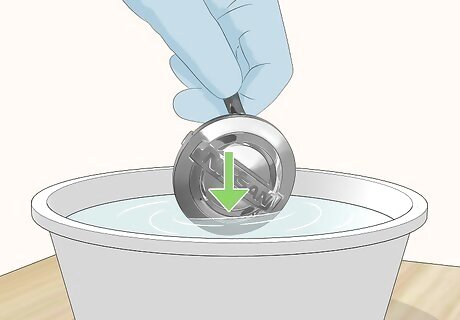
Rinse your item in the distilled water. The plating solution will work better on your item if any excess activating solution has been rinsed from your item. A quick dunk is sufficient.
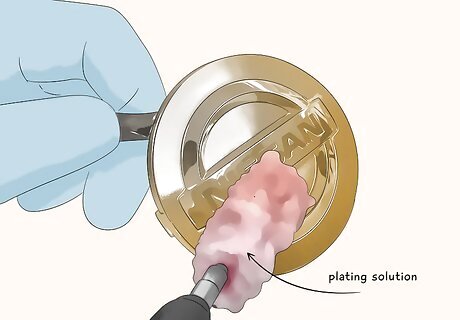
Coat your item with the plating solution. Just as with the activating solution, you can either use the separate plating brush to coat your item, or you can submerge the item in the plating solution. The electrical current will bond the oppositely charged gold particles to the item. Your kit will recommend several passes with the wand. If submerging the item, the amount of time will vary by object, but you will likely need to leave it in the solution for ten-to-twenty seconds. You will also want to rotate the item halfway through to give each side equal time directly facing the anode for even and equal deposition.
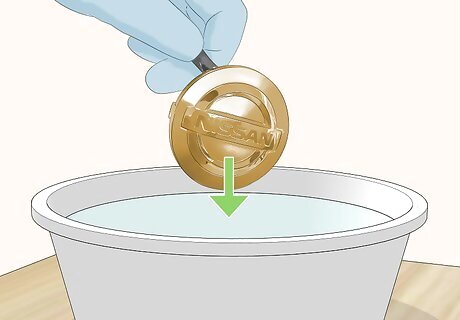
Rinse your plated piece once more in the distilled water. This will remove any excess plating solution, and there is minimal drying time. The plated gold will be hard and dry almost instantly.




Comments
0 comment