views
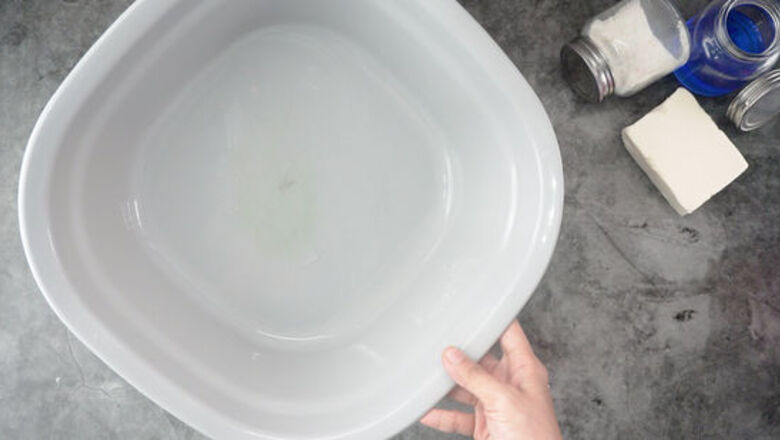
Choose a small, clean basin for your hand-washing.
Unless you’re washing an entire load of laundry, don’t use your bathtub. Instead, use your kitchen or bathroom sink, a plastic tub, or a utility bucket. Choose something that’s deep but with a relatively small diameter so you don’t need to use too much water. Whichever sink or basin you pick, clean it out first so as to not soil your clothes. If you have a double-basin sink, you can use 1 side for the soapy water and the other side for the rinse water.
Fill up the basin with warm to cool water.
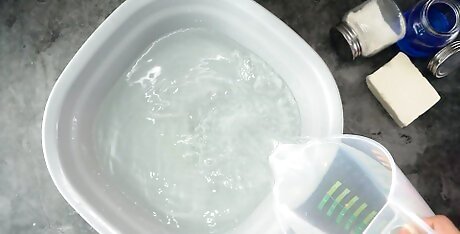
Check the garment care label to see which temperature is recommended. If the label indicates cold water, or if you want to avoid any possible shrinkage, fill up the basin with cool, but not frigid, water. If the label recommends warm or hot water, use water that’s comfortable to the touch; it shouldn’t be boiling. When in doubt, opt for lukewarm water. To wash 1 shirt, use about 1 to 2 US gal (3.8 to 7.6 L) of water. Make sure the water temperature feels comfortable against your hands. If it’s too cold or too hot, you won’t be able to wash your shirt effectively.
Add about 1 US tbsp (15 mL) of detergent to the water.
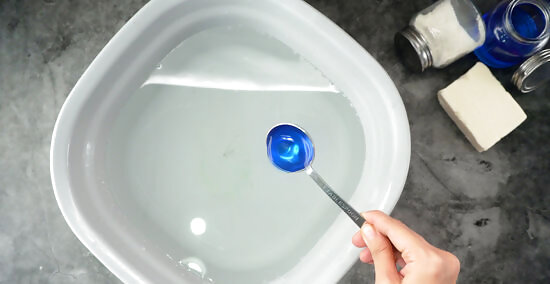
Choose a mild liquid or powder laundry detergent. Opt for a gentle liquid hand soap or mild dishwashing liquid if you don’t have detergent on hand. Or, if you prefer, try a specialty detergent designed for use with delicate clothes or wool, depending on the type of garment you’re laundering. Slosh around the detergent with your hands to mix it in with the water. Add a bleach alternative product along with the detergent to help brighten white shirts. To eliminate perspiration odors from wool sweaters, add ⁄4 c (180 mL) of distilled white vinegar to the detergent.
Pretreat stains with a liquid stain remover.
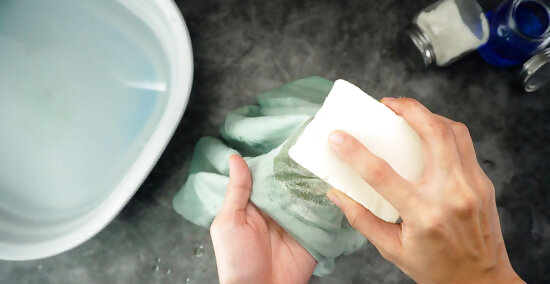
You could also use a stain-removing laundry bar. To treat stains before hand-washing a shirt, apply a spray-on or pen-style stain remover to the stained area. Or moisten a stain-removing laundry bar and rub it onto the affected area. Gently rub the surface of the fabric to agitate the fibers and scrub away at the stain. Allow the stain-removing solution to sit on the fabric for at least 10 minutes, or up to a few hours. Different types of stains may require different stain-removal tactics. Do a little research first to make sure you’re using the most effective methods to remove the stain, whether it’s a result of a leaky pen, mud, self-tanner, makeup, or something else.
Swirl the shirt around in the sudsy water.
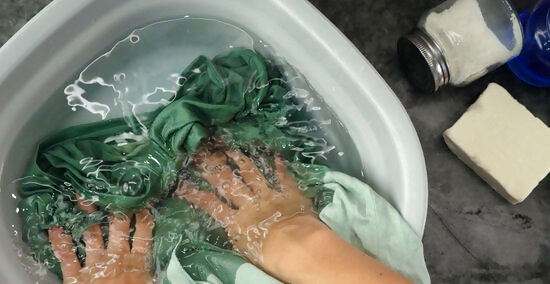
Move it back and forth to get rid of any dirt. Press it down below the surface of the water so it gets completely saturated. Agitate it gently with your hands so that the detergent can get in and around all parts of the fabric. Try swirling, squeezing, and turning the garment around in the water, paying extra attention to the under arms region. Refrain from scrubbing vigorously or wringing out the garment as you might damage the fabric.
Soak the shirt in the water for at least 10-15 minutes.
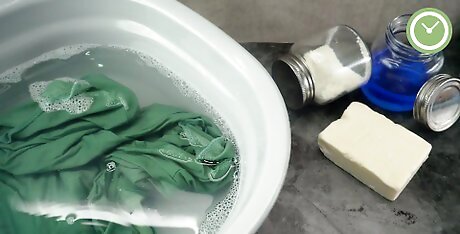
The soaking time will depend on the fabric and amount of dirt, but it is important to let the cleaning agent work its magic. Use a short soak time of about 10 to 15 minutes for delicate blouses and fabrics like silk and cashmere. For especially dirty garments, leave them to soak for at least 1 hour. To treat stains at this stage, try gently scrubbing stains with a stain-removing laundry bar before leaving it to soak. Then allow the shirt to soak for at least 30 minutes.
Drain the basin and refill it with cool water.
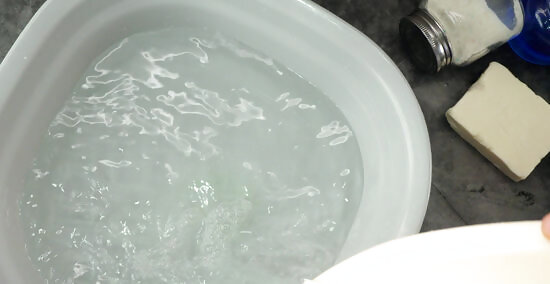
The fresh water will help rinse away the remaining soap and dirt. Lift the shirt out of the water and give it a gentle squeeze to release some of the moisture. Pour out or drain the basin to remove the dirty, discolored water. Rinse off any soapy residue in the basin or wipe it off with a towel. Refill the basin with the same amount of fresh, cold water.
Submerge the shirt in the cool water for an initial rinse.
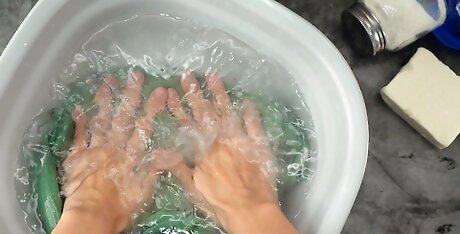
Agitate the shirt to make sure all the soap is out. Swirl it around and slosh it up and down to release the soapy residue from the fabric. If you notice the new water gets discolored as well, it means the shirt hasn’t been completely rinsed out yet. You’ll need to do an additional rinse.
Tip out the dirty rinse water from the basin.

Pour out the cool rinse water out of your basin into a tub or sink. Or, if you’re using a kitchen or bathroom sink, drain out the water. Once again, use running water or a towel to eliminate any sudsy residue from the basin. If you’d like, complete 1 or 2 more rinses in the basin, using fresh water each time.
Rinse out all of the soap under cool running water.
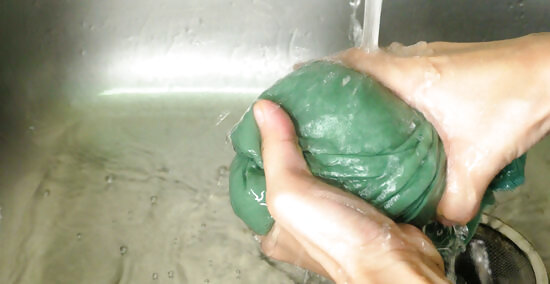
Run cold water out of the faucet and hold the shirt beneath it. Rotate the shirt around under the running water so that each part gets rinsed off. Squeeze the garment gently to release the rest of the detergent. Once the shirt stops lathering and the water runs clear and soap-free, you can stop rinsing it out. To make sure the soap is entirely gone, squeeze the fabric for signs of slick soap or lathering.
Squeeze the water out of the shirt using your hands.
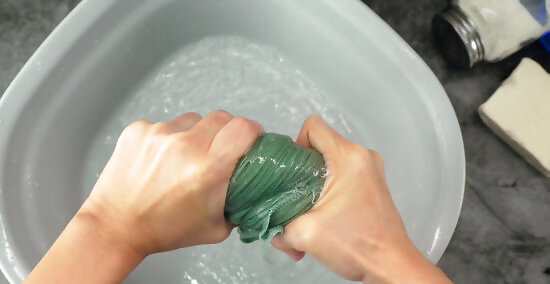
Once the shirt has been thoroughly rinsed, it will be sopping wet. Hold it over the basin and use your hands to gently squeeze out as much water as possible. Fold the garment into a smaller bundle and press down in it to release some of the moisture. Avoid vigorously wringing out your shirt as you’ll wrinkle it and may pull it out of shape.
Roll the shirt inside a clean, dry towel to absorb more of the moisture.
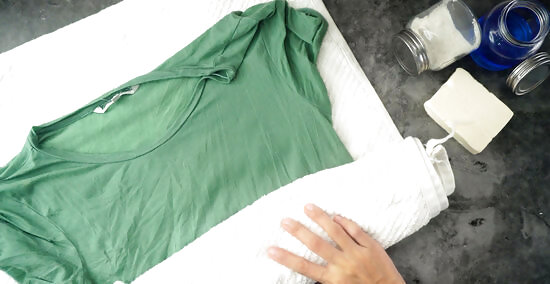
The towel will gently soak up the excess water. After squeezing the water out gently, lay your shirt out on a clean, dry towel. Roll up the towel, with the shirt inside, and press down on it. The towel will absorb much of the remaining moisture. Get your shirt to a place where it’s still damp, but dry enough that it stops dripping. Repeat the drying process with another clean, dry towel if necessary.
Hang up a woven shirt to air-dry it.
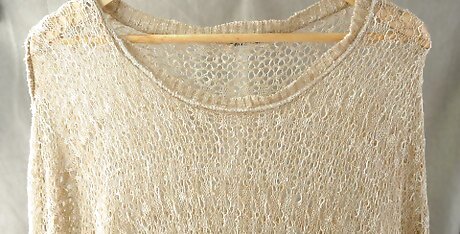
Use a plastic or wooden clothes hanger. Be sure to adjust the shirt so that the sides of the hanger don’t push out the sleeve caps. Suspend the hanger from a shower curtain rod, or any other spot where air can flow across both sides of the garment. Lay a towel beneath the hanging garment to catch any drips, and allow the shirt to air-dry overnight. Avoid using a wire hanger as the metal may rust and crease your clothes. Feel free to clip your clothing up to an outdoor clothesline. Just make sure you turn brightly-colored shirts inside-out so that they don’t get sun bleached. If you need your shirt to dry more quickly, direct a fan towards it. Try ironing cotton dress shirts while they’re still slightly damp to achieve a crisp finish.
Lay out a knit top on a towel to dry it without stretching.
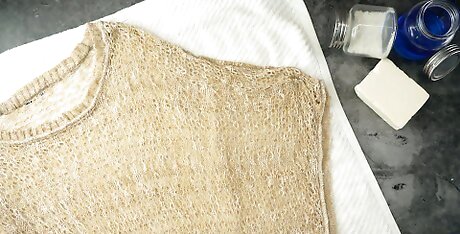
Spread out a clean, dry towel on a flat-lying drying rack, or on the top of a flat surface that can accommodate moisture. Unfold the damp shirt and set it out onto the towel. Adjust the sleeves and body of the garment until it’s in the correct shape, then smooth out any creases. Allow the shirt to dry in this position overnight. This technique works well for knit sweaters, jersey tops, t-shirts, and sweatshirts. Avoid hanging up these up to dry as they’re likely to stretch out. You may also lay out woven shirts on a towel or drying rack. Use a flat-lying rack instead of draping your shirt over the bars to avoid creasing the fabric. Don’t lay out a damp shirt to dry on a nice wood tabletop as the wood might warp due to the moisture.


Comments
0 comment