
views
- SSL certificates validate that secure websites (with the "HTTPS" protocol) are actually encrypted and secure.
- You can request an SSL by generating a Certificate Signing Request (CSR) and submitting it to a Certificate Authority, such as DigiCert, Symantec, or GlobalSign.
- The way you install an SSL certificate is different from one server type to another.
Before Obtaining an SSL

Make sure your website information is correct. Before you can request an SSL from a Certificate Authority, you need to make sure your website has a unique IP address. You will also need to make sure your WHOIS record is up-to-date and accurate. If you are requesting an SSL for a business website, you may be required to provide government registration of your business. Make sure you have all this information and it is correct.
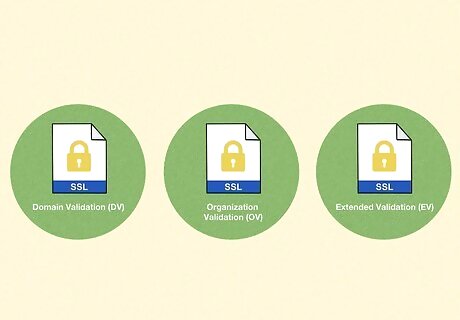
Decide on what validation level you need. SSL certificates have three validation levels. They are as follows: Domain Validation (DV): This is the cheapest form of validation. It only certifies that the company has control over the domain. This is good for small businesses or blogs that don't exchange private information. Organization Validation (OV): THis is a medium level organization. It verifies that the company has control over the domain and additional company details, such as the name and address. This is good for companies that have websites with forms and lead-capture features. Extended Validation (EV): This is the highest and most expensive level of validation. This verifies company control over the domain, as well as location and legal existence. This is good if your website is handling sensitive information, such as financial and credit card information.
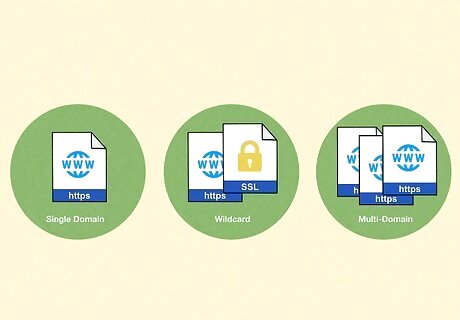
Decide what type of certification you need. There are different SSL certificates you can request depending on how many domains and subdomains you need to secure. The following are the different types of SSL certificates you can request: Single Domain: This type of certificate can only validate a single domain. It cannot be used to validate any additional domains or subdomains. Wildcard: Wildcard certificates can provide validation for a single domain as well as any subdomains under that domain. It cannot provide validation for additional domains. Multi-Domain: This type of SSL can provide validation for up to 100 domains using a single SSL certificate.

Choose a certificate authority. Many domain providers (such as GoDaddy) can provide SSL certificates on their own. You can also request an SSL certificate from a different Certificate Authority, such as Comodo, Symantec, DigiCert, GlobalSign, and more.
Using Microsoft Internet Information Services (IIS)
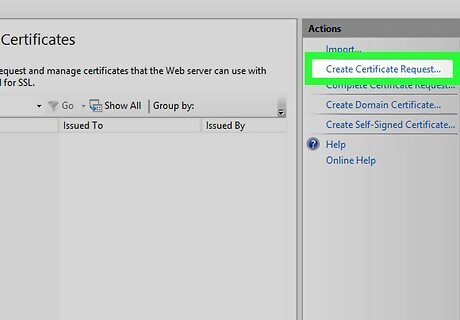
Generate a Certificate Signing Request (CSR). Before you can purchase and install an SSL certificate, you will need to generate a CSR on your server. This file contains your server and public key information and is required to generate the private key. You can create a CSR in IIS 8 with just a few clicks of the mouse: Open the Server Manager in the Windows Start menu. Click Tools and select Internet Information Services (IIS) Manager. Select your server name in the "Connections" panel to the left. Open the Server Certificates tool. Click the Create Certificate Request link in the upper-right corner, under the Actions list. Fill in the information in the Request Certificate wizard. You will need to enter your two-digit country code, the state or province, city or town name, full company name, section name (i.e. IT or Marketing), and the common name (typically the domain name). Leave the “Cryptographic service provider” set to default. Set “Bit length” to “2048”. Name the certificate request file. The file name doesn't matter, as long as you can find it among your files.
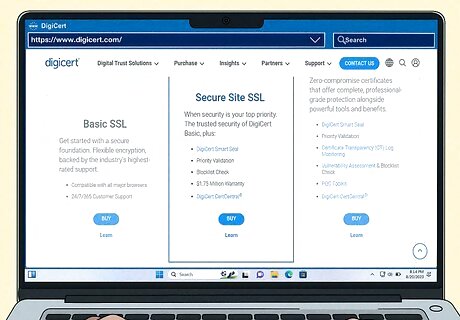
Order your SSL certificate. There are several services online that offer SSL certificates. Make sure to only order from a reputable service, since you and your customer’s security is at stake. Popular services include DigiCert, Symantec, GlobalSign, and more. The best service for you will vary depending on your needs (multiple certificates, enterprise solutions, etc.). You will need to upload your CSR file to the certificate service when you order it. This will be used to generate the certificate for your server. Some providers will have you copy the contents of the CSR file, while others will have you upload the file itself.
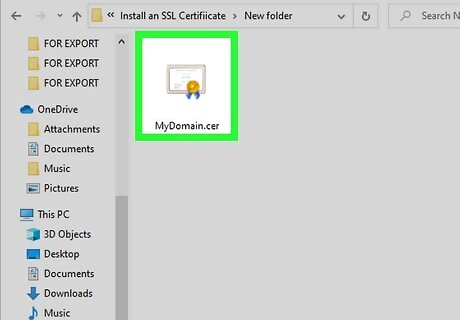
Download your certificates. You will need to download the Intermediate Certificates from the service that you purchased your certificates from. You will receive your Primary Certificate via email or through the customer area of the website. Rename the Primary Certificate to “yoursitename.cer”.
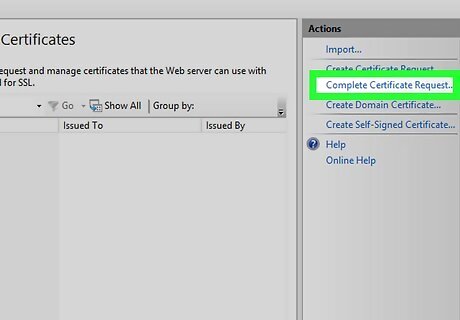
Open the Server Certificates tool in IIS again. From here, click the Complete Certificate Request link underneath the “Create Certificate Request” link you clicked to generate a CSR.
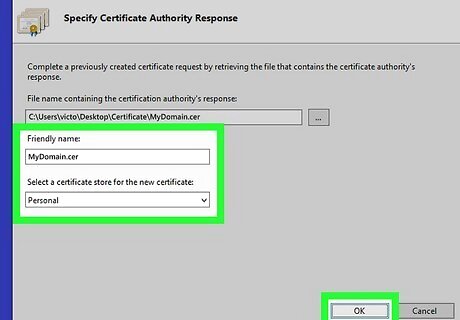
Browse for the certificate file. Once you’ve located it on your computer, you’ll need to apply a “Friendly name” to it, which is the quick name for identifying the certificate on your server. Store the certificate in the “Personal” store. Click OK to install the certificate. Your certificate should appear on the list. If it does not, ensure that you are using the same server that you generated the CSR on.
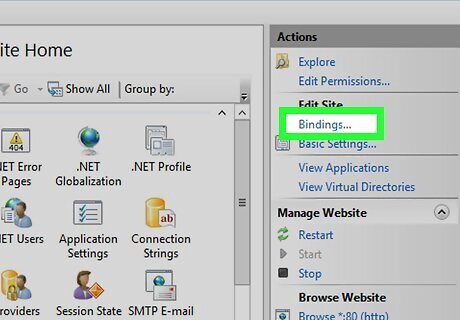
Bind the certificate to your website. Now that the certificate has been installed, you’ll need to bind it to the website that you want to protect. Expand the “Sites” folder in the Connections list, and then click on the website. Click the Bindings link in the Actions list. Click the Add button in the Site Bindings window that appears. Select “https” from the “Type” dropdown menu, and select your installed certificate from the “SSL certificate” dropdown menu. Select "All Unassigned" in the drop-down menu below "IP Address." Enter "443" below "Port." Select your certificate below "SSL Certificate" (i.e. "yourdomain.com"). Press OK and then Close.
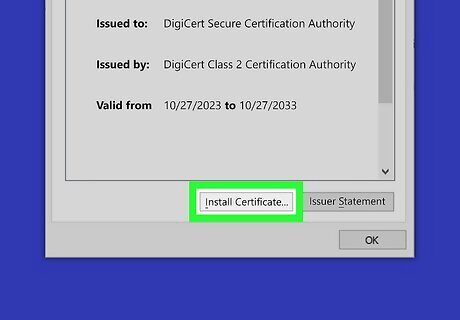
Install the Intermediate Certificates. Find the Intermediate Certificates that you downloaded from the certificate provider. Some providers provide more than one certificate that needs to be installed, while others only have one. Copy these certificates to a dedicated folder on your server. Once the certificates have been copied to the server, double-click it to open the Certificate Details. Click the General tab. Click the “Install Certificate” button at the bottom of the window. Select “Place all certificates in the following store” and then browse for the Local store. It can be found by checking the “Show physical stores” box, selecting Intermediate Certificates, and then clicking Local Computer.
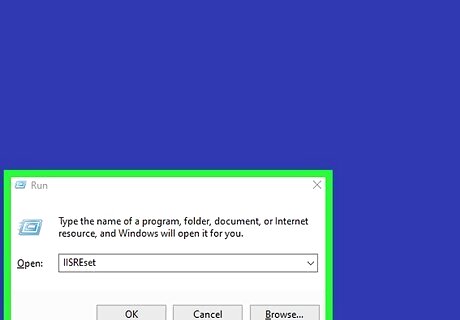
Restart IIS. In order to start distributing certificates, you’ll need to restart your IIS server. To restart IIS, click Start and then select Run. Type “IISREset” and then press Enter. The Command Prompt will appear and display the status of the IIS restart.
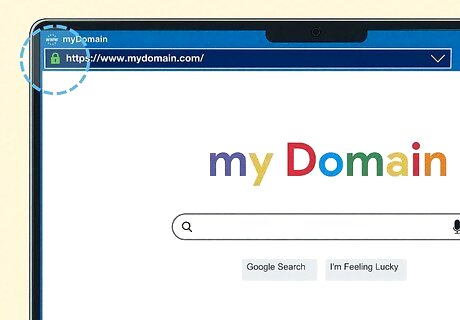
Test your certificate. Use various web browsers to test that your certificate is working properly. Connect to your website using “https://” to force the SSL connection. You should see the padlock icon in your address bar, usually with a green background.
Using Apache
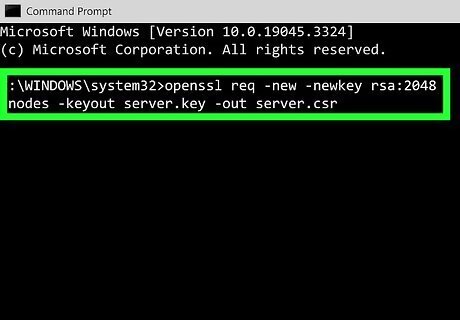
Generate a Certificate Signing Request (CSR). Before you can purchase and install an SSL certificate, you will need to generate a CSR on your server. This file contains your server and public key information and is required to generate the private key. You can generate a CSR directly from the Apache command line: Start the OpenSSL utility. This can usually be found at /usr/local/ssl/bin/ Create a key pair. Be sure to replace "server" with your server name. Enter the following by entering the following command: openssl req -new -newkey rsa:2048 -nodes -keyout server.key -out server.csr Create a passphrase. This passphrase will need to be entered whenever you interact with your keys. Start the CSR generation process. Enter the following command when prompted to create the CSR file: openssl req –new –key www.mydomain.com.key –out www.mydomain.com.csr Fill out the requested information. You will need to enter your two-digit country code, the state or province, city or town name, full company name, section name (i.e. IT or Marketing), and the common name (typically the domain name). Create the CSR file. Once the information has been entered, run the following command to generate the CSR file on your server: openssl req -noout -text -in www.mydomain.com.csr
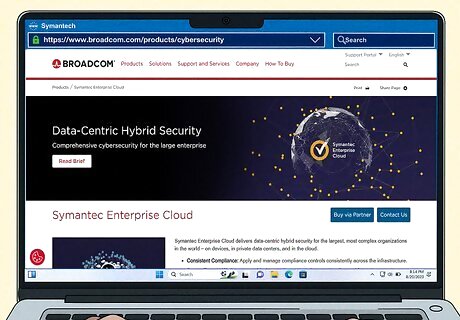
Order your SSL certificate. There are several services online that offer SSL certificates. Make sure to only order from a reputable service, since you and your customer’s security is at stake. Popular services include DigiCert, Symantec, GlobalSign, and more. The best service for you will vary depending on your needs (multiple certificates, enterprise solutions, etc.). You will need to upload your CSR file to the certificate service when you order it. This will be used to generate the certificate for your server.
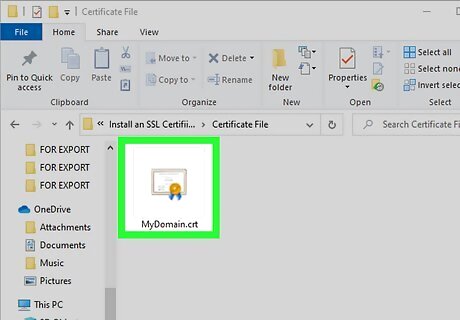
Download your certificates. You will need to download the Intermediate Certificates from the service that you purchased your certificates from. You will receive your Primary Certificate via email or through the customer area of the website. Your key should look similar to this: -----BEGIN CERTIFICATE----- [Encoded Certificate] -----END CERTIFICATE----- If the certificates are in a text file, you will need to change it to a .CRT file before uploading it Check the keys that you download. There should be 5 dashes “-” on either side of the BEGIN CERTIFICATE and END CERTIFICATE lines. Also, ensure that there are no extra spaces or line breaks inserted into the key.
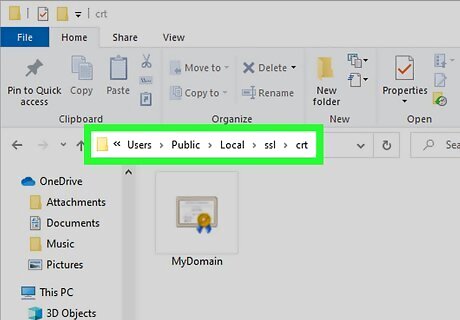
Upload the certificates to your server. The certificates should be put in a folder dedicated to certificates and key files. An example location would be /usr/local/ssl/crt/. All of your certificates need to be in the same folder.
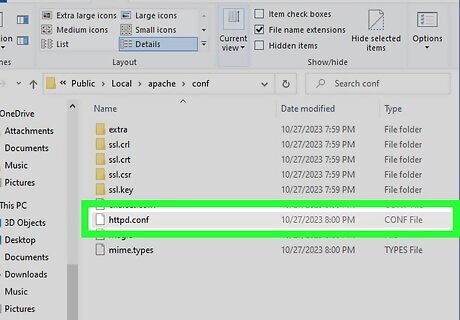
Open the “httpd.conf” file in a text editor. Some versions of Apache have an “ssl.conf” file for the SSL certificates. Only edit one of the two if you have both. Add the following lines to the Virtual Host section: SSLCertificateFile /usr/local/ssl/crt/primary.crt SSLCertificateKeyFile /usr/local/ssl/private/private.key SSLCertificateChainFile /usr/local/ssl/crt/intermediate.crt Save the changes to the file once you are finished. Re-upload the file if necessary.
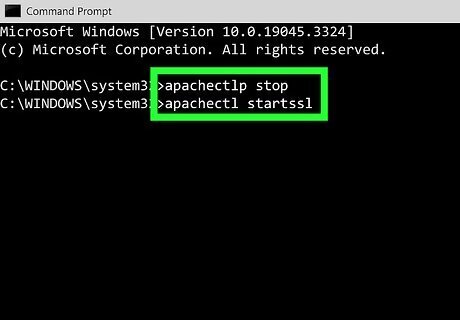
Restart your server. Once the file has been changed, you can start using your SSL certificate by restarting your server. Most versions can be restarted by entering the following commands: apachectlp stop apachectl startssl
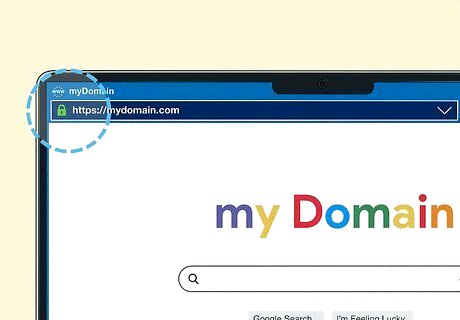
Test your certificate. Use various web browsers to test that your certificate is working properly. Connect to your website using “https://” to force the SSL connection. You should see the padlock icon in your address bar, usually with a green background.
Using Microsoft Exchange
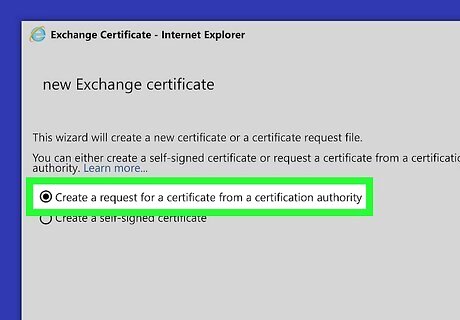
Generate a Certificate Signing Request (CSR). Before you can purchase and install an SSL certificate, you will need to generate a CSR on your server. This file contains your server and public key information, and is required to generate the private key. Open a web browser and enter the URL of your server. Enter your domain username and password and click Sign In. Click Servers in the EAC side bar menu. Then click Certificates in the menu at the top. Select your server in the "Select Server" drop-down menu. Then click the plus (+) symbol. Click Create a request for a certificate from a certification authority and click Next. Enter a friendly name for the certificate and click Next. Click Next if you are not requesting a wildcard certificate. If you are requesting a wildcard certificate, click the checkbox next to "Request a wild-card certificate" and enter the root domain name. Then click Next. Click Browse below "Store certificate request on this server" and then select the server you want to store the certificate on. Then click Next. Click Next and review the domains you want to apply the certificate to. Add or remove and domains you want to apply the certificate to and click Next. Enter the requested information about your organization. Enter a UNC path to save your CSR certificate to and click Finish.
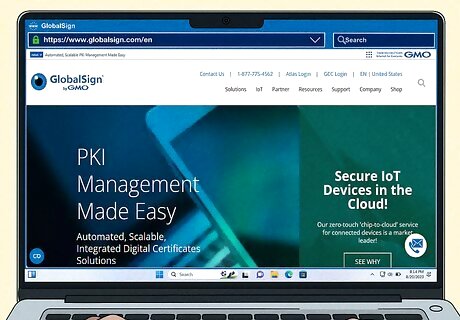
Order your SSL certificate. There are several services online that offer SSL certificates. Make sure to only order from a reputable service, since you and your customer’s security is at stake. Popular services include DigiCert, Symantec, GlobalSign, and more. The best service for you will vary depending on your needs (multiple certificates, enterprise solutions, etc.). You will need to upload your CSR file to the certificate service when you order it. This will be used to generate the certificate for your server. Some providers will have you copy the contents of the CSR file, while others will have you upload the file itself.
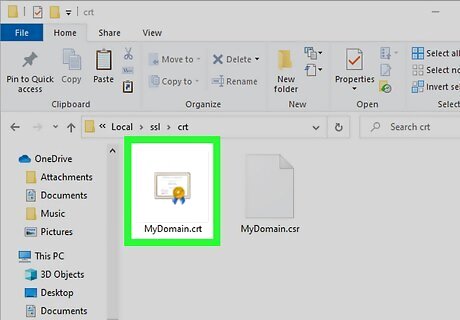
Download your certificates. You will need to download the Intermediate Certificates from the service that you purchased your certificates from. You will receive your Primary Certificate via email or through the customer area of the website. Copy the certificate file that you receive to your Exchange server at the same location you saved the CSR file.
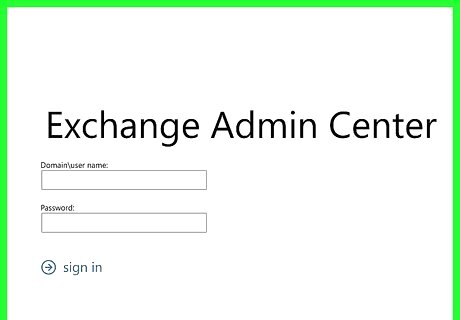
Log in to the Exchange Admin Center. To do so, go to the URL of your server in a web browser and log in with the admin username and password.
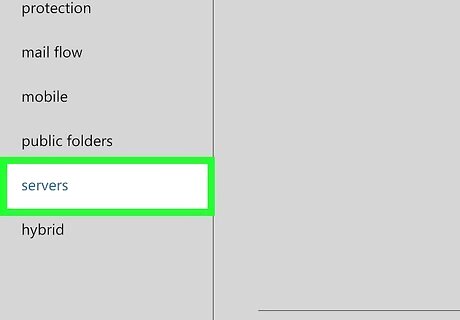
Click Servers followed by Certificates. You can find "Servers" in the menu panel to the left and "Certificates" at the top of the page.
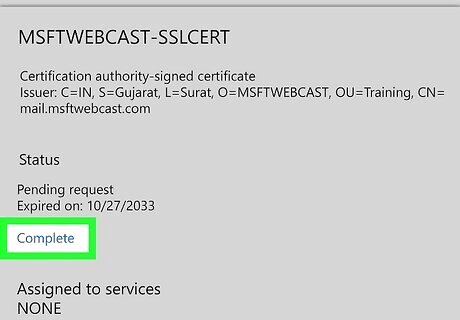
Select your certificate request and click Complete. You can find the "Complete" link under "Status" in the panel to the right.
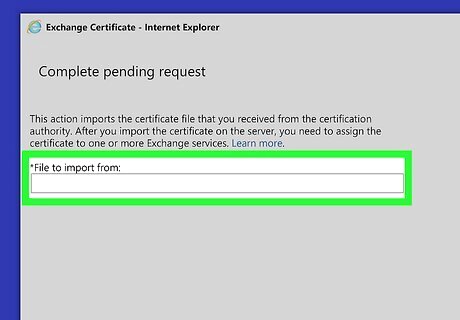
Enter the UNC path to your SSL certificate and click Ok. You can enter this location under "File to Import." The status of your request should now read "Valid assign services."
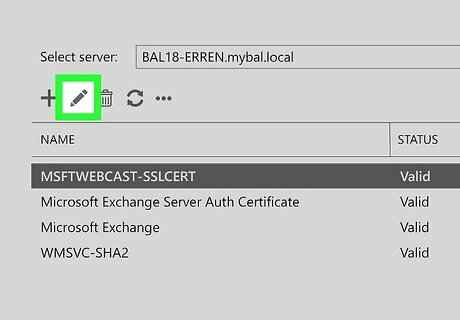
Click the pencil icon next to your SSL certificate. It's in the center pane, on the Certificates page.
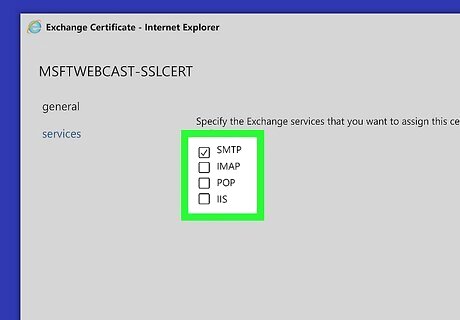
Check all the services you want to enable the SSL certificate for and click Save. Your SSL certificate should now be installed and all services enabled.
Using cPanel
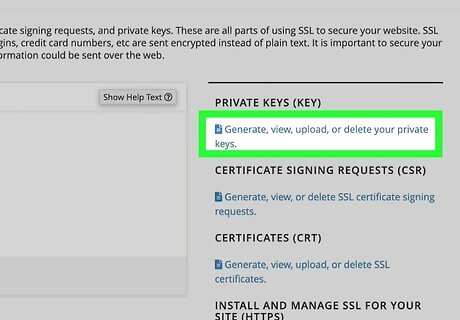
Generate a Certificate Signing Request (CSR). Before you can purchase and install an SSL certificate, you will need to generate a CSR on your server. This file contains your server and public key information, and is required to generate the private key. Login to cPanel. Click SSL/TLS in the "Security" section. Click the Generate, view, upload, or delete your private keys links. Scroll down to the “Generate a New Key” section. Enter in your domain name, or select it from the drop-down menu. Select 2048 for “Key Size”. Click the Generate button. Click “Return to SSL Manager”. From the main menu, select the “Generate, view, or delete SSL certificate signing requests” link. Enter your organization’s information. You will need to enter your two-digit country code, the state or province, city or town name, full company name, section name (i.e. IT or Marketing), and the common name (typically the domain name). Click the Generate button. Your CSR will be displayed. You can copy this and enter it into your certification order form. If the service requires the CSR as a file, copy the text into a text editor and save it as a .CSR file.

Order your SSL certificate. There are several services online that offer SSL certificates. Make sure to only order from a reputable service, since you and your customer’s security is at stake. Popular services include DigiCert, Symantec, GlobalSign, and more. The best service for you will vary depending on your needs (multiple certificates, enterprise solutions, etc.). You will need to upload your CSR file to the certificate service when you order it. This will be used to generate the certificate for your server. Some providers will have you copy the contents of the CSR file, while others will have you upload the file itself.
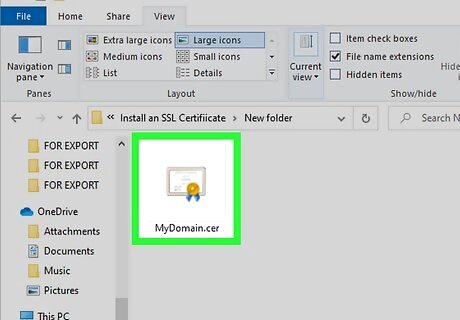
Download your certificates. You will need to download the Intermediate Certificates from the service that you purchased your certificates from. You will receive your Primary Certificate via email or through the customer area of the website.
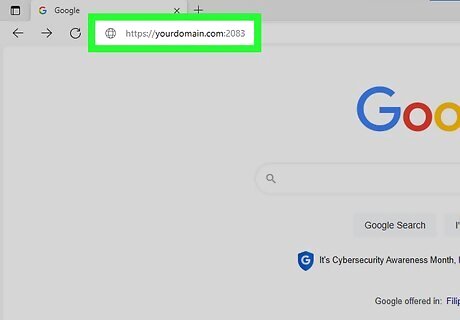
Log into cPanel. You can typically do this by going to "https://yourdomain.com:2083" in a web browser. Enter your admin username and password and click Log In.
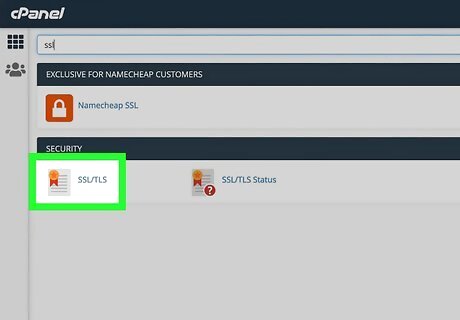
Click SSL/TLS. It's below "Security." This opens the SSL/TLS Manager.
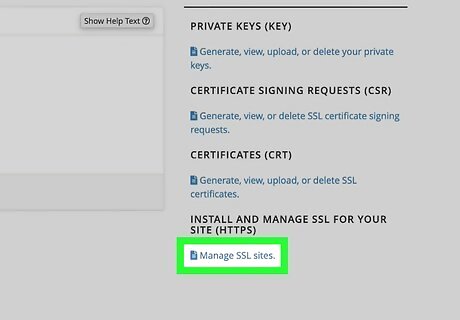
Click Manage SSL Sites. It's below “Install and Manage SSL for your site (HTTPS)."
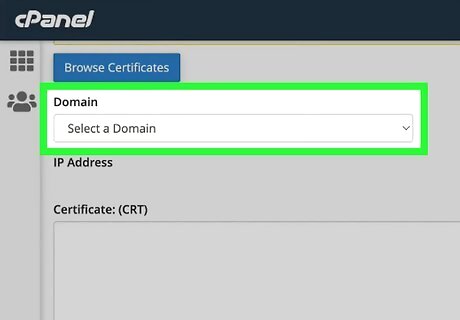
Select your domain. Use the drop-down menu at the top of the page to do so.
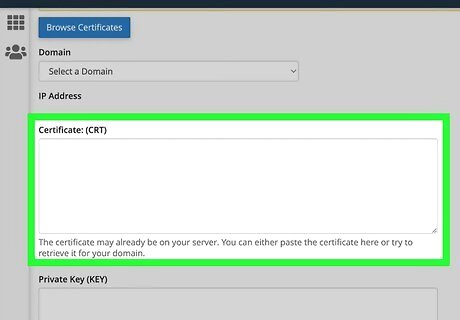
Copy and paste your certificate. Your certificate should come in a zip file. Unzip the file and open it in text editor. Copy the text starting with " —–BEGIN CERTIFICATE—–” and ending with “—–END CERTIFICATE—–“and paste it into the box labeled "Certificate (CRT)."
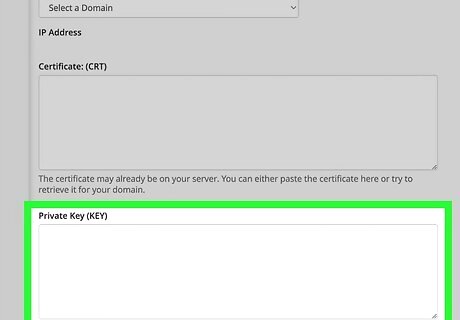
Copy and paste your private key. If you generated your CSR inside cPanel, then cPanel should generate this automatically. However, if you generated your CSR outside of cPanel, then you will need to copy and paste your private key into the box labeled "Private Key (KEY)."
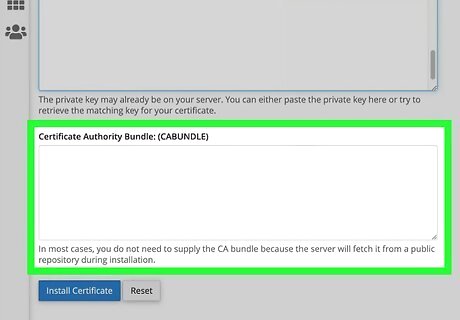
Copy and paste your CA Bundle. These are the intermediate certificates that allow web browsers to understand who issued the certificate. cPanel should automatically generate these from a public repository. If it does not, you can download the appropriate CA Bundles and copy and paste them into the box labeled "Certificate Authority Bundle (CABundle)." If you have multiple CA Bundles, copy and paste them one after another.
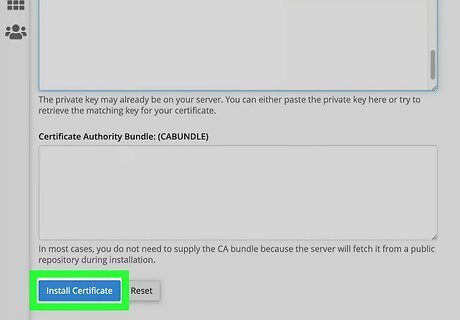
Click Install Certificate. It's the blue button at the bottom of the page. If you have copied the correct certificates into the correct boxes, this should install your SSL certificate.
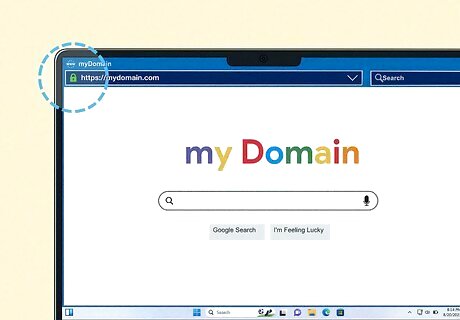
Test your certificate. Use various web browsers to test that your certificate is working properly. Connect to your website using “https://” to force the SSL connection. You should see the padlock icon in your address bar, usually with a green background.


Comments
0 comment