views
Installing the Frame
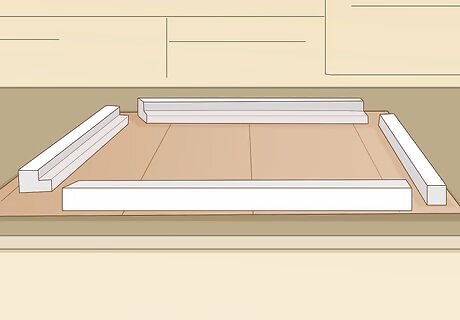
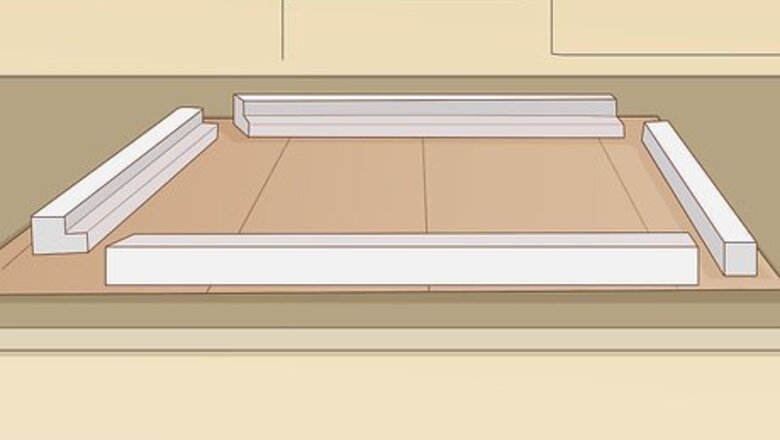
Put the frame together. Each shutter frame should come in four pieces. To put them together, use the plastic connectors which should have come with the shutters and gently tap the connector into the coinciding slit in the frame pieces using a rubber mallet. Make sure your frame is even - the left and right sides should be connected to the top and bottom sides. Pieces should most likely be labeled, making this easy. Tap the sides into each connector piece until they are flush against each other.
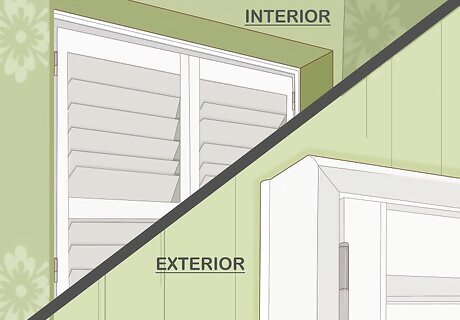
Know whether you're installing an interior or exterior mount. If you're installing your shutters to the interior of your window frame, make sure the window is square and that there aren't any latches, handles, or other things that would get in the way. If you're installing your shutters to the exterior of your window, you'll be attaching the frame directly to the wall. Whether you choose an interior mount or exterior mount will change your necessary measurements, so check your plantation shutter instruction manual to make sure you're doing the right one. An exterior installation works better for bay windows as it provides more mobility.
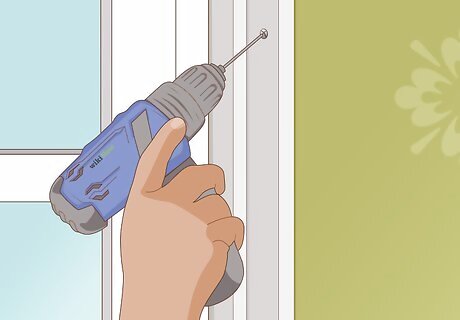
Attach the top of the shutter frame to the window using screws. Pick up the frame and place it in your window. If it fits nicely, attach the frame to the window by inserting two screws at the top of the frame using a drill. If your frame has predrilled holes, you can insert the screws into those, but make sure you only attach the top ones. The bottom of the frame should still be able to move freely. It's helpful to have a second person hold the frame to the window while you insert the screws, or vice versa. If your frame isn't fitting, it either means the frame wasn't put together properly or your initial measurements are wrong. Make sure the frame pieces are connected and even. If you think you might have sent in the wrong measurements, call the shutter company and ask for advice.
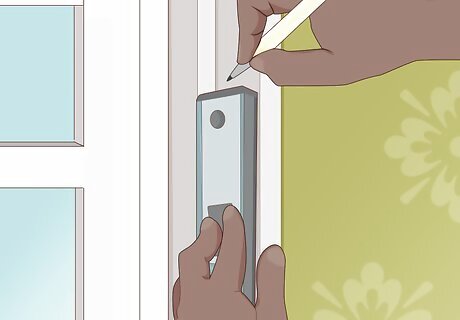
Use a level to make sure the frame sections are even. Use a level to check that each side of your shutter frame is even. For an easy installation of the shutter panels, you want to make sure your frame is level before moving on.
Hanging the Panels
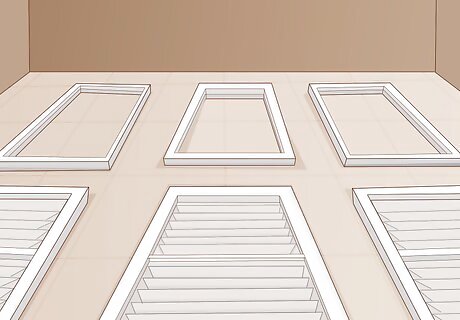
Know which panel corresponds to which frame. If you’re installing multiple plantation shutters, find out which panel goes with its corresponding frame. All of your pieces should be labeled, making this very easy to do. To avoid getting confused, you can lay out each frame and panel that go together beforehand. If there are any labels on the frame or panels, keep them on until you've finished installing the shutters entirely.
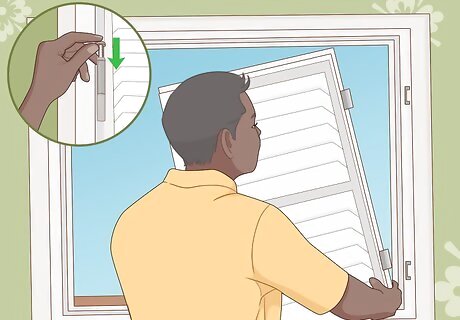
Use hinge pins to install the panel. Lift the panel up to its frame and use hinge pins, which should be part of the hardware that comes with the shutters, to attach the panel to the frame. Drop a pin into each hinge to join them together. If you’re having trouble getting the pins to fit into the hinges, you can loosen the screws from a hinge, move it a little until the pin drops in, and then reattach the screws.
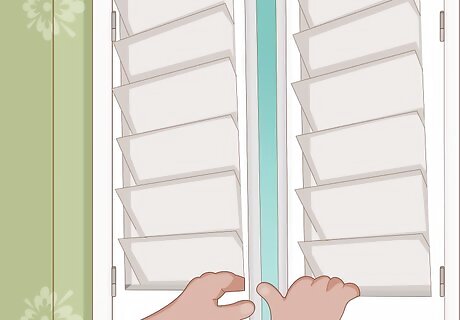
Adjust the panels and frame until they align well. Open and close the panel door to make sure that it lines up with the frame. The frame should still have mobility at the bottom, so move the frame from side to side until it lines up with the panel. There shouldn’t be any large gaps or uneven sides. You can use the level again to make sure everything is straight as well.
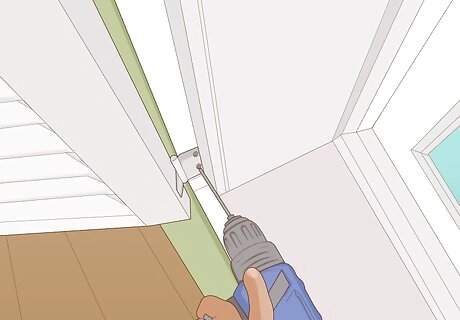
Insert the remaining screws into the bottom of the frame. Once your panel and frame are aligned, you can attach the frame securely by inserting the bottom screws and any other remaining screws. Drill the screws in carefully, checking each time that the panel and frame are still aligned and straight.
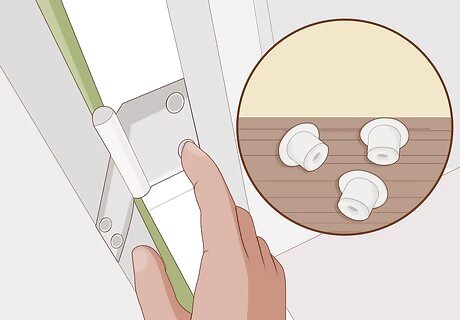
Cover the frame holes if necessary. Many plantation shutters come with small caps that you can fill your drill holes in with. Cover each hole in the frame with these caps if desired, but not covering the holes will not impact your shutters.


Comments
0 comment