
The installation, depending on your computer specs, will take about 30 minutes.
The following steps should be identical regardless of whether the installation is performed on actual hardware or a virtual machine.
Checking Your PC Specs
Check if your PC meets the recommended specifications to run the OS. These are: CPU: 300MHz Memory: 64MB (RAM size over 512MB may cause instabilities with the Operating System) Free Space: 2GB CD ROM and a 3.5" floppy drove You will also need a Windows ME Installation Disk (a CD ROM), Windows ME Boot Disk (a 3.5" Floppy Disk), along with its 25-digit product key. Windows ME may run on lower specifications, but the setup process will take longer.
Ensure the PC boot order in the BIOS is configured correctly. For this installation, it will need to boot from the CD first. This is normally enabled by default, but you can check first. To do this: Restart your computer. As soon as it begins to restart, press the key that allows you to enter the BIOS/UEFI settings. This varies by make and model, but common options are F2, F10, Del, Esc and F12. Find the Boot menu, which may be labelled as Boot Options, Boot Order, Boot, or similar. Usually, you can move through different tabs using the arrow keys. Look at the list. The order the devices are listed in is the order in which your computer will look for operating system information. Follow the onscreen instructions (which will usually involve the arrow keys or the + and - keys) to move the CD/DVD drive or Optical Drive to the top of the list. Find the Exit menu and select Exit Saving Changes or similar. If a confirmation prompt appears, click Yes to confirm the changes. Your computer will now restart automatically and attempt to boot from the CD first as specified.
Formatting the Hard Drive

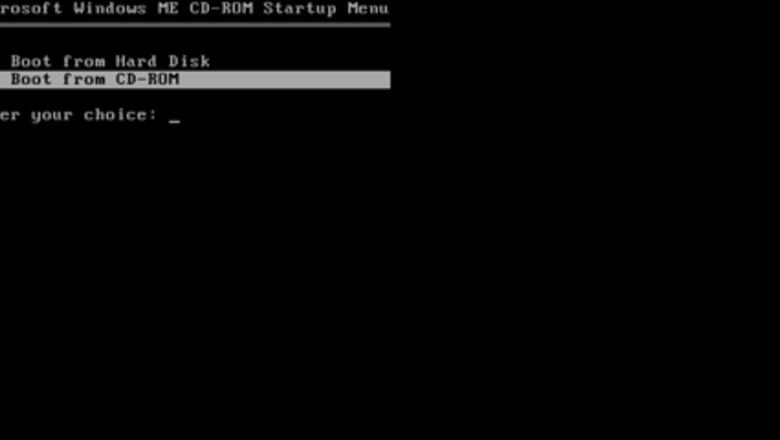
Choose to Boot from CD-ROM using the arrow keys. Then, press ↵ Enter.
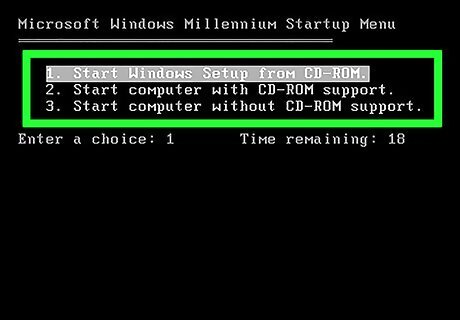
Ensure "1. Start Windows Setup from CD-ROM" is highlighted. Then, press ↵ Enter.
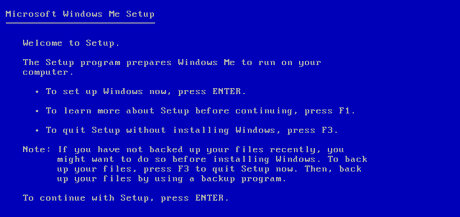
To begin setting up Windows ME, press ↵ Enter.
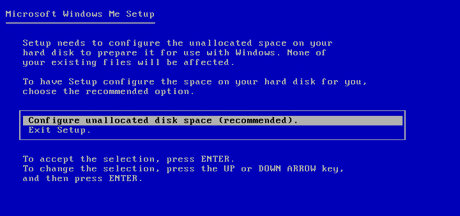
Ensure Configure unallocated disk space (recommended) is highlighted. Then, press ↵ Enter.
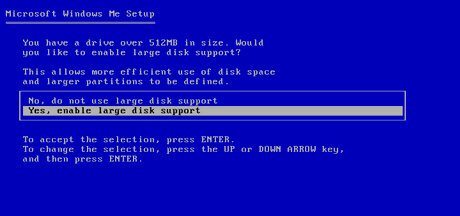
EnsureYes, enable large disk support is highlighted. Then, click Next.
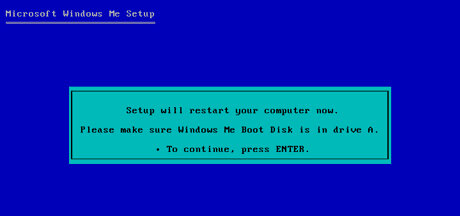
Leave the disks in the computer. Press ↵ Enter to restart the computer.
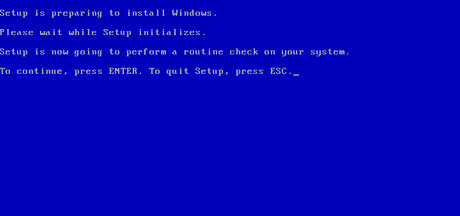
Press ↵ Enter to allow Windows to perform its check.
Installing Windows ME
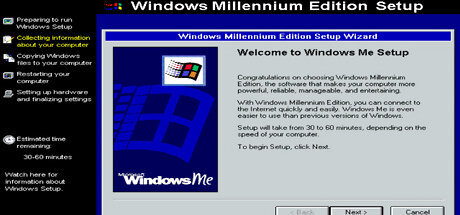
Click Next to begin setup.
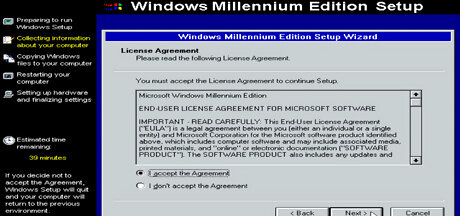
Read the License Agreement. If you agree with the License Agreement, checkI accept the Agreement and click Next.
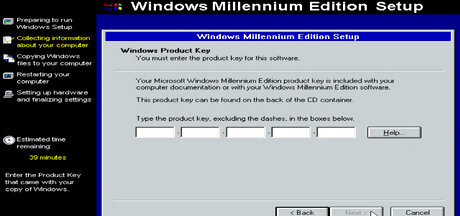
Type in your 25-digit product key and click Next. It will be a mixture of letters and numbers. Type the product key in one fluid motion. Windows will automatically capitalise any letters and jump to the next box.
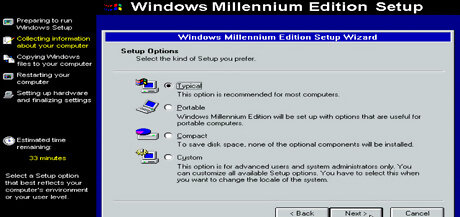
Ensure Typical is checked. Then, click Next.

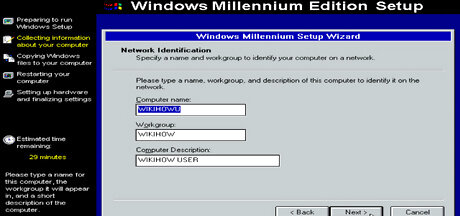
Type in the following credentials then click Next.
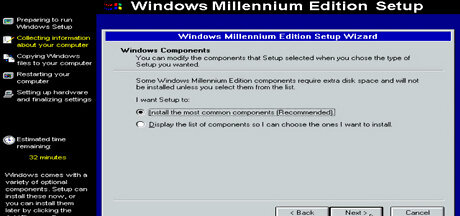
Check Install the most common components (Recommended). Then, click next.
Leave these as suggested by the computer and click Next.
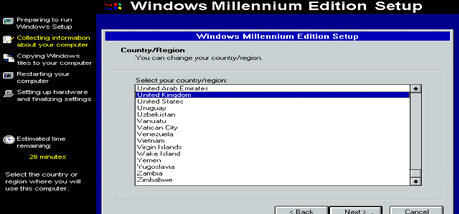
Select your Country/Region then click Next.
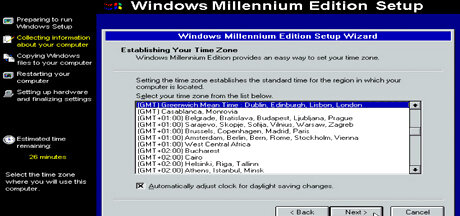
Select your time zone and click Next.
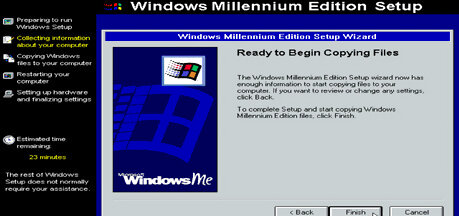
Click Finish.
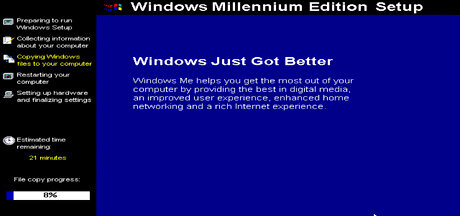
Note that the next stage of the process is automated. You will need to wait until it completes, in which time no use input is required.
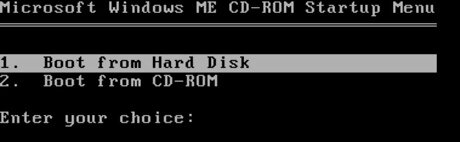
Wait for the computer to restart a few times. Each time it restarts, it will give you this screen. It should automatically default to "Boot from Hard Disk" each time and continue from there without input. However, it's worth watching the setup to ensure this option is auto-selected.

Explore the operating system. Windows ME has now finished installation.
Switching Off

Click Start.

Click Shutdown.
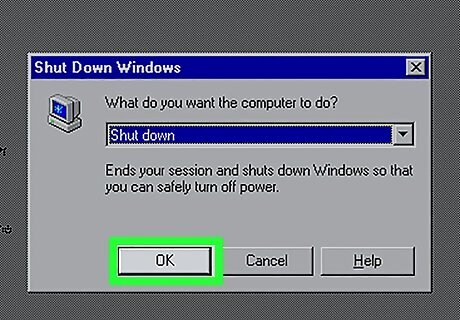
Make sure Shutdown is selected from the drop down menu. Then, click OK.


Comments
0 comment