
Creating a Project
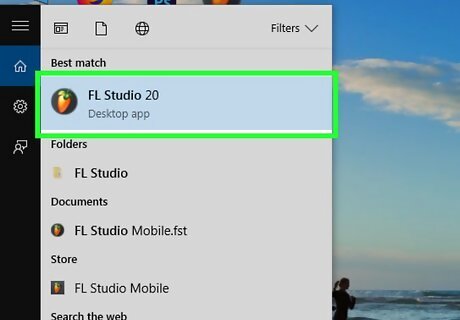
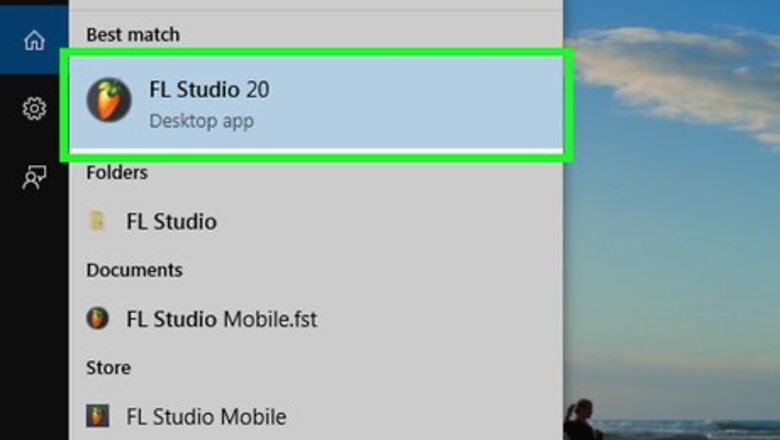
Open FL Studio. Double-click the FL Studio app icon, which resembles a yellow pepper. Doing so will open the FL Studio window.
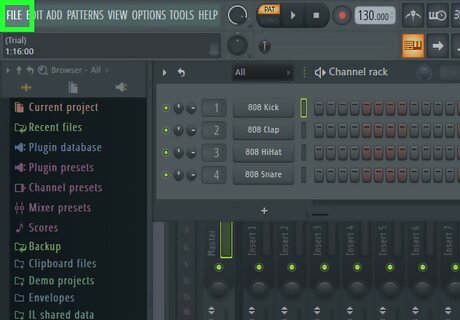
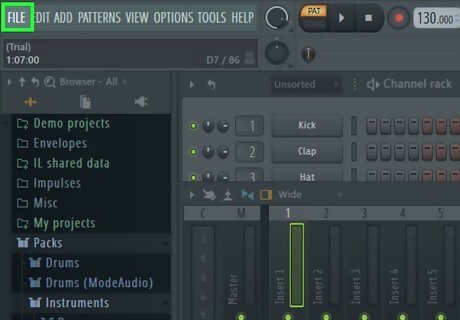
Click FILE. It's in the top-left corner of the window. A drop-down menu will appear.

Select New from template. You'll find this option in the middle of the drop-down menu. A pop-out menu will appear to the right.
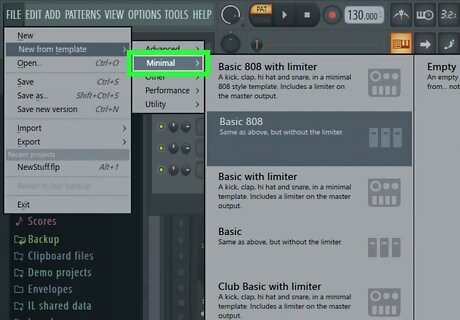
Select Minimal. It's in the pop-out menu. Selecting it prompts another pop-out menu.
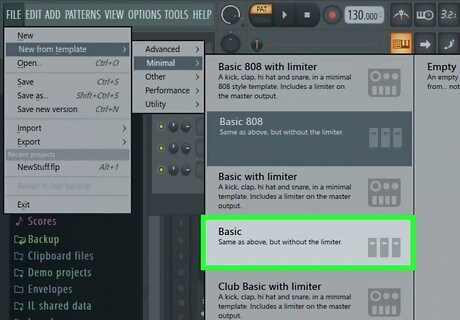
Click Basic. This is in the last pop-out menu. Doing so will create a new project in FL Studio using the basic interface rather than FL Studio's more complex one.
Adding Channels and Instruments
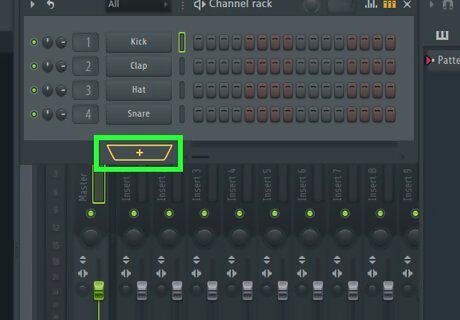
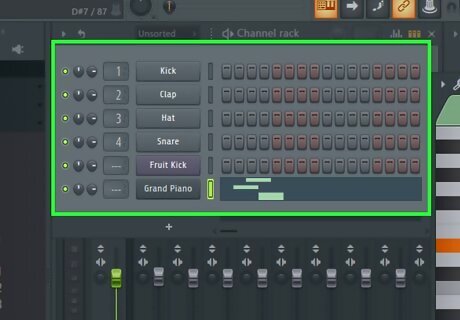
Add blank channels to your project. Before you can add instruments to your track, you'll need to place them in the channel rack: Click + below the "Channel rack" section. Click (none) at the top of the menu that appears. Repeat until you have enough channels.
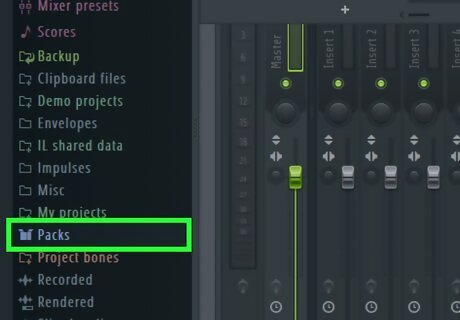
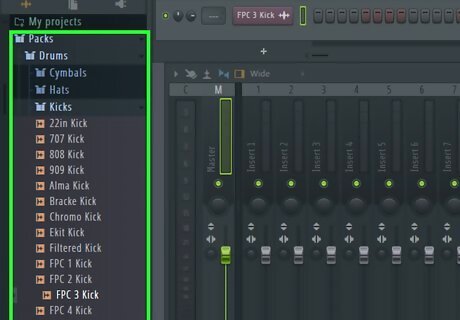
Expand the "Packs" folder. Click the "Packs" folder on the left side of the window to do so.
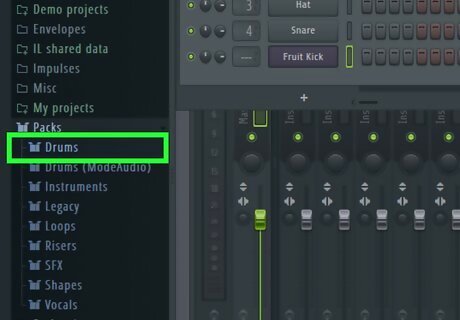
Select an instrument. You should see a variety of folders appear below the "Packs" folder; click one (e.g., Drums) that you want to open.
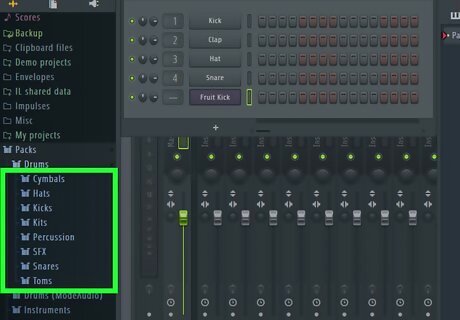
Open an instrument sub-folder if necessary. Many instrument folders have additional folders for specific instruments.
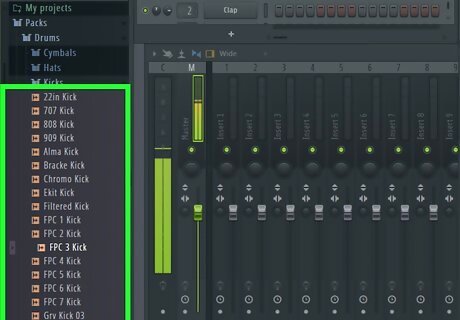
Preview an instrument. Find the name of an instrument that you'd like to use, then click it once to play it. If you like the instrument, proceed. If you don't like the instrument, find another one before continuing.
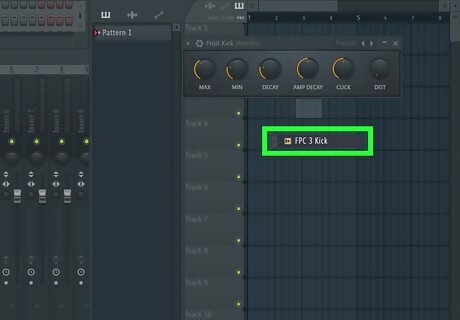
Drag the instrument onto a blank channel. This will add the instrument to the channel rack.
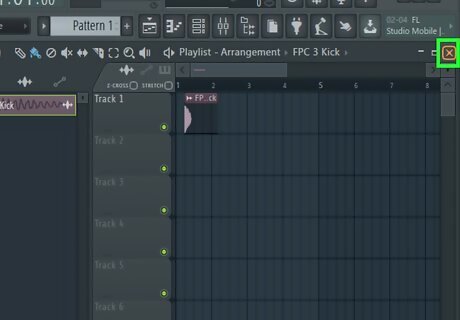
Close the instrument's window. When the instrument's mastering window opens, just click the X in its corner to close it.
Repeat until you've added all of your instruments. Once you have every instrument that you want to use in your channel rack, you can proceed with adding the bass. You can always add more channels and instruments (or replace an existing instrument with another one) later.
Arranging Drums and Bass
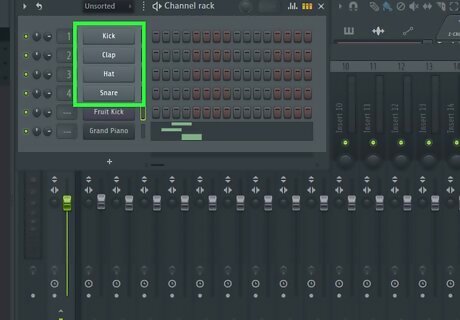
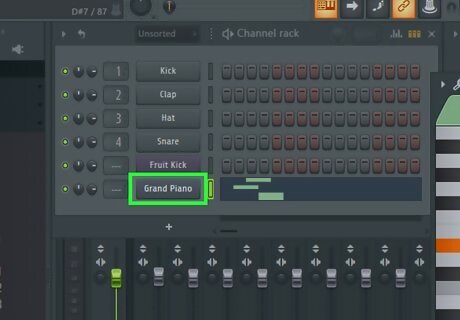
Determine which drums you want to use. If you only placed one drum in your channel rack, you'll select that instrument; however, many beats use a combination of drums (e.g., hat, snare, and kick), meaning that you'll need to select the main bass sound and work your way down from there.

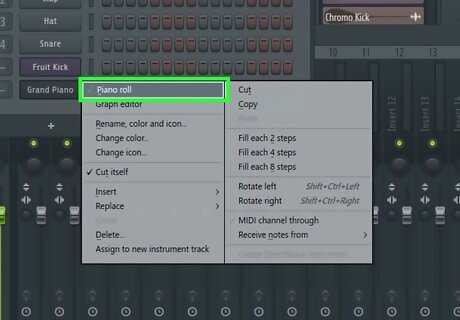
Right-click a drum's name. Doing so prompts a drop-down menu.

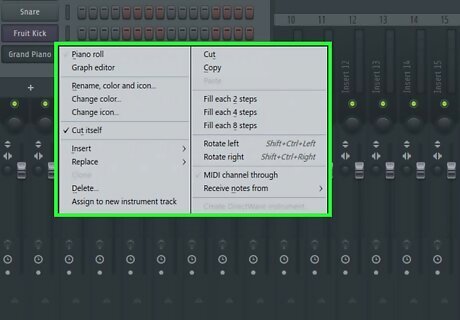
Click Piano roll. It's at the top of the drop-down menu. You should see the piano keyboard interface open.
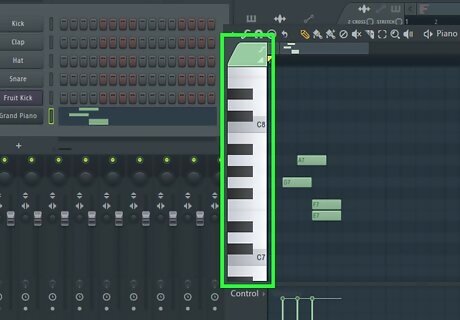
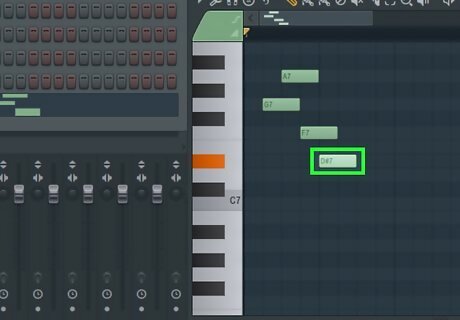
Find the proper note for the instrument. Scroll up or down while clicking different keys on the keyboard until you find the proper note for your bass.

Create a beat. Click to the right of the piano key which represents the note that you want to use, then drag the far-right side of the colored bar that appears left to shorten it or right to lengthen it. Each dark vertical bar in the piano view represents half of one second. For a typical rap or R&B beat, you'll want every other bar full.
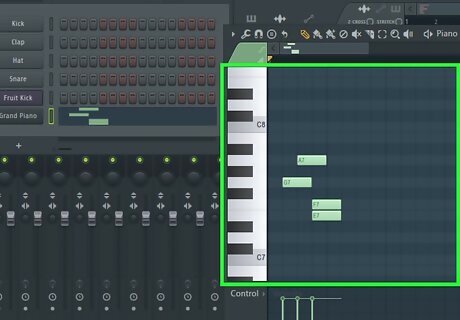
Add a melody if needed. If you want to use varying notes in your beat, scroll up or down to select another note, then add the beat markers like you did above.
Remove a beat if needed. If you accidentally placed a beat marker on the wrong line, you can right-click it to delete it. You can also move beat markers up, down, left, or right by clicking and dragging them from the middle.
Repeat this part with other drums in your channel rack. Once you're satisfied with the background bass in your track, you can move on to adding the final part of your beat.
Adding Instrument Tracks
Determine your main instrument. Main instruments can be anything from traditional instruments (e.g., a piano) to synths and other sound effects.
Right-click the instrument's name. A drop-down menu will appear.

Click Piano roll. It's at the top of the drop-down menu. A new, blank piano interface will open.

Draw your instrument's beat. Just like you did with the bass, click the boxes to the right of your preferred notes to select them.
Repeat this process with your other instruments if necessary. If you're using a piano and a violin in your beat, for example, you would close the piano interface, right-click the violin, click Piano roll, and repeat as necessary. You can adjust the volume of different instruments by clicking and dragging the dials that are to the left of the instrument's track in the channel rack up or down.
Exporting the Beat
Click FILE. It's in the upper-left side of the window. A drop-down menu will appear.
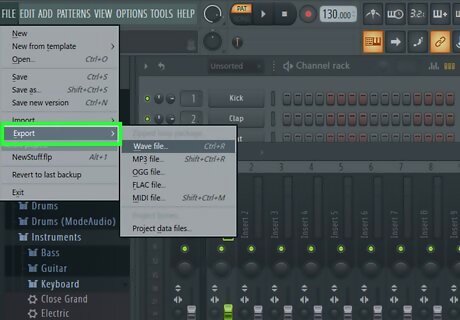
Select Export. You'll find this option near the bottom of the FILE drop-down menu. Selecting it prompts a pop-out menu.
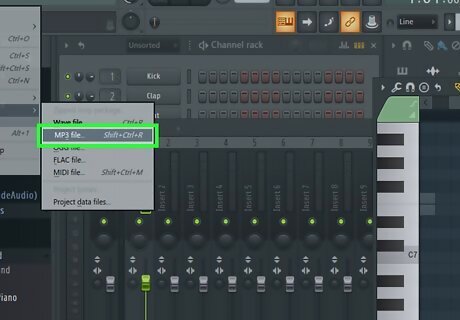
Click MP3. It's in the pop-out menu. Doing so opens the "Save As" window.
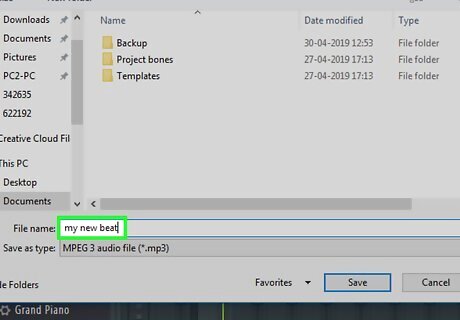
Enter a name for your beat. Type in whatever you want to name your beat.
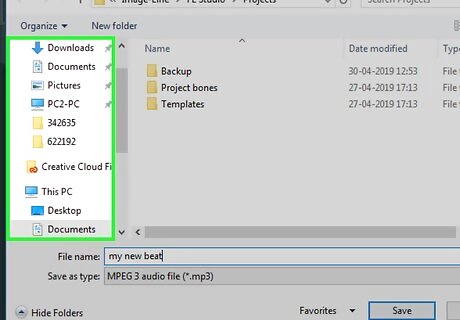
Select a save location. Click a folder on the left side of the window.
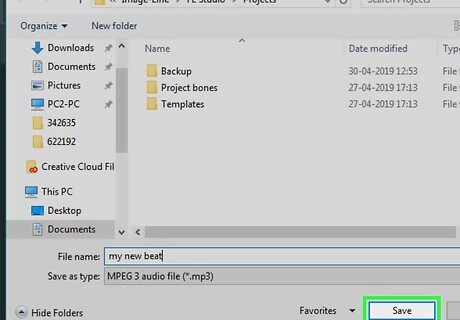
Click Save. This is in the lower-right corner of the window.
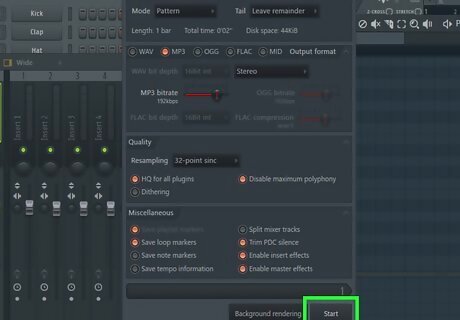
Click Start. It's at the bottom of the pop-up window. Your beat will be saved as an MP3 file. It can take FL Studio several minutes to export your beat if the beat is fairly complicated.


Comments
0 comment