
views

Select a book, preferably a thick one with a sturdy hardcover. (See 'tips' and 'warnings' first, about where to get an appropriate book and not to select a valuable/antique/currently popular/important book).
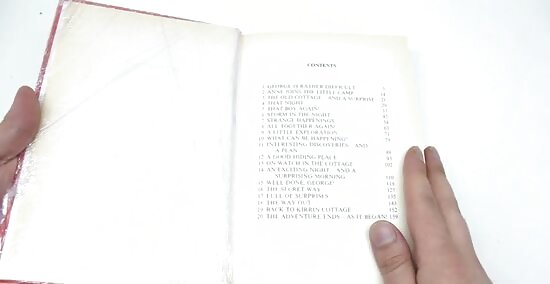
Select the first few pages that you want to have free at the end of the project (plus one more) and hold them to the front cover with plastic food wrap so they do not get messed up with the glue. These pages, except for the last one, will not be cut out. This will allow the book to look like a book when it is opened up and will cover the hole itself.
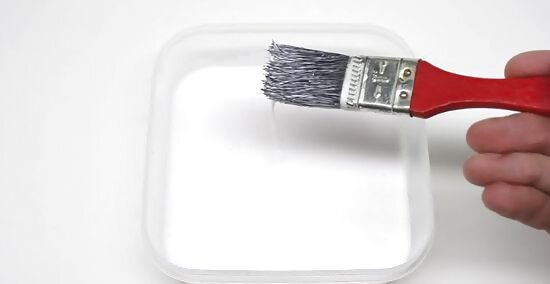
Mix a solution of white glue and water. Make the consistency just enough for the glue to be runny, and more easily absorbed by the edge of the book's pages. 50% to 70% glue (30% to 50% water) or half a 35mm film canister full usually works well but use your judgment, given the thickness and size of the book. Alternatively, try a craft glue like Mod Podge.

Now that you have the top cover and the first couple of pages wrapped in food wrap, brush the three edges of the book with the glue solution so that it is reasonably absorbed. This will hold the book's pages together. Remember: clean the brush off immediately, or else it will harden and become useless for step 9.
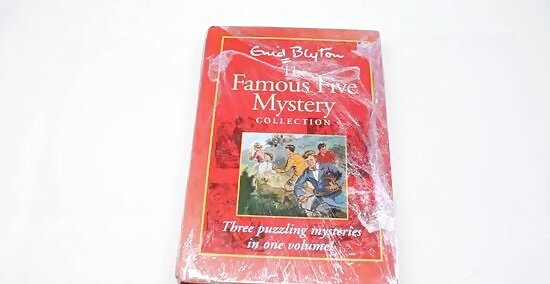
Place something heavy on top of the book so as to apply pressure. Let the book dry for fifteen to thirty minutes.
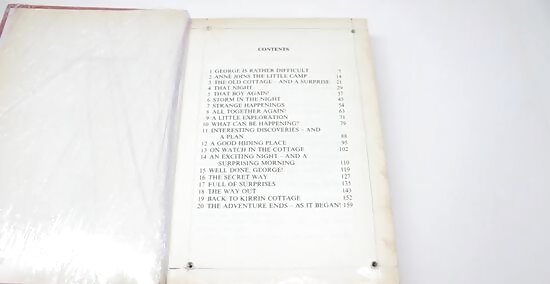
Open the book to reveal the first glued page. Draw a half-inch (1.2 cm) border within the edge, on all four sides (including the spine). Drill a hole in each corner of the newly drawn box to the depth you wish the hidden compartment to be. (This makes cutting out the pages easier because the blade does not have to make a 90-degree turn.) You may leave a few of the glued bottom pages uncut.
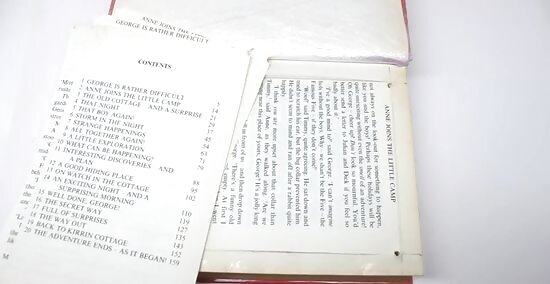
Cut along the inside of the drawn line with a straight edge knife (a box cutter works especially well). Try to make the cut as vertical as possible, or else try to tilt it so the hole will narrow as you go down. Using a ruler, as shown in the image, can help a lot. Apply enough pressure to cut a few pages at a time or as many as you would like. A metal ruler is advisable.
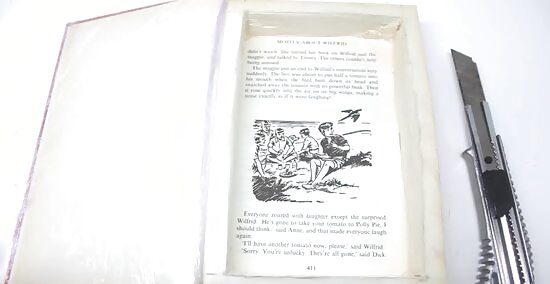
Continue cutting through the layers. Do not rush this step, because the slower and more carefully you do this, the smoother and straighter the inside edges will be. Remove the bits of paper from the inside that accumulate from the cutting.
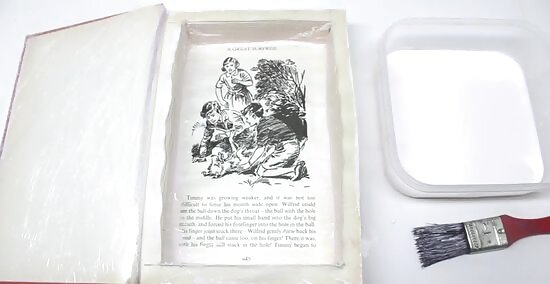
Brush the glue solution onto the inside edges of the hole and allow it to soak in. The glue dries clear, so don't be concerned if it drips a little. While waiting, apply a second coat of glue to the outside edges of the pages.
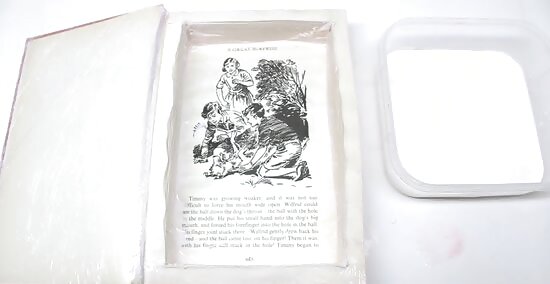
Brush the "frame" of the hole with a light coat of glue. The saved page will be glued directly on top of the hole, essentially covering it (for now).

Close the book again, this time without any spacers. Allow it to dry for about 15-30 minutes. In this drying phase, the saved page will become affixed to the hole, as mentioned in the previous step.
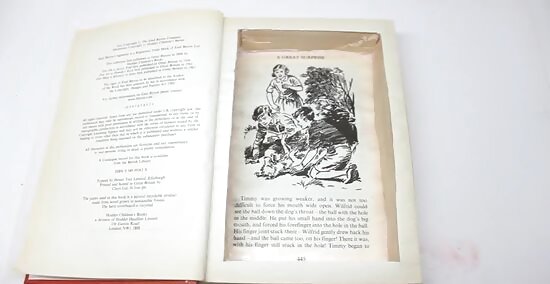
Cut the saved page neatly along the edges of the hole so that the hole is visible and accessible once again. You may want to add a magnet of some kind before glueing this page in. The insides of the book may still be moist because the book had been closed while drying. Now is a good time to let the book dry while it's open.

Check to make sure every part of the book is thoroughly dry. Touch it with your fingers, and when you are certain it is dry, fill it with your treasured items, shut the book, and put it on the bookshelf. Only you will know that this book has a secret compartment!


Comments
0 comment