views
Using Construction Paper
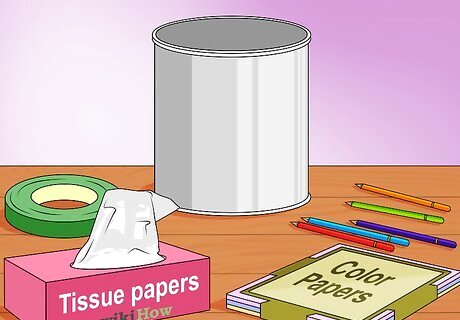
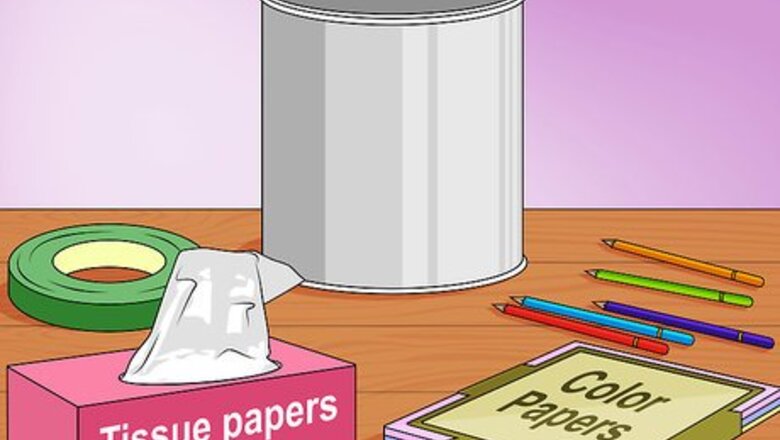
Gather your materials. For this method of making a drum, you will need an empty cylindrical container, electrical tape or masking tape, construction paper, crayons or colored pencils (optional), two pencils (optional), and tissue paper (optional). For the container, you can use a coffee container, a popcorn tin, or an aluminum can. This is going to be the base of the drum, so look for a container that is clean and in good condition.
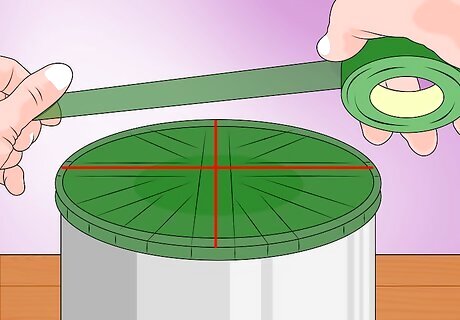
Criss-cross strips of tape over the top of the container until it is completely covered. This is going to form the top of the drum, which needs to be sturdy and firm. Try to put at least one to three layers of tape on the top of the can and criss-cross the tape tightly to make the drum more durable.
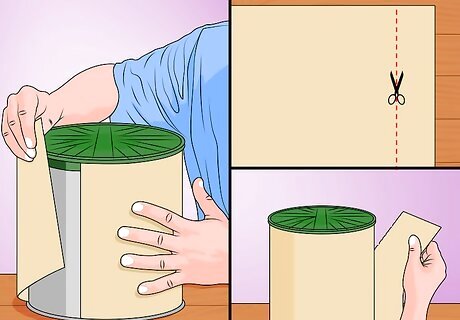
Measure the paper by wrapping it around the can. Then, cut the construction paper so it will fit around the container snugly. Tape the paper in place and trim away the excess paper.
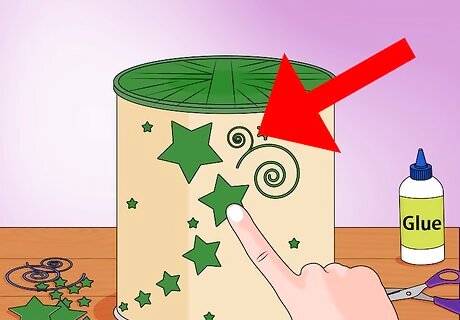
Decorate the drum. Or, let your little one decorate the drum using markers, crayons, or paint. You can also cut out shapes from other construction paper and attach them onto the side of the drum.
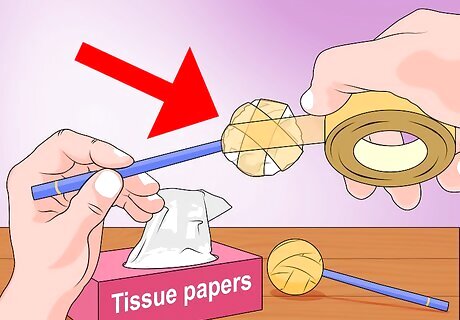
Make a pair of drumsticks. Crumple up a piece of tissue paper on the end of a pencil. Wrap masking tape or electrical tape around the tissue ball so it is secured to the pencil. Repeat this method on another pencil.
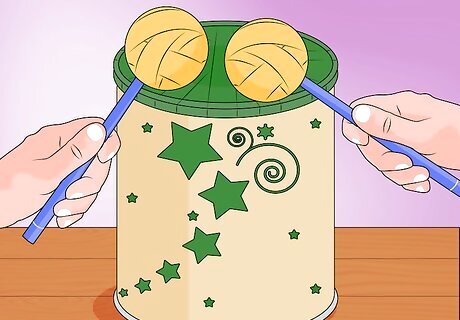
Test the drum. Now it is time to have some fun with your drum or let your toddler play with it to make sure it will withstand a drumming session.
Using A Balloon
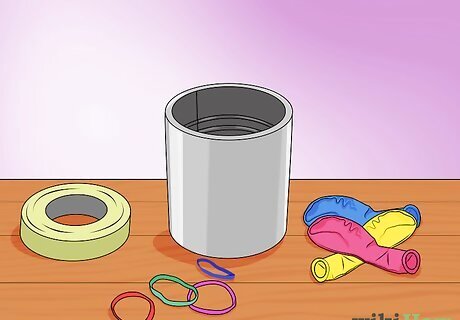
Gather your materials. For this method, you will need a clean round container like a coffee can or formula can, balloons, electrical tape or masking tape, and rubber bands (optional).
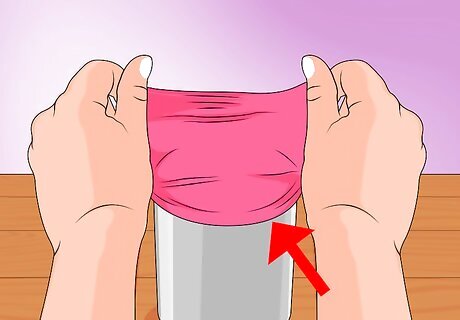
Stretch the balloon around the can. Use your fingers to open the balloon up and expand it so it fits over the top of the can.
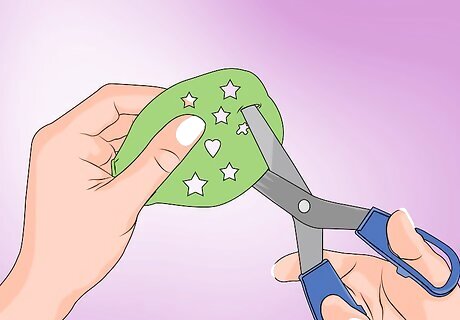
Lay another balloon flat on a hard surface. Do not blow it up, you want to use a limp balloon. Using the scissors, cut small holes into the balloon. They do not need to be uniform or perfect, as they are more for decoration.
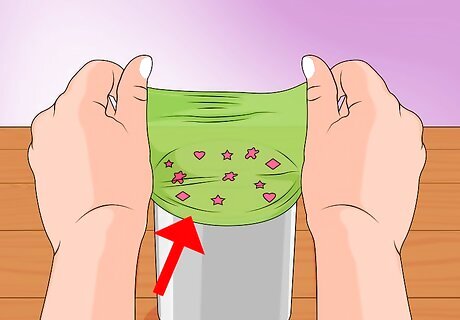
Stretch the cut up balloon on top of the balloon on the can. Double layering the balloons will make the drum more durable, and the holes in top layer will add a fun decorative effect.
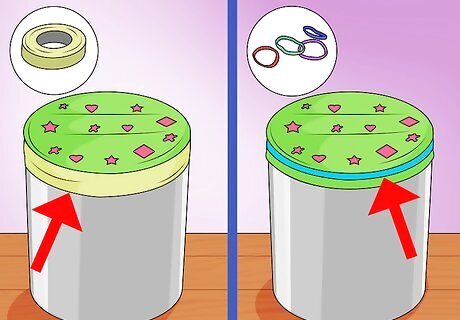
Wrap tape around the can to secure the balloons. You can also use rubber bands and simply place them around the can to keep the balloons attached.
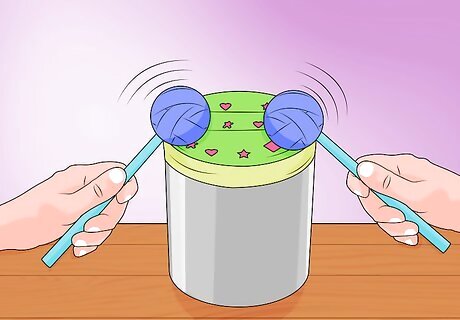
Try out the drums. Or hand them to your little one and let them test them for you. If you’d like to add more weight to the drums, you can fill the container up with a handful of rice or dry lentils before you stretch the balloon on the top of the container. Make drum sticks out of pencils and tissue paper or simply use your hands to drum along to your favorite song.
Using Faux Leather
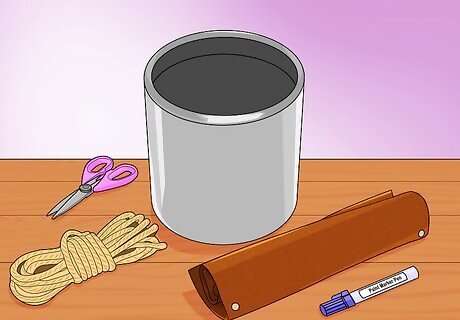
Gather your materials. For this method, you will need a round tin container or can, a roll of faux leather, a roll of thin rope, a marker, and scissors.
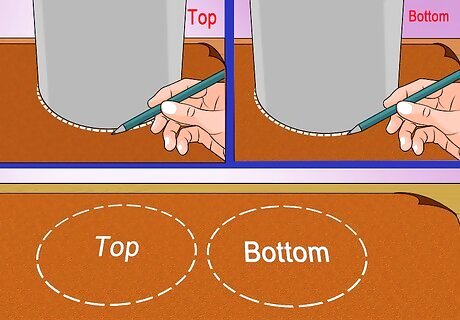
Place the can on the back side of the leather. Using a marker, draw around the can. Then, move the can over and draw around the can again. These circles are going to be the top and bottom parts of the drum.
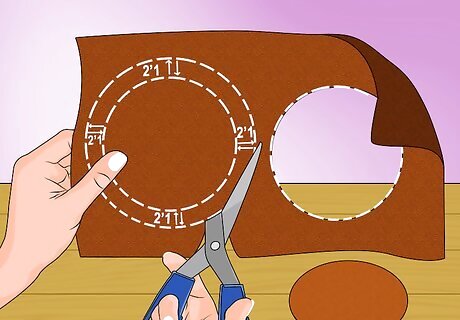
Cut out the circles, leaving 2 inches (5.1 cm) of space between the drawn line and your cut. This will give you extra leather to thread with rope.
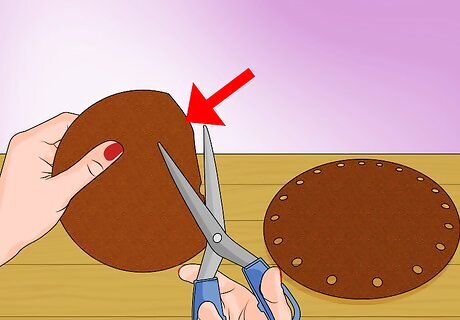
Use the scissors to make small snips around the outside of both pieces of leather. These snips will be used to thread the rope around the drum.
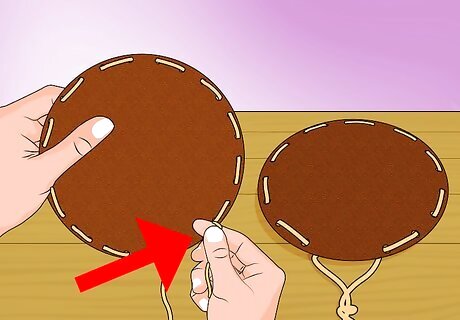
Thread the rope through the holes. Once you have thread the rope through the holes on the top piece and the bottom piece of leather, tie it off with a small knot and cut away the excess rope.
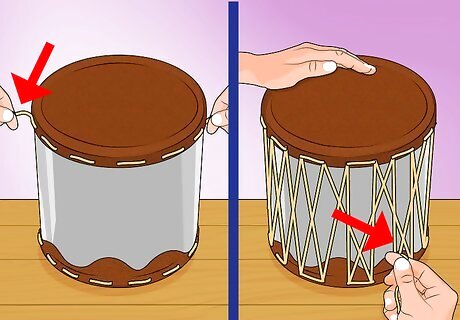
Place the leather pieces on either end of the can. Then, thread the rope from top to bottom using the threaded rope on the leather pieces, tightening as you go.
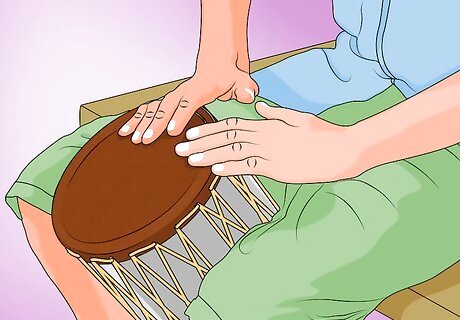
Test out the drum. The drum should not only look good, it should sound good too. If you want to make a more durable drum, use eyelet pliers to make holes in the leather to then thread the rope through, as this will make the drum stronger and likely last longer.




Comments
0 comment