views
Basic Mini Crossbow
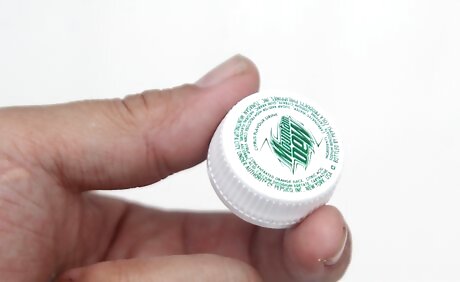
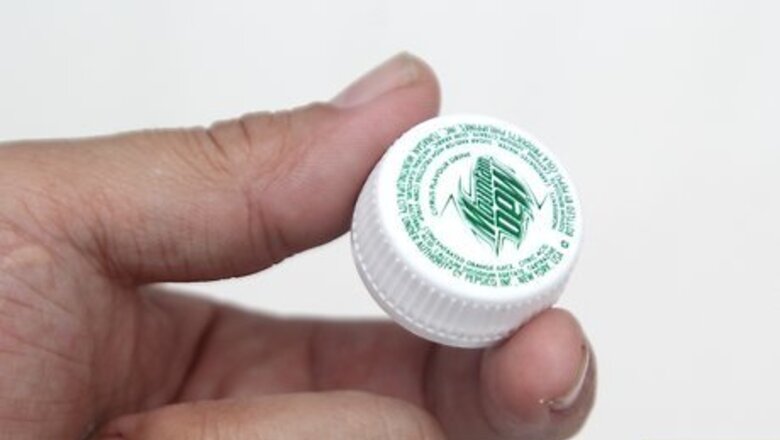
Find a plastic bottlecap. This should be soft enough that you can cut a slit through it with a flathead screwdriver. Get several, if you can, in case you mess up your first try.
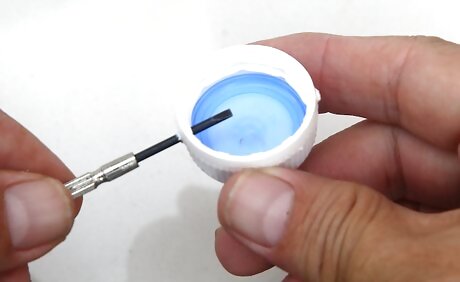
Poke a pair of holes near the rim. Put the bottlecap down on the table, with its top upward. Stick a flathead screwdriver through the vertical side, under the bottlecap, and through the other side. This pair of holes should be very close to the lower rim. Make the holes wide enough to fit a popsicle stick.
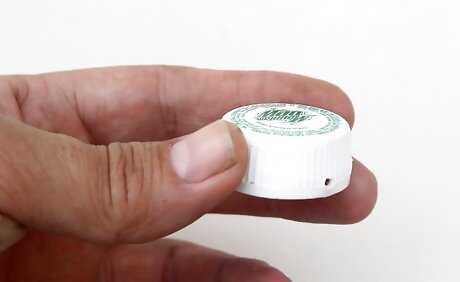
Turn the bottlecap. Rotate the cap 90º. The holes will now be on the left and right. The side in front of you will have no holes in it.
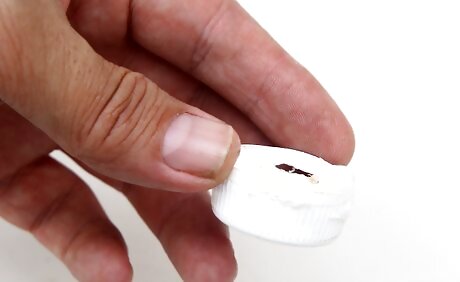
Poke a second pair of holes. Push the screwdriver through in this direction to make holes at a 90º angle to the others. These holes will be halfway up the cap's sides. Leave room below and above them. These should also be wide enough to fit a popsicle stick.
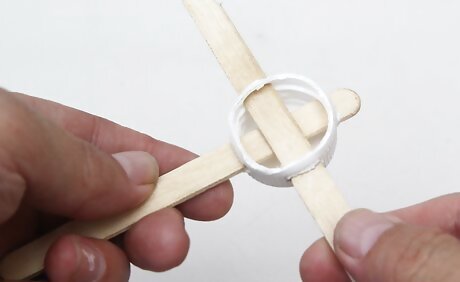
Fit popsicle sticks through the holes. One popsicle stick goes through the two lowest holes, just poking out one end. A second stick goes through the middle holes, poking out equally on each sides. Now you have a † shape through the bottle cap.
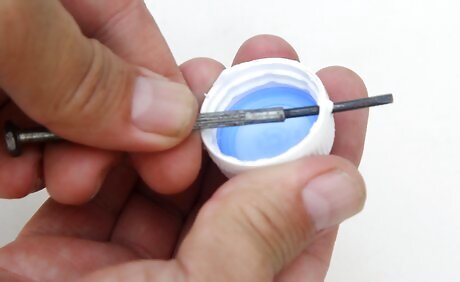
Make smaller holes. Keep the cap pointed the same direction. Poke the screwdriver high up on the sides, near the flat top. Make these holes small, and keep them straight over the lower stick. You can use a larger, Philips head screwdriver to make the holes round without making them wider.
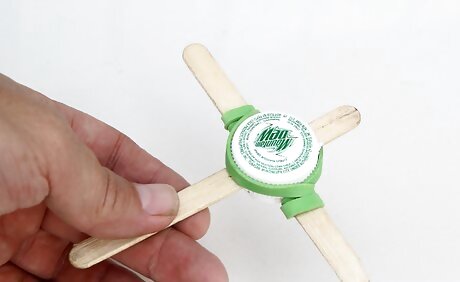
Fasten with a rubber band. Take a wide rubber band. Place it over the bottle cap, above the sticks. Hold it against the top of the †. Pull the lower end over the left arm, then the right. Repeat until the rubber band is mostly tight.
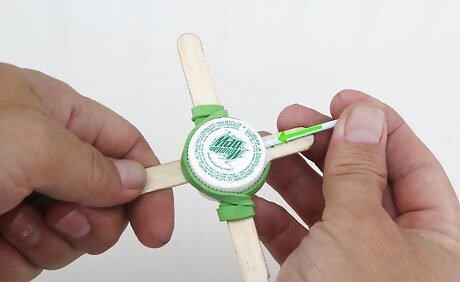
Load the crossbow. Pull the rubber band down over the top of the bottlecap. Take the cotton off one end of a cotton swab. Stick the swab through the top pair of holes, starting at the top of the †. Pull back on the rubber band and let go to fire. If the rubber band doesn't pull far enough, unwrap it once from the arms. If the cotton swab won't fit (without the cotton ball end), make the hole larger with a screwdriver.
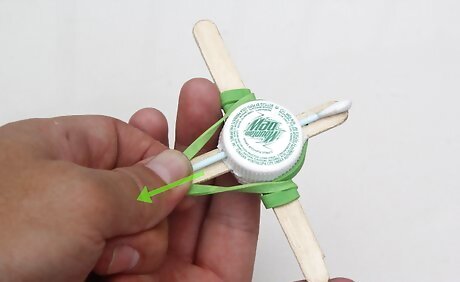
Add a lock. Pull the rubber band back as far as it can easily go. Mark that spot on the stick with a pen. Push a thumbtack just in front of that spot. You can now keep the rubber band "locked" by stretching it over the thumbtack. To shoot, pull out the tack or pull up the rubber band and let go. The rubber band will wear out fast if you keep it locked. Unhook the band any time you aren't using the crossbow.
Made from Markers
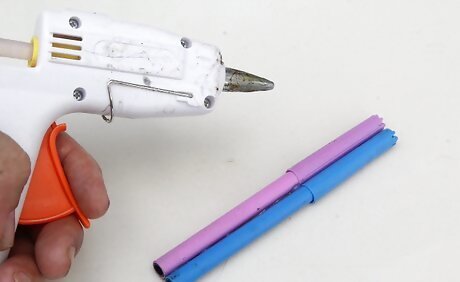
Hot glue two markers together side-by-side.
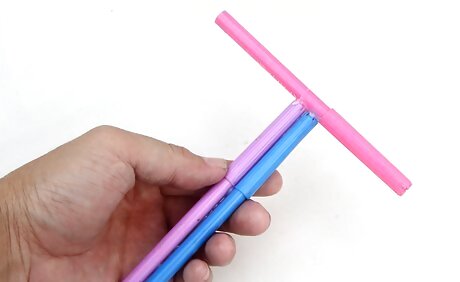
Glue another marker to the tops, forming a "T".
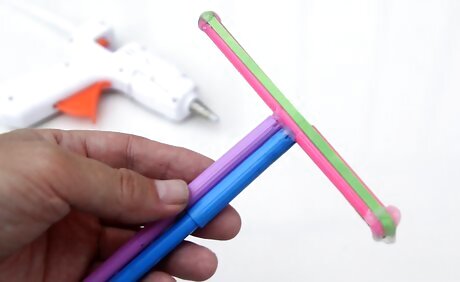
Glue a rubber band to both ends of the top marker.
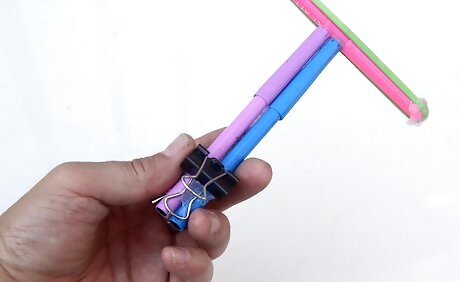
Glue a binder clip on the two markers near the end.
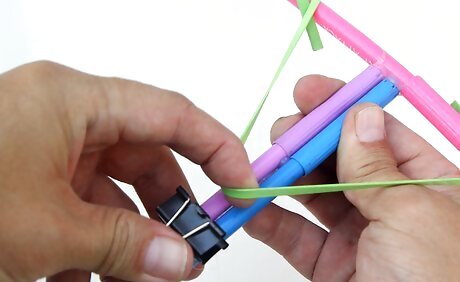
Pull back the rubber band, open the binder clip, place the rubber band inside the binder clip, and rest a marker, pen, or pencil between the two markers. This will be your ammo.
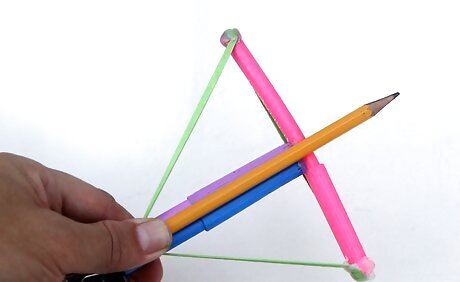
Open the binder clip and your mini crossbow will fire!
Collapsible Mini Crossbow
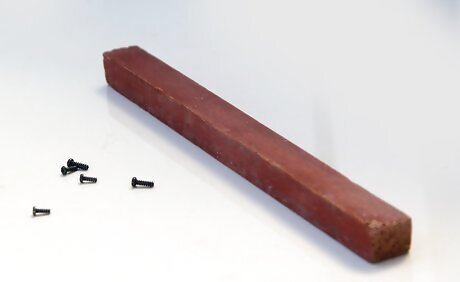
Find a stick of lumber and screws. Start with a rectangular piece of scrap lumber, with 1" x 2" dimensions or smaller (20 x 40 mm). It should be about 8–9 inches (20–23 cm) long. You'll also need five short screws, small enough to drill through a popsicle stick.
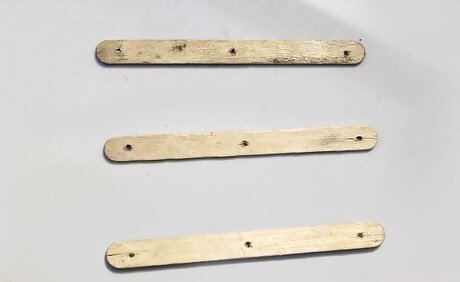
Drill holes in three popsicle sticks. Take three popsicle sticks, each one a standard 4½ inches (11.5 cm) long. Drill three holes in each popsicle stick, the size of your small screws. One hole near one end. One hole near the other end. One hole in the exact middle.
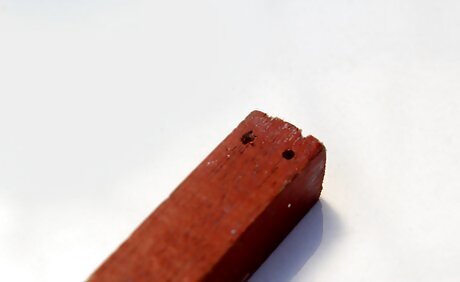
Drill two holes near one end of the lumber. Drill two holes on the same surface of the lumber, without drilling through the wood. Place the holes ½ inch (2.5 cm) from the same short end, in line with each other. These holes should match the size of the screws.
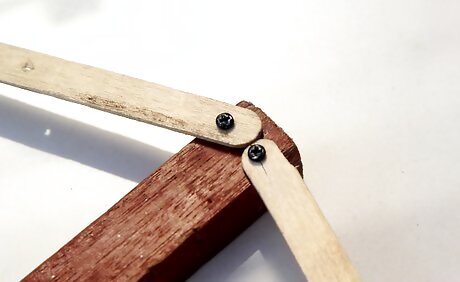
Screw a popsicle stick into each hole. Fasten a screw through the hole at the end of a popsicle stick, and into one of the holes in your stick. Repeat with a second popsicle stick on the other side. These are your crossbow arms.
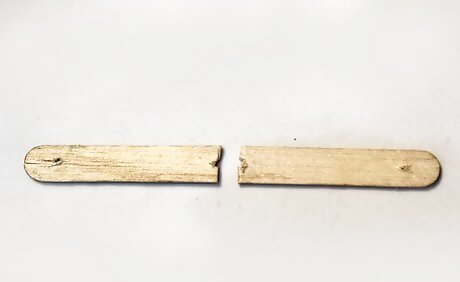
Cut a popsicle stick in half. Cut your last popsicle stick into two pieces, exactly through the central hole. Use a small handsaw or a serrated knife, to make sure the cut is even.
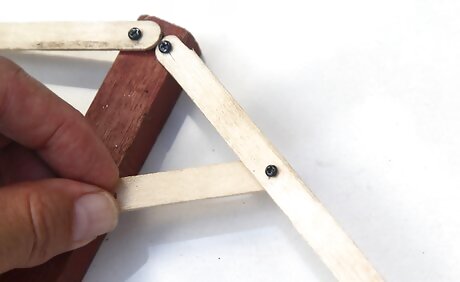
Connect the halves to the crossbow arms. Place a half-stick over one of the crossbow arms. Line them up so the full hole on the half-stick is over the center hole on the arm. Screw them together. Repeat with the other half-stick on the other side.
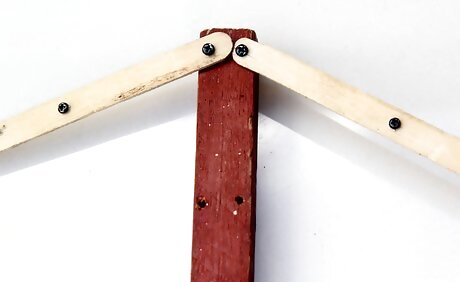
Drill two more holes in the lumber. Add these in line with the screws holding the crossbow arms, so you have four holes in a square pattern. Place them ¾ in (1.9 cm) away from the other holes.
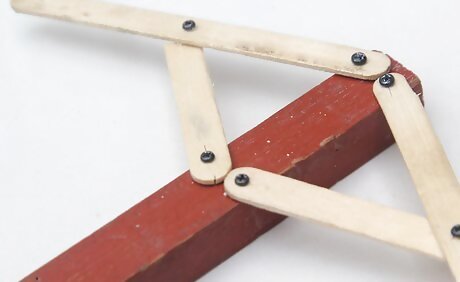
Fit the arms to these holes. Fasten a screw about halfway into one of the new holes. Move one of the crossbow arms, so the half-stick touches the screw. The half-hole in the half-stick should rest around the screw. Repeat with a screw on the other side. Don't tighten these screws all the way. This lets you place the crossbow arms in a sturdy position for firing, then shift the arms and fold them against the lumber.
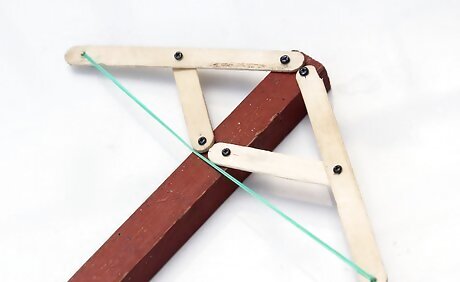
Add a rubber band as the bowstring. Take a long rubber band. Fit one end through the hole in the tip of the right crossbow arm. Wrap it around the tip once or twice to fasten it. Stretch the other end of the band to the left crossbow arm and repeat on the other side.
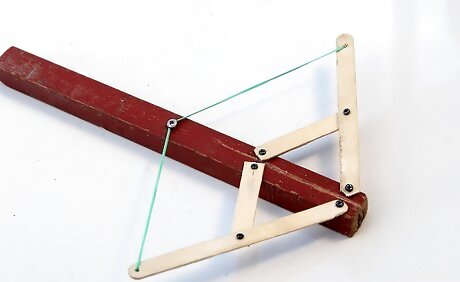
Make a notch in the lumber. Pull the rubber band back so it's taut, as though you were going to shoot it. Don't pull it back as far as it will go, or it will break after a few uses. Mark this spot on the lumber. Use a handsaw to make a notch across the lumber at this spot. You can keep the rubber band in this notch to make it ready for firing. You may still need to hold your thumb over this notch, especially if the notch isn't deep or the rubber band is very stretched.
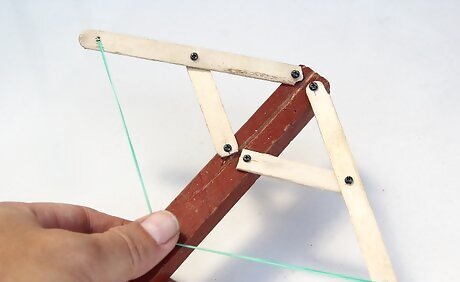
Make a groove for the bolts. Use a round file to make a groove in the lumber. Run it back and forth along the wood, from the firing tip to the notch. Go slow at first to make sure it stays in the center. Repeat until it's worn down into a deep groove. You can now fire wooden dowels out of your crossbow.
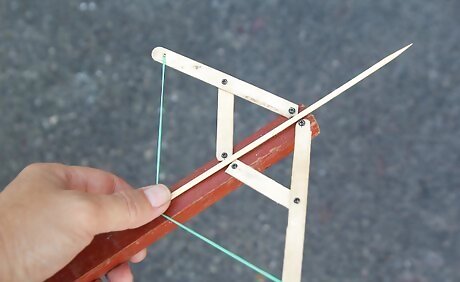
Finished.




Comments
0 comment