views
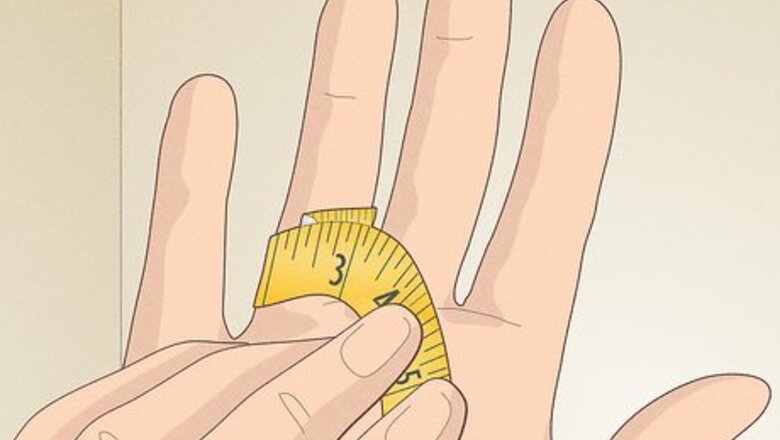
- Measure the circumference of your finger to get your ring size.
- Cut down the spoon to the appropriate size. Leave a few millimeters extra to account for the thickness of the spoon.
- Shape the metal using a ring mandrel and a hammer. Alternatively, you can use a ring bender.
- Sand or polish the ring to finish.
Using Hand Tools
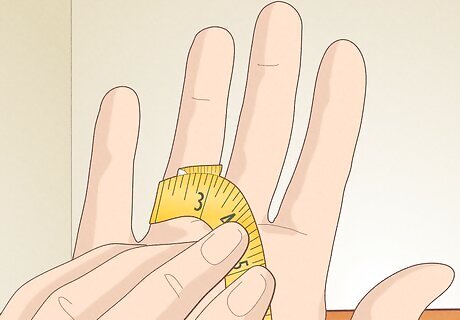
Measure your finger to find your ring size. Take a piece of string or fabric measuring tape and wrap it snugly around the finger you’d like the ring to go, marking where the ends meet. Measure the area of the string you marked in millimeters with a ruler, or convert the fabric tape measurement to millimeters. This is the circumference of your finger and is how long the ring band needs to be. Compare your measurement to a ring size chart to find your ring size number. Add a couple of millimeters to your measurement if you’re using a thick spoon or want a little more wiggle room.
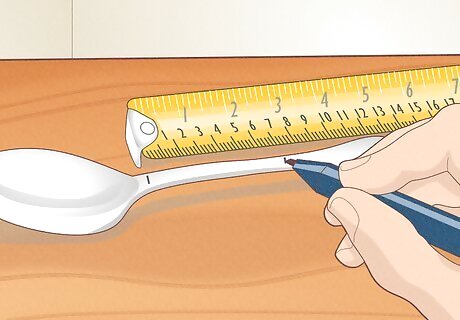
Mark the length of your ring on the spoon’s handle. Hold the ruler or measuring tape up to the handle, starting at the end of the handle. Use a permanent marker to make a dot or line on the handle at the same millimeter mark as your ring size. Consider making your first ring out of an inexpensive spoon. This way, you can do a trial run before making a ring out of a priceless antique or heirloom.
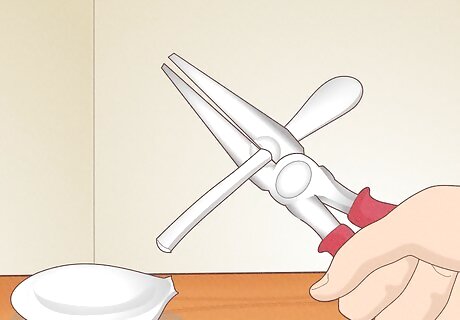
Cut off the spoon’s handle with pliers, wire cutters, or a metal saw. Place the tool on the handle at the line you marked, and start cutting. Try bending the spoon back and forth to break it faster. The tool you use is entirely up to preference. Use 1 tool or try a hand at all 3.
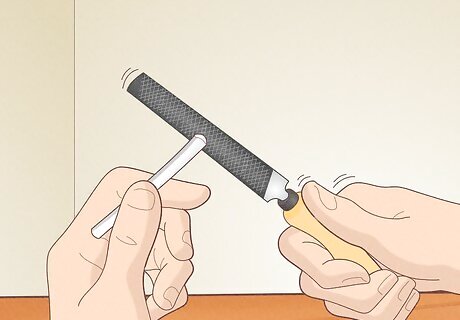
File down the broken end of the handle. When you cut the spoon’s handle off, jagged silver or stainless steel pieces will be left behind. Use a metal file to smooth out the edges until you’re able to glide your finger over it.
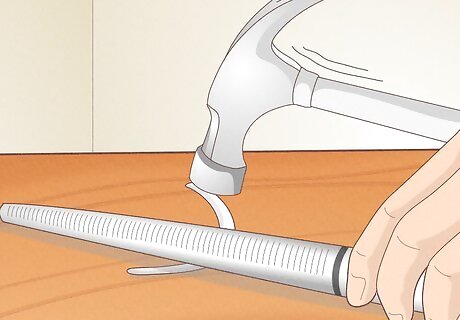
Bend the spoon with a hammer and ring mandrel. Place the handle on top of the mandrel on the line for your ring size. Use a hammer or mallet and start whacking at the handle until a “U” or “C” shape is formed. Ring mandrels are tapered rods that have ring sizes built-in. If you don’t have a mandrel, try shaping your ring with a socket or metal rod. Use a vise to help hold the mandrel or socket in place.
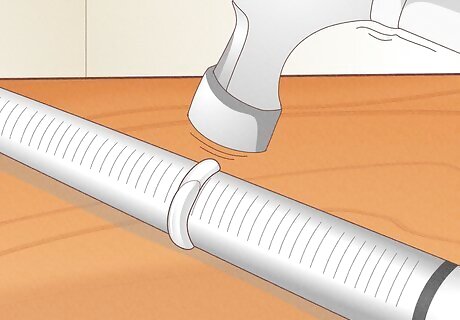
Shape the handle until the ends meet. Use the mandrel to press the handle against a table or hard surface with the ends of the “U” or “C” facing up. Hit the spoon with a hammer or mallet until the handle forms around the mandrel, making an “O” shape. Make your ring a bit bigger at first, try it on, and then adjust as needed.
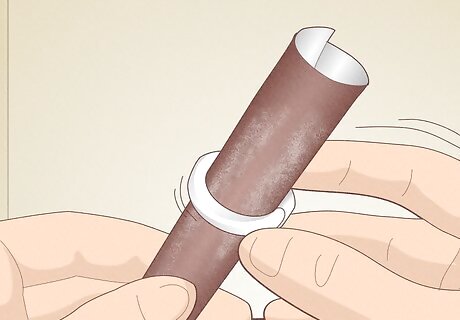
Sand the ring with soft sandpaper. Slide the ring off the mandrel and onto a rolled-up piece of sandpaper. Move the ring around until the inside is smooth, and then start sanding the outside. Once everything is nice and smooth, your ring is done! Use fine, soft grit sandpaper to avoid scratching the silver or steel.
Using a Ring Bender
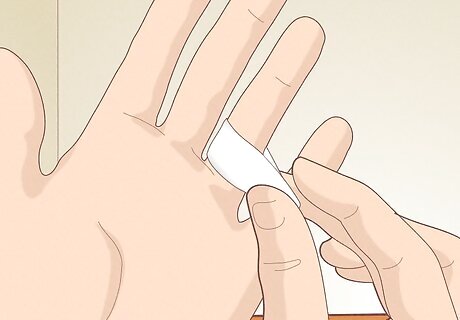
Measure the circumference of your finger with a piece of paper. Take a long, thin slip of paper and wrap it around the finger you want your ring to go on. Mark where the two pieces overlap with a pencil or pen.
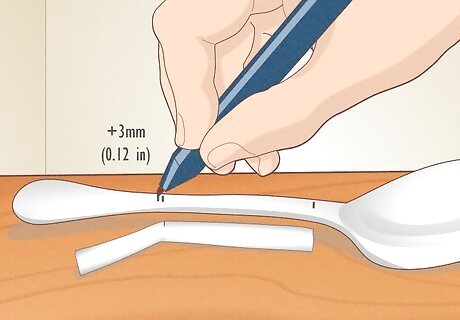
Add around 3 millimetres (0.12 in) to your measurement. The line you’ve made to mark the circumference doesn’t include the spoon’s thickness, so you need to add a bit more space. Line the end of the piece of paper with the spoon’s handle. Mark a new line 3 millimetres (0.12 in) out from the line you originally made. This is where you’ll cut the spoon’s handle. Go ahead and mark the spoon’s handle while marking the piece of paper.
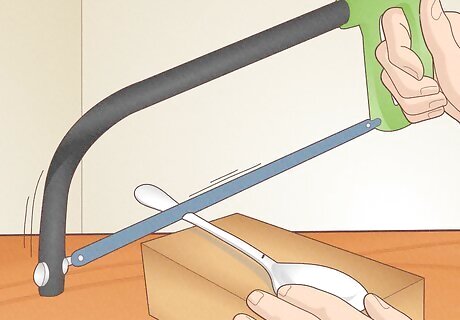
Cut the handle from the spoon with a metal saw or pliers. Break the handle off on your measurement mark to ensure it's the perfect size. A little force and elbow grease may be necessary as some spoons can be tricky to bend.
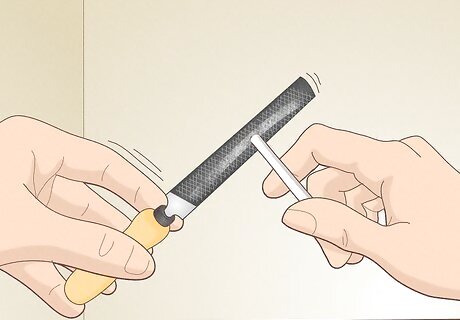
File down the edges of the broken handle. Use a handheld or manual metal file to smooth out any sharp pieces. Keep filing until you can run your finger over the edge without getting cut.
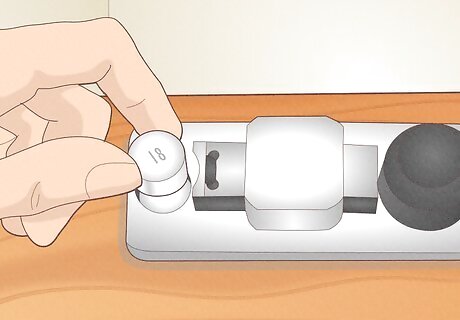
Set up the ring bender. Ring benders come with dies and ring sizers. The dies are square-shaped pieces with a groove that pushes the object into shape, whereas the ring sizers are small, columned mandrels that form the ring. Place the desired ring sizer and corresponding die in the slot at the front of the ring bender. Use a nylon die or die with a leather edge to avoid scuffing silver or stainless steel.
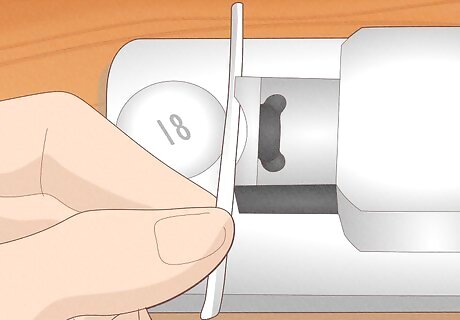
Place the spoon handle in the ring bender. Slide the handle in the slot between the ring sizer and die with the back of the handle facing you. The metal against the sizer is what will bend, so keep your ring’s design in mind. It can take a few tries to get the feel of a ring bender, so try experimenting with scrap metal before forming your ring.
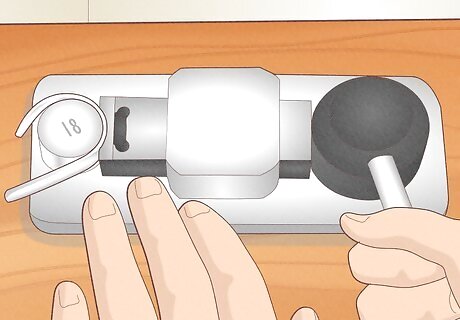
Shape the handle with the ring bender. Hold the handle in place with one hand while using the other hand to gently crank the ring bender’s lever. Release the lever and work more of the handle between the sizer and die. Continue to push on the lever and move the handle until your desired ring shape is made. Try not to use too much pressure or force the shape. Just keep working your way around the sizer until the end of the handle meet.
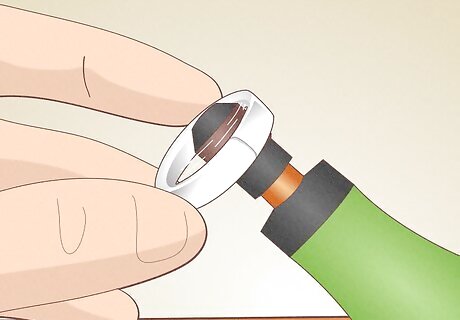
Polish the metal spoon ring with a polishing drill and metal polish. Use a small polishing drill bit with metal polish to buff and shine the inside of the ring. Then, use a larger polisher buff with metal wax to make the outside glisten. Finish the ring by wiping it with a jewelry cloth. For a duller shine, try hand sanding the spoon ring by lubricating it with WD-40 (to prevent scratches) and following this grit order: #200, #400, #600, #1000, #1500, #2000.




Comments
0 comment