views
Making a Hiking/Survival Staff
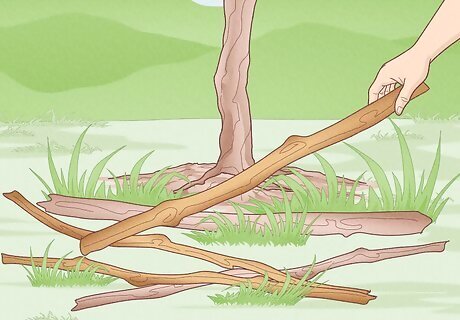
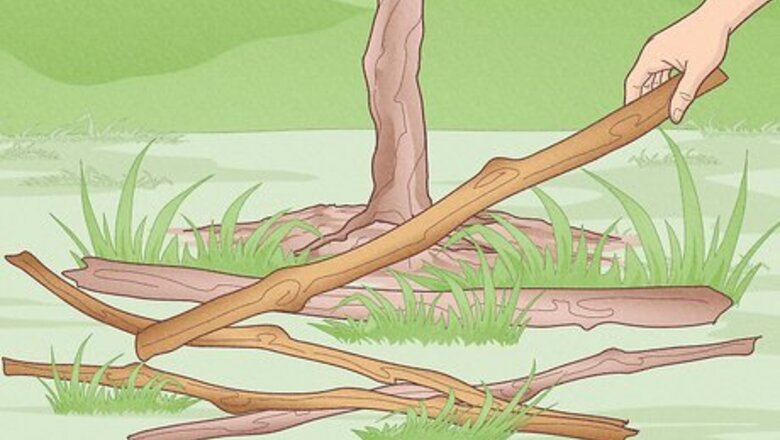
Collect dead wood of the appropriate height. For a good walking stick, you want dead wood that's got some heft to it, but is still lightweight enough to carry comfortably. The ideal piece should come up to your chin, though you may want a longer or shorter walking stick depending on your preference. It should be relatively straight, and relatively uniform in thickness, at least an inch or two in diameter. Green wood is too bendable to be effective as a walking or survival stick, so only collect dead wood to make for possible staffs. If you find a very desirable branch that you'd like to use, but it's too green, cut it and whittle it to debark it, but let it dry outdoors for several weeks before treating it and finishing.
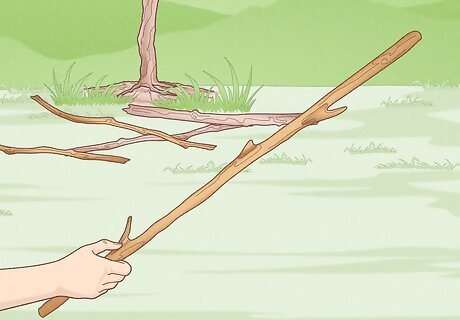
Look for hickory or ash. Any wood that feels comfortable to you is appropriate, but many people prefer the lightness and strength of hickory and ash, as well as the availability. Keep an eye out for good branches while you're out on hikes, of the appropriate size, and a variety of wood that'll hold up to heavy use. Research good woods in your area that are commonly used for hiking sticks. Other woods that make good walking sticks include: Vine maple Ironwood Salt cedar Aspen
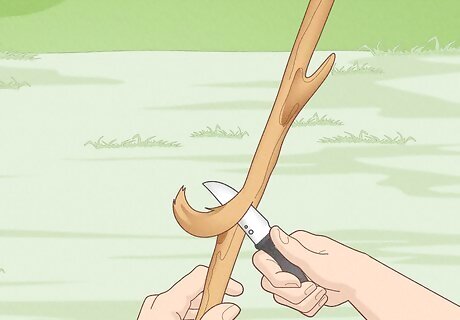
Remove bark and notches. Use a sharp pocket knife to whittle off the bark, taking extra care to smooth out any tiny branch notches or uneven places. Round up the ends of the stick by making tiny cuts to achieve a durable and clean finish to the end pieces. After cleaning up your branch, let it sit for a few days to make sure it's thoroughly dried out. If an orangish skin starts to form on the inner flesh of the wood, that's water escaping. Scrape it off again and let it continue sitting for a while until it remains a whitish color after several days.
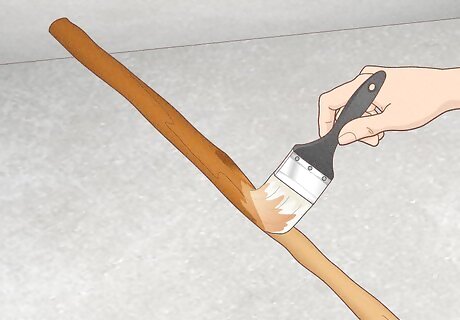
Seal with stain. If you want to give your staff a clean and durable finish, stain it with a good wood finish or wiping stain. Typically, you'll do a few coats, wiping on a thin layer evenly, then wiping it off and applying more layers. Do at least 3, and do more coats if you want to achieve a darker finish to your staff. Follow the instruction on the particular brand you purchase. Alternatively, some choose to woodburn, or do pyrography designs on their walking staff before sealing it. Choose a distinctive design that you like, if you want to give your staff some character, and burn it on.
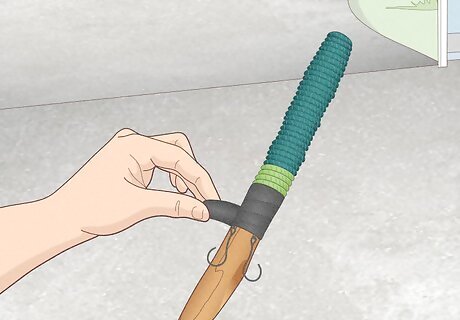
Add survival features to your walking staff. Some hikers and survivalists like to wrap a length of par cord Paracord around the staff to use as a grip, and electrical tape a couple of fish-hooks or other implements under it. You might also include carabiners for other attachments, like water bottles, knives, and other survival gear. Consider fashioning a leather grip and binding it to the staff to make the hand-grip more comfortable. On the lower third or so of your staff, notch a series of inch-measurements to use for tracking or to measure the depth of water as you hike.
Making a Magic Staff
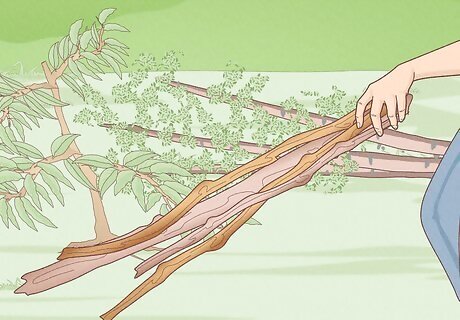
Collect wood after a storm. Many wiccans and other neo-pagans believe that wood felled by a storm is imbued with supernatural powers. Whether or not that's true, it's also just a good way of collecting wood. Head out to the woods after a particularly windy storm to look for pieces of wood that speak to you.
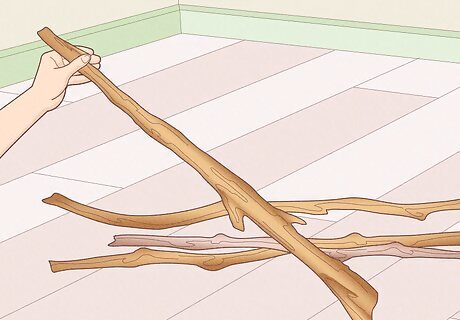
Select a stick with significance. In magic, staffs are traditionally symbolic of male energy and are often linked to the wind and sun. Often, they're made of hickory or oak, significant for their strength and durability, but a magic staff can be made from any kind of wood that feels right in your hands. It's something you're going to be using for your own practice, so it's important to get something that feels right, and seems significant to you, for whatever reason. When you find a prospective staff, sit with it. Hold it in your hands. Try to get a feel for its energy. When you hold the right one, you'll know it. Ideally, your staff will be 3–5 feet (0.9–1.5 m) in length.
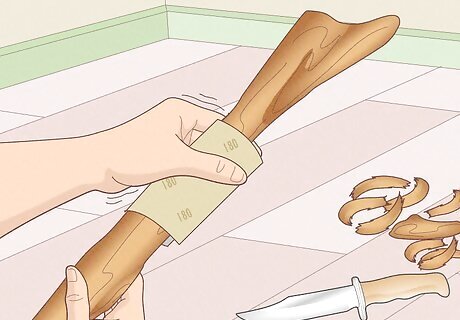
Smooth and clean the staff. Use a knife and sandpaper to remove the bark and smooth the surface of the wood. Use long even cuts with a very sharp knife to keep the staff as clean and smooth-looking as possible. Be very careful while using the knife. Let your staff dry thoroughly and remove any orangish bark that builds up as it rests.
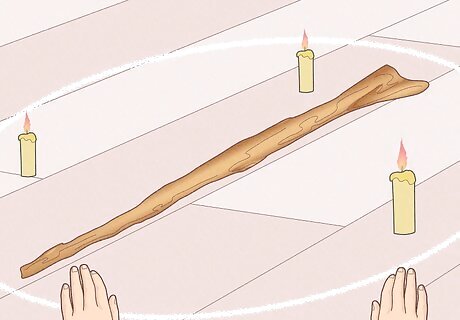
Charge or bless the staff. Depending on your practice, you may have a particular ceremony appropriate for the purpose or charging an object or blessing it in preparation for magic. Light candles, cleanse the area, cast a circle, do whatever needs to be done to prepare for the ritual. When meditating, consider the natural elements, the earth, sunlight, and water that went into the creation of the tree that yielded this staff that you'll use. Thank the tree and meditate on its gift.
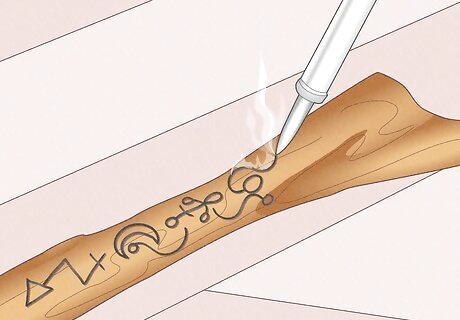
Consider pyrographing important symbols into the wood. Pyrography is done by heating a metal object, usually a needle or even a soldering iron, and burning patterns into the raw wood. On a magic staff, this can be particularly useful as a way of imbuing it with symbolic powers. Generally, you'll want to avoid artificial sealants and finishes on your magic staff. Some practitioners believe this can limit the power of your staff by restricting the natural properties of the wood. To be on the safe side, leave it unsealed.
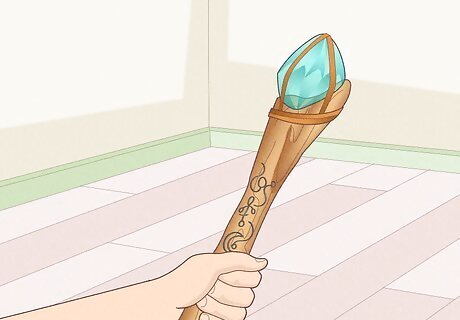
Adorn the top of the staff with a charged stone or crystal of significance to you. It may be advantageous to adorn the top of your staff with a similarly-charged or related crystal or other gem to make your staff more powerful. If you wish to do so, carve a small diver into the top of your staff and smooth it to the shape of the gem you hope to place atop it. Don't glue or otherwise permanently bind it to the staff. Instead, lash it with leather thongs or bindings, to remove it for particular uses if necessary.
Making a LARP Staff
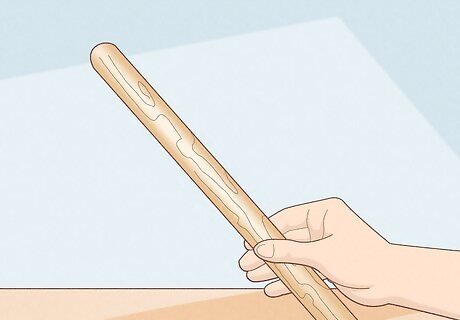
Buy dowels of the appropriate length and thickness. If you want to make cool-looking costume staves for live action roll playing or cosplay, wooden dowels, available at any hardware store, are the perfect choice. They're already uniform and clean, available in many lengths and widths. Other options for the base of your staff include: Old broom or mop handles Broken hockey sticks Axe handles Shovel handles Curtain rods PVC pipe
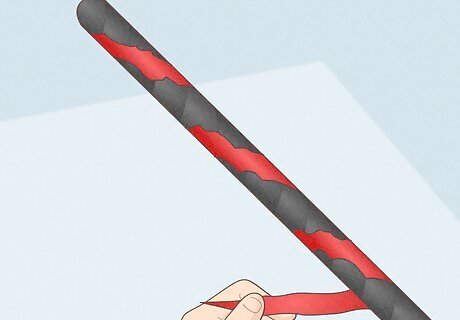
Wrap your staff with electrical tape. Red and black work best to give your wizard's staff a cool and metallic finish. It'll look like something other than what it is, which is the idea. For a cool effect, do a base wrap with black tape and then wrap red electrical tape winding down the staff, like a devious serpent or dripping blood.
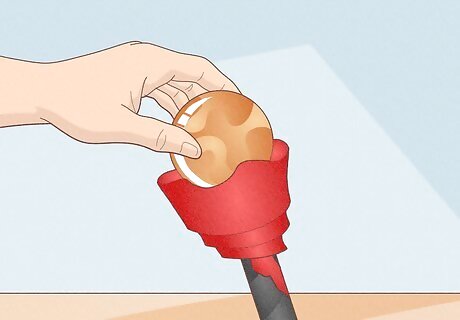
Find a crystal ball for the top of your staff. No staff would be complete without a gazing ball atop it. For a cool effect, look for small bouncy balls in the toys section at the store, or check out other kinds of lightweight balls that would look appropriate. Some are streaked with psychedelic colors that would be perfect for a staff. If you want to change the color, get some spray paint and paint it carefully outside, making sure you're in a well-ventilated area and have adult supervision. At the top of your staff, you might also want to hang scarves or other decorations to complete the kind of staff you want. Get creative and go crazy.
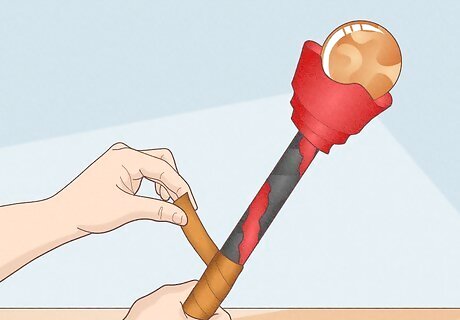
Create a handgrip from leather or electrical tape. To make sure you've got a good grip on your staff while you're on the battlefield, it's a good idea to fashion something to hold onto. If you've got an old football lying around, cut the seams apart and use one of the individual diamond-shaped sections to fashion a leather-like wrap-around grip that you can hold onto. Sew it together with twine for a perfect rustic-finish. Alternatively, you could get another color of electrical tape and wrap around the area several times to get a hand-shaped place to hold.




Comments
0 comment