views
- Find a long stick that’s slightly thinner than a pencil. Then, find a sharp and pointed rock slightly wider than your stick’s width.
- Use glue and string to connect the rock to 1 end of the stick. Then, create a notch at the other end of the stick and attach the feathers.
- Let the arrow dry for at least 2 hours to ensure the glue sets properly.
Making an Arrow from Wilderness Materials
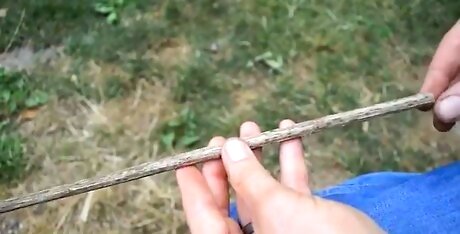
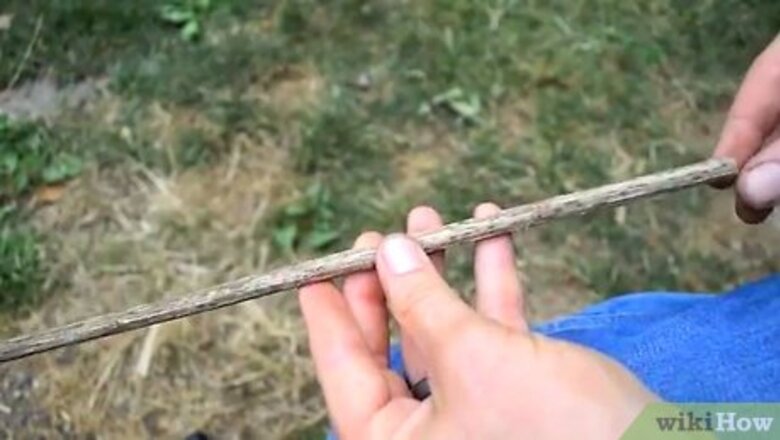
Find a stick. The shaft of your arrow should be made from a suitable stick or branch. You want a piece of wood that is light yet sturdy and as straight as possible. For a long bow, find a stick that is slightly thicker than a pencil, and about the length of the distance from your wrist to your shoulder. It's better to stick with a longer stick rather than a shorter stick - you can always break part of a stick off if it's too long, but there's no way to make a short stick longer.
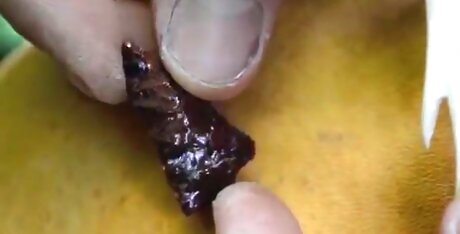
Find a pointed rock. Ideally, your rock should have one sharp, pointed end and one flatter end that fits flush against one end of your stick. Good stones will have a cone-shaped or blade-shaped point and be slightly wider than the stick's thickness. If needed, sharpen your rock's point against another rock or a sharpening stone. Alternatively, you can use sharp pieces of bone if they're available. If you're in an area known for volcanic activity (such as the Hawaiian islands), you may even want to look for naturally-occurring obsidian around old, cooled lava flows. If you're very dedicated (or lucky), you might be able to find an actual arrowhead - that is, a specially-sharpened rock used by an ancient culture to tip an arrow. Arrowheads are occasionally recovered from places where the earth has been disturbed, such as recently-plowed fields, construction sites, and riverbeds.
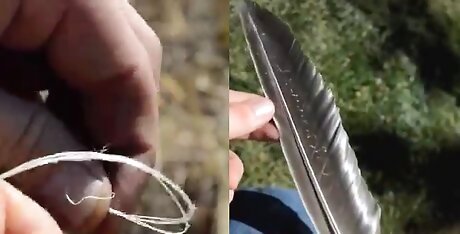
Gather glue, string, and feathers. If you're willing to compromise in terms of your arrow's historical authenticity, you can simply use commercial glue (a hot glue gun works best) and normal string or twine. On the other hand, for a truly old-school arrow, you can make a simple glue from flower and water and make string from certain types of tree bark. If possible, get two large bird feathers that are the same size. The feathers aren't absolutely necessary, but they will improve your arrow's accuracy by stabilizing it as it flies.
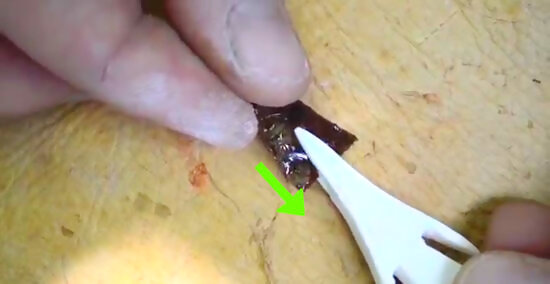
Glue the pointed rock to the end of the stick. This can be done by cutting a small notch into the stick deep enough to hold about a 1/4 of the length of the rock. Glue the rock in place, then coat the part of the stick near the rock with glue. Wrap a string around the notch and the base of the rock, making sure it grips the stick and the rock tightly. Tie the string securely, then coat it with glue to improve its strength.
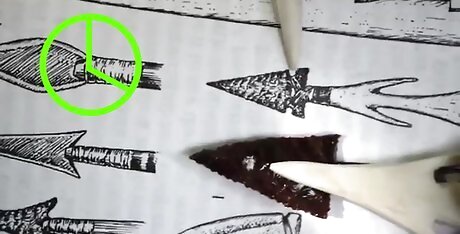
Allow the arrow to dry. Carefully lay your arrow down so that none of its weight is being supported by the tip and allow it to dry. Leave it in the sun to speed the drying process, carefully turning it over after an hour or so to ensure the glue dries evenly.
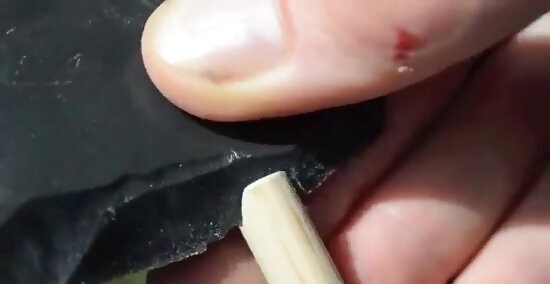
Cut a small notch at the "back" end of the stick. When you fire your arrow, the bowstring will fit into this notch, helping the keep the arrow steady. This notch doesn't have to be terribly deep - 1/8 to 1/4 of an inch will usually do, based on the thickness of your bowstring.
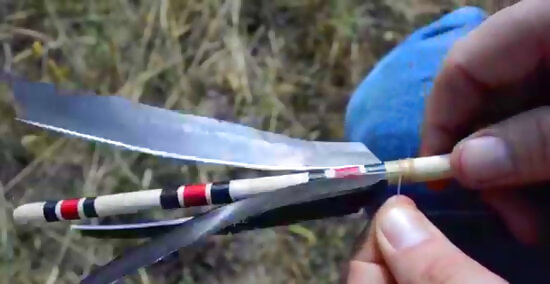
Attach the feathers. Cut your feathers down the center. Place some glue on the shaft of your arrow and glue half of the feather down this in a way so it curves slightly. Arrange four feather halves so that they're evenly spaced around the circumference of the back end of the arrow and they all curve in the same direction. The spiral arrangement of the feathers will cause the arrow to turn in a spiral as it flies (like a well-thrown football or a rifle bullet), which tends to make it fly straighter and and more accurately. Traditionally, a thin cotton thread would be used to tie the feathers on by ruffling them the wrong way so a gap appeared to place the string while the feather was held to the shaft. You may choose to replicate this practice if you desire. If you do, wrap the thread around the feathers so that they're tightly held against the shaft of the arrow, then glue the thread in place.
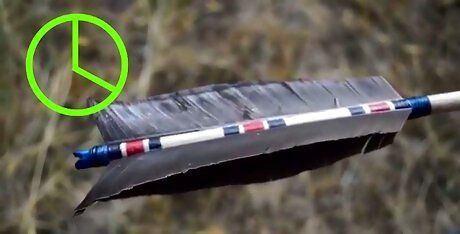
Let the arrow dry again. Let the glue dry for about 2 hours - your exact drying time will vary depending on the type of glue you use and the construction of your arrow. Again, make sure that your arrow is arranged so that neither the feathers or the point of the arrow are bearing any weight as the glue dries - otherwise, they may dry crooked.
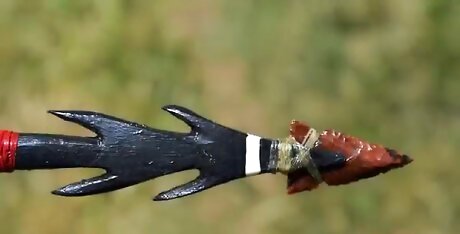
Test your arrow. When you're sure the glue is completely dry, gently flex the tip and the feathers to test their strength. If they're securely attached and don't budge at all, your arrow's ready to fire! Notch your arrow in your bow, pull the bowstring back, aim, and let your arrow fly! Never shoot your arrow at people or animals - even stone age arrows can seriously hurt someone - after all, they were originally used for hunting.
Making an Arrow from Commercial Materials
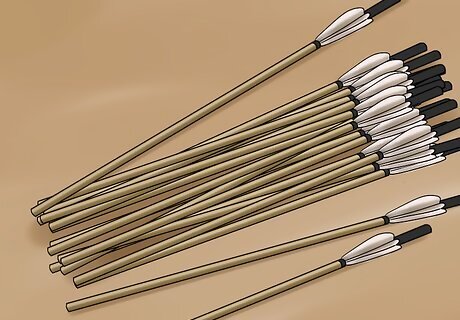
Buy or fashion your shaft(s). Today, there are a wide variety of materials that arrow shafts are constructed from. Some hunters use wooden arrows that aren't functionally very different from old-fashioned arrows, while others prefer high-tech carbon fiber constructions. Shop around for available shaft materials or consider making your own - some sporting good and hunting supply stores even sell special arrow saws that can help you professionally fashion an arrow shaft from a wide variety of materials. If you want to make your own shafts, be sure your shafts are the correct length for your bow setup. If you plan on making your shafts from wood, you may want to have access to a lathe to help round square shafts to a perfect roundness.
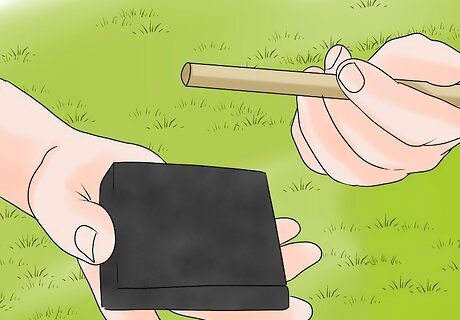
Square the end of your shaft. The end of your shaft should be perfectly flat to ensure a good fit when you attach the arrow's point. If you bought a prefabricated arrow shaft, you may not need to do any extra work, but if you're fashioning your arrows from wood, you'll definitely need ensure that the end of the shaft is perfectly square. Press the end of the shaft into an abrasive surface (sandpaper, etc.) and rotate the shaft to square the end. A arrow-squaring device can be a tremendous help - these ensure that the shaft is held perfectly straight as it is abraded. Arrow-squaring devices are fairly cheap - often retailing for less than $50.
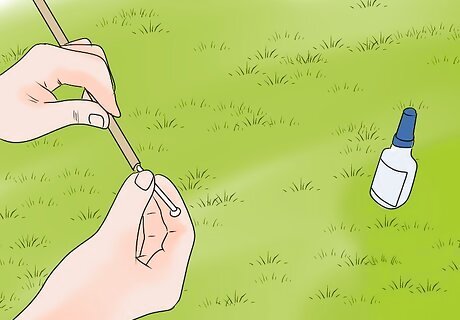
Attach a point and/or insert to the end of the shaft. Ensure the end of the shaft is perfectly square and free of any wood shavings, dirt, etc. Then, affix the arrow's point. This process will vary based on the type of shaft your arrow uses. For metal or carbon shafts, you may need to first glue or screw in a special metal insert before affixing the point. Consult the vendor or manufacturer if instructions aren't included with the point or insert. For wooden shafts, you may need to taper the shaft so that the point can be mounted securely. Glue the point over the shaft with archery glue, wiping away any excess.
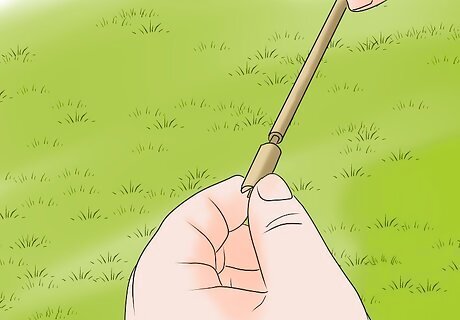
Add a nock. The "nock" is the small notch at the back of the arrow where the bowstring fits. If you're making an arrow from a wooden shaft, you can carve a shallow nock into the back end of the shaft yourself. You can also buy commercially-available nocks which are designed fit over (or in to) the shaft of the arrow. These are usually brightly-colored plastic so that your arrows are easy to find after firing. Some high-end nocks even contain a small LED so that they glow in the dark, making hunting or target shooting at night much easier. Make sure your nock is sized correctly so that it fits securely to the shaft before you glue it or screw it in. You definitely don't want a poorly-fitted nock to slip or fall off when you draw your bowstring.
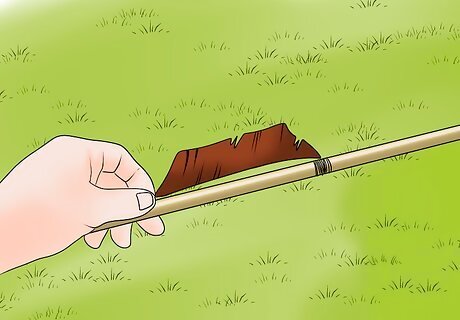
Fletch your arrow. Fletching is the process of adding small fins, or "vanes," to the back end of the arrow to ensure it flies straighter. You may fletch your arrows with feathers or another lightweight material. However, you may find it easier simply to buy modern plastic vanes, which are cheap and effective. Use thin lines of archery glue to secure these ahead of the nock. Fletching is much easier with an apparatus called a "fletching jig." These allow you to securely and accurately add your feathers or vanes and ensure that your spacing is perfectly even. Fletching jigs are available for less than $100.
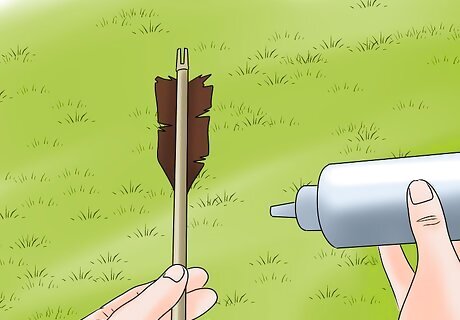
Make your finishing touches. Allow any glue to dry - your arrow may need to dry for several hours, depending on whether your tip, nock, and fletching were attached with glue or not. When your arrow is finished drying, or if you constructed an arrow entirely from screw-in parts, you can consider customizing it. You may want to mark it with paint or a permanent marker to make it easier to retrieve or to give it a distinct appearance. If you used a wooden shaft, you may want to finish the wood to protect it from the elements and to give it a more pleasing appearance. When your arrow is just how you like it, you're ready to add it to your quiver! As always, make sure never to fire your arrow at people or animals (unless you're on a legal hunting trip). Modern commercial arrow points are deadly sharp - an accident can result in serious injury or death.




Comments
0 comment