views
Designing Blueprint Basics
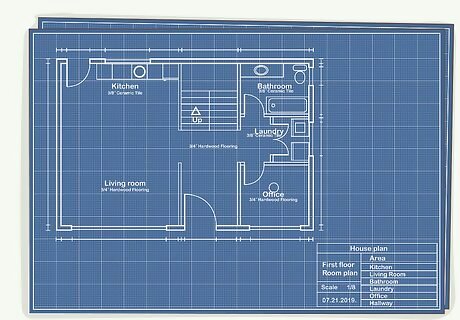
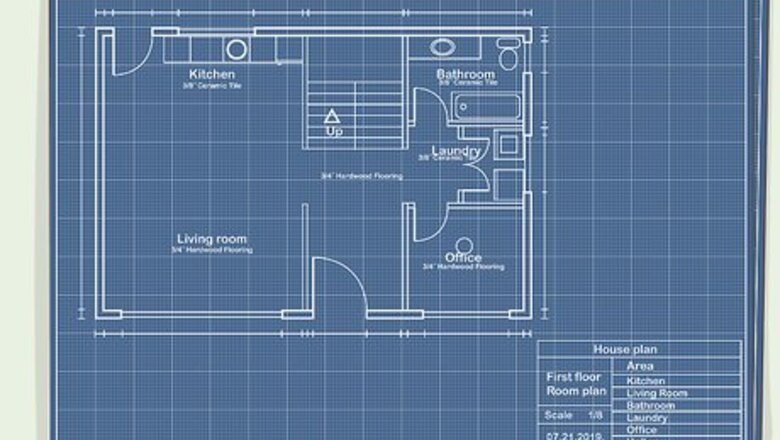
Learn how to read blueprints. Before you make your own blueprints, it will be helpful for you to learn how to read other blueprints so you can make sure that yours has all of the necessary information and structure. You need to know how to read the standard scale, grid, lines, as well as the notes and legend. Read the title blocks to know the blueprint’s name, location, site, and vendor so you can include the information when you make your own.Tip: Find blueprints that are similar to what you want to design so you can use them as a reference.
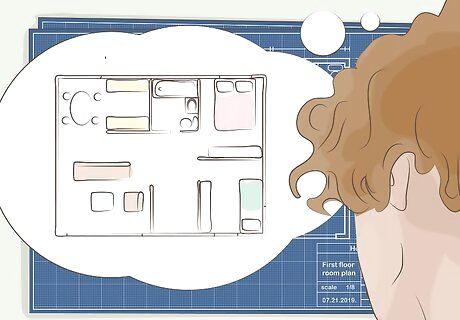
Visualize the design of your structure. As you’re looking at other blueprints for inspiration, imagine what you’d like to design. How are you going to use the space? Picture the layout of the rooms, materials for flooring, placement of appliances and electrical outlets, as well as where you’d like to place windows and doors. Think about how thick you want the exterior and interior walls to be. Don’t forget about hallways and entrance ways when you’re coming up with your design.
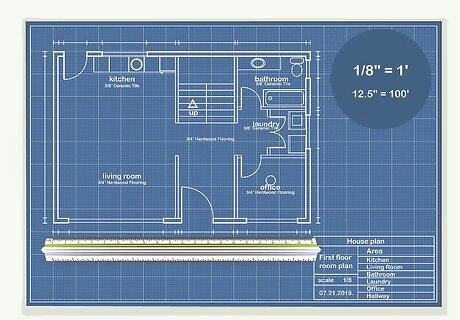
Decide on a scale for your design. All blueprints are scaled representations of the design of a structure or layout. The key to having accurate blueprints is to use a consistent and precise scale for your design. The scale dictates the sizing measurements for the entire blueprint. For example, you could choose ⁄8 inch (0.32 cm) to represent 1 foot (0.30 m). Stick to the scale that you set for the whole design.
Drawing by Hand
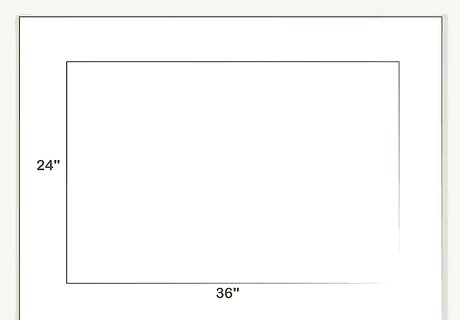
Lay a 24 by 36 in (61 by 91 cm) sheet of tracing paper on a poster board. The poster board will act as a base for you to draw your blueprints on the tracing paper. Place the poster board down on a flat working surface like a table or desk and then lay the tracing paper on top of it with the long edge running horizontally. You can find large format tracing paper at craft supply stores or online.
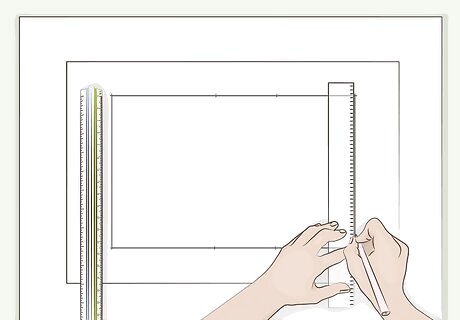
Create the exterior wall of your design. First, you need to decide where you want the outer wall or border of your design to be and draw it to scale. Use your architect’s scale, a straight edge, and a pencil to draw the outer wall. Roughly center your design in the space on the tracing paper.
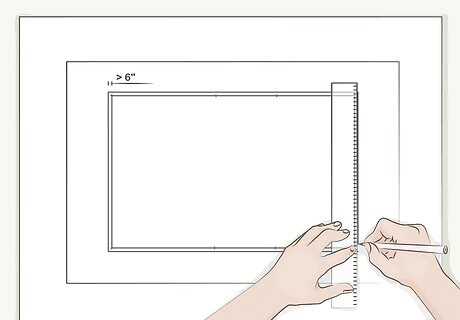
Use a second line to show the width of the outer walls. After you complete the outer wall of your design, draw another line parallel to the first line to show how thick the outer walls will be. Use your architect's scale to make sure you follow a consistent scale. Most houses have an outer wall that is at least 6 inches (15 cm) thick.
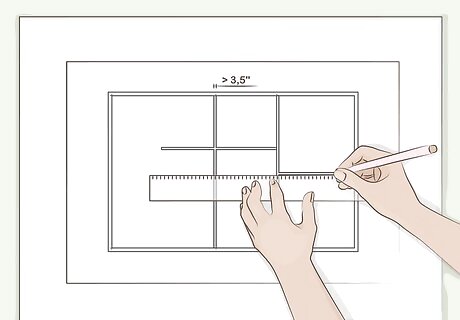
Add interior walls to create rooms and separate the space. When you finish drawing the exterior of your design, you need to add lines to form the inner walls. Draw the lines to scale so the rooms and hallways are accurate. Draw 2 lines like you did for the exterior walls so you can indicate how thick the inner walls will be. For a home design blueprint, most interior walls are at least 3.5 inches (8.9 cm) thick. Think about the spaces that you’re making. You can use the walls to create bedrooms, hallways, a kitchen, or any other rooms that you want to include in your design.
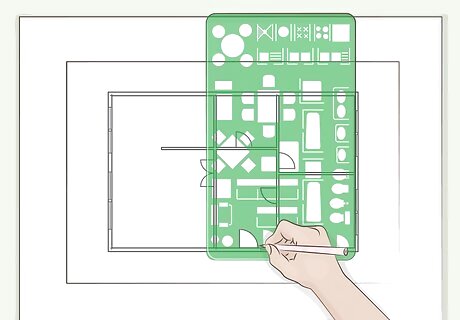
Draw the doors and windows in your design. Once you’ve completed the interior walls, use the appropriate blueprint symbols to add doors and windows to the design. Place the doorways where people will enter into a room, and have it swing open in the direction you want it to. Add windows where you want them to be placed in each of the rooms.Tip: Use a specialized architect ruler that displays the symbols so you can add details like doors, sliding doors, double casement windows, and any other design element to your blueprint. Some rulers even have stencils to help you draw them.
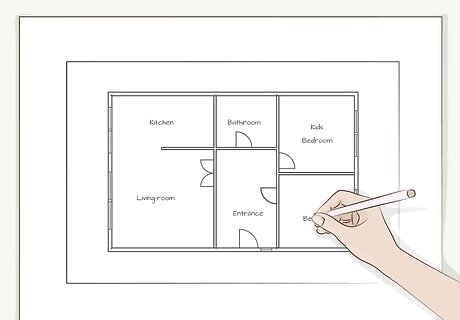
Label the spaces in your design. Write a clear label or description in the center of each room so you can reference it easily. Label all of the spaces, including any hallways, closets, and entrance ways. Print the name or description of the space clearly.
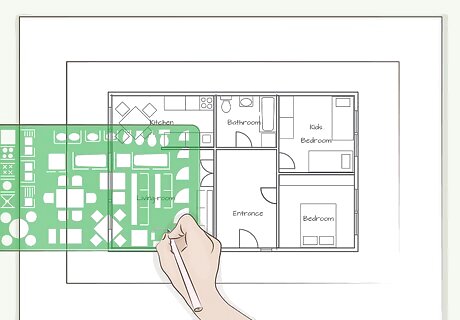
Insert symbols for appliances, plumbing, and electrical outlets. If you plan to add appliances, plumbing, fixtures like cabinets and counters, or electrical outlets, add symbols for them into your blueprint. That way you can be sure there’s enough room for them in the space. They should be represented by simple but recognizable representations. Make sure you draw them to scale in the spaces. Label the symbols so it’s easy to tell what they are. You can also add symbols for furniture or anything you plan to put in the room.
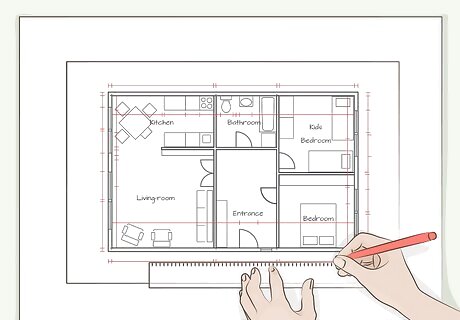
Finish the blueprint by adding dimension lines. The last thing you need to do is draw lines to indicate the lengths of the design elements. Start with the walls by adding lines about .5 inches (1.3 cm) from the edges of the walls in each room to show their length. Then add another line about 1 in (2.5 cm) from the exterior walls to show the total length. Add dimension lines for every room, window, closet, cabinets, and any appliances that you’ve added to your blueprint.
Using Design Software

Purchase a design program or use an online program. Choose a program based on what you’re trying to design. Unless you’re a professional architect, you may want to choose a program that’s designed for amateurs and is easily accessible. Download the program to your computer. You can find design programs at computer stores or online. Read the packaging or product description to make sure your computer is compatible with and can support the program. You can also use online programs to create your designs so you don’t have to download a program to your computer. Search online for a design program that fits your budget.
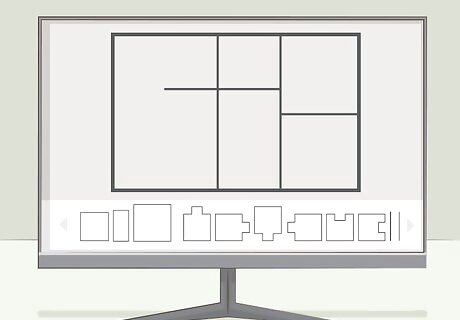
Create the walls and rooms according to your specifications. Start with a blank template and use the software tools to create the walls and rooms. Many programs have easy-to-use design tools so you can simply click to add a room or a feature in the template. Adjust the thickness of the walls to match your specifications. Label the rooms after you create them.
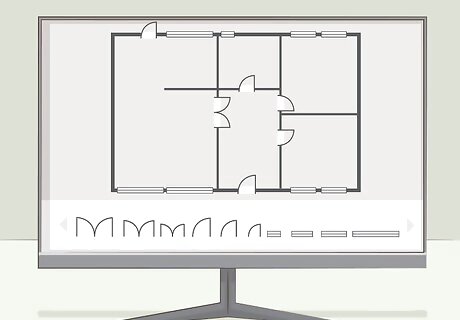
Add doors and windows to the design. Use the program's tools to select the type of windows that you want and place them in your design. Add the doors to indicate where you would enter and leave a room. Adjust the sizes of the doors and windows to fit your design. Make sure the door swings open in the direction that you want it to. Computer design programs will have a variety of window and door designs to choose from, so take a look through the menu to make your decision.
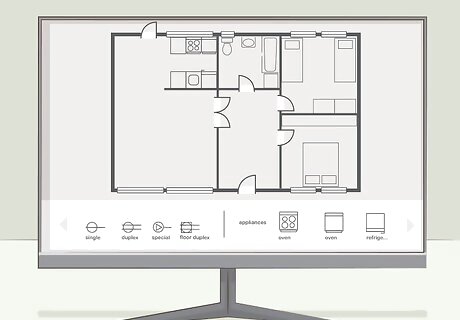
Place additional features to complete your design. The design program will include options to add symbols for appliances, furniture, cabinets, electrical outlets, showers, and many other features that you may want to add to your design. Select the symbol, then drag and drop it where you want to place it in the design. Label the features that you add so they’re easily identifiable.
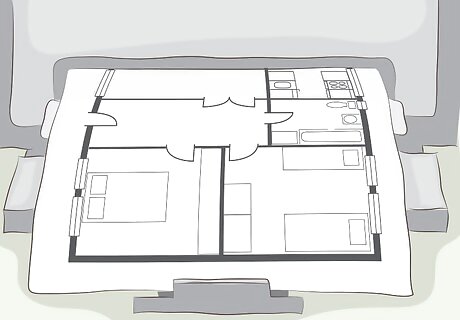
Print out your blueprint. Once you’re satisfied with the blueprint, save the file, and print it out. You will now have a clean and legible blueprint that you can use to build and bring your design to life!Tip: Roll up the blueprint and store it in a protective tube so it doesn’t get damaged.


Comments
0 comment