views
Making Post Earrings
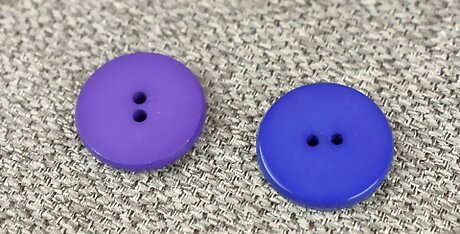
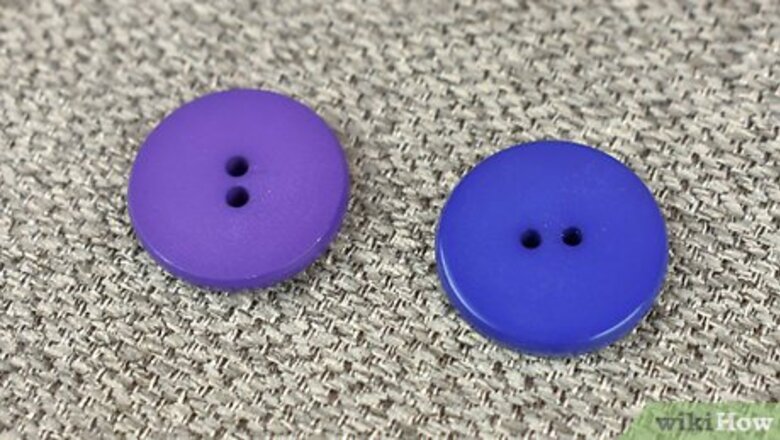
Get a pair of matching buttons. Plain, 4-hole or 2-hole buttons would work best for this method. You can still use coat-style buttons with a loop on the back, however. Whichever style of button you use, make sure that it is the same size, or a little bit bigger, than your earring posts.
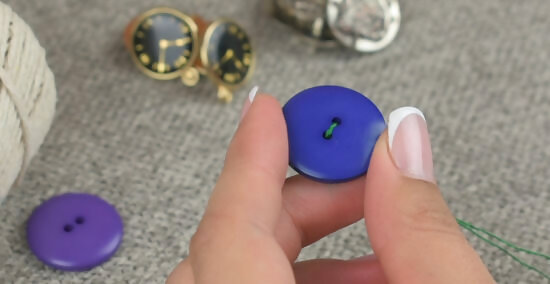
Prep the buttons, if desired. For a cute look, pass some embroidery thread through the holes. If you are using a 4-hole button, pass the thread through the holes to create an X-shape. If you are using a 2-hole button, simply pass the thread through the holes once or twice. When you are done, tie the thread off in the back of the button, and snip off any excess. If you are using coat-style buttons, cut the loop off with a pair of heavy-duty wire cutters. Use a piece of sandpaper to smooth away any roughness or jagged edges.
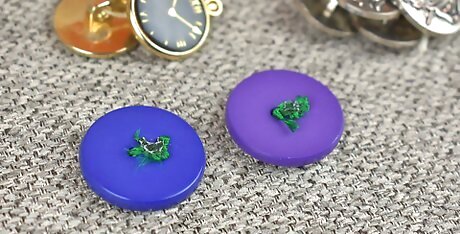
Set the buttons face down. It might be a good idea to do this on a piece of wax paper in case any glue leaks out through the holes. If you added thread to the buttons, however, you won't have to worry as much about this.
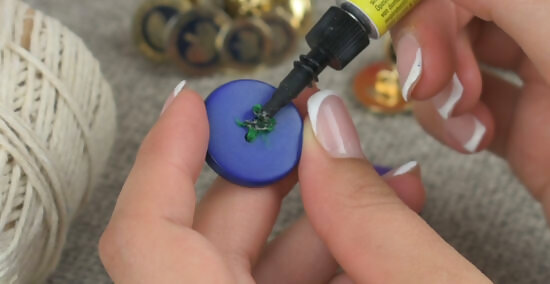
Place a bead of glue onto the back of an earring post. The best type of glue to use for this would be super glue, industrial-strength glue, or some type of epoxy glue. Avoid putting too much on, however, or it may leak through the button holes! If you do not have pierced ears, you can use clip-on earring backings instead.
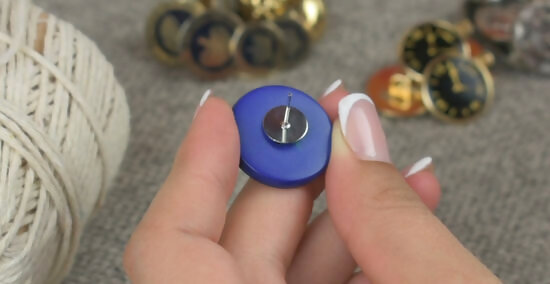
Gently place the post onto the back of the button. Try to make the post as centered as possible. If you are using a 4-hole button, use the holes as guides.
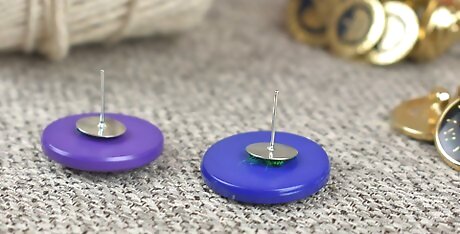
Wait for the glue to dry. Depending on the type of glue you are using, this may take a few minutes to a few hours. If you don't wait long enough, the earring may fall apart. Refer to the label on your bottle or tube of glue for specific drying times.
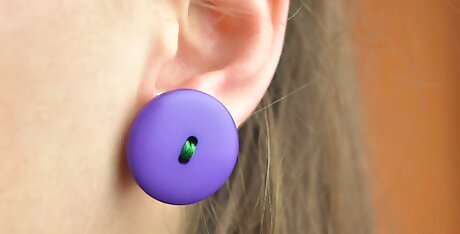
Wear your earrings. Once the glue has dried, your earrings are ready to wear. Be gentle when taking them out, however, or they may break apart.
Making Hook Earrings
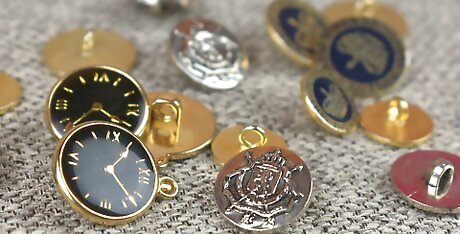
Get a pair of buttons. You can use plain 2-hole or 4-hole buttons for this. You can also use coat-style buttons with a loop on the back, or even fabric-covered buttons.
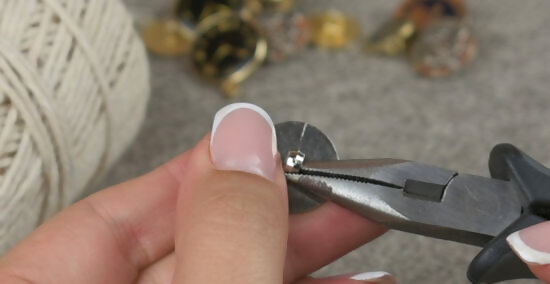
Prep the buttons, if needed. If you are using 2-hole or 4-hole buttons, you do not need to prep them. If you are using a coat-style button, or any other style of button that has a loop on the back, you will need to cut the loop off with a pair of wire cutters. When you are done, use a piece of fine-grit sandpaper to smooth away any roughness or jagged edges.
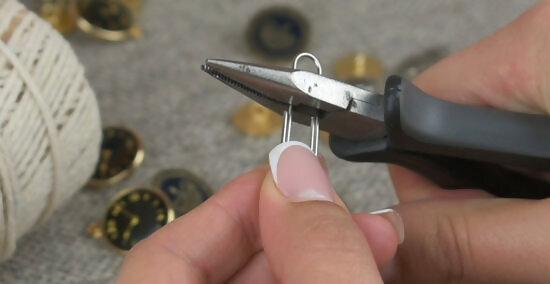
Use a pair of wire cutters to cut the top part off of a paperclip. This will create the loop for your earring to hook on to. It needs to be a little bit shorter than the button itself. Alternatively, you can use a small piece of gold or silver wire, and then bent it into a narrow U-shape. Be sure to match the color of your wire to your earring hook. For example, if your earring hook is gold, you should use gold wire.
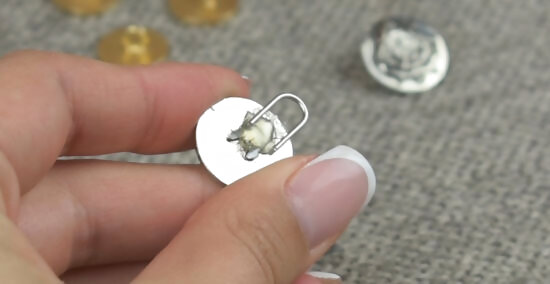
Glue the cut piece to the back of the button. Make sure that the top part of the paperclip is sticking out over the edge of the button. It does not need to stick out by much—just enough so that you can thread your earring hook through. The best type of glue to use for this would be a thick, industrial-strength or epoxy glue. If you are using a basic 2-hole or 4-hole button, however, super glue may also work.
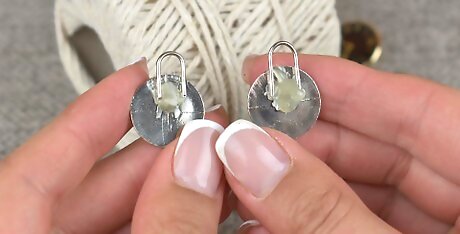
Wait for the glue to dry. If you move on too soon, the next step might weaken the paperclip loop, and cause it to break off.
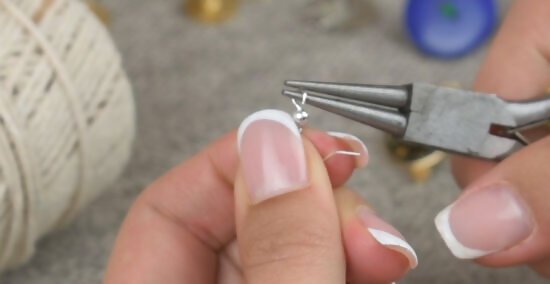
Twist open the loop on your earring hook using a pair of pliers. Do not pull the loop apart, as this may distort it.
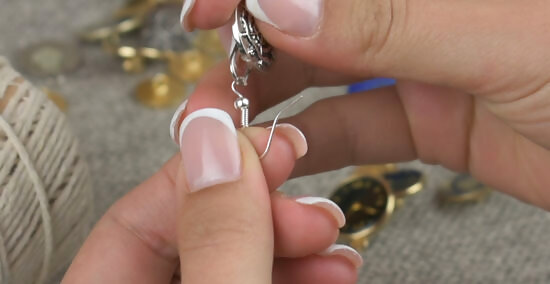
Slip the loop over the paperclip, then twist it back shut. When slipping the earring hook on, making sure that it is facing the right, otherwise, your earrings will be backwards when you put them on!

Repeat the process for the other button. Once you have done this, your earrings are ready to wear!
Making Fabric Button Earrings
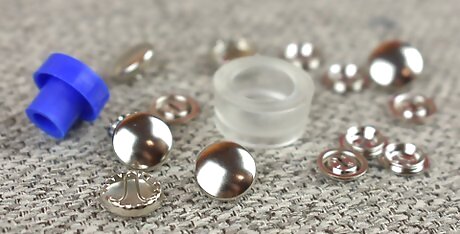
Get a fabric-covered button-making kit. These kits usually include a set or two of metal buttons as well as two plastic pieces. These plastic pieces are meant to help you put your buttons together. Save the packaging! It usually has a template for the fabric.
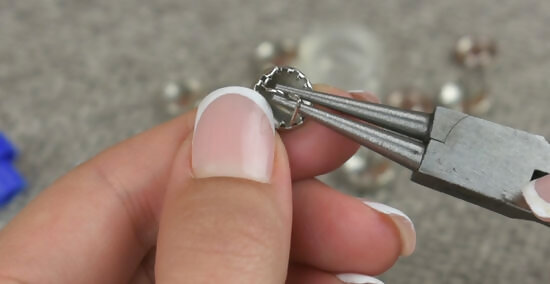
Use a pair of pliers to pull the metal loop out of the button back. If you can't pull the metal loop out, you can cut it off using a pair of wire cutters instead. Set the button backs aside when you are done.
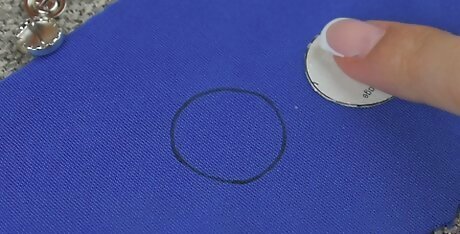
Use the template to trace a circle onto your fabric. You will need one circle for each button that you are making. If your kit did not come with a template, or if you accidentally threw it away, draw a circle roughly twice the size of your button top. Some templates are shaped like a semi-circle. In this case, fold your fabric in half, and place the straight edge of the semi-circle along the fold. The best fabric to use for this is cotton fabric. It can be plain or patterned.
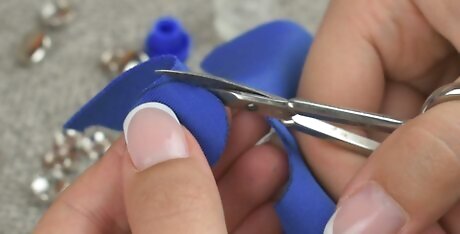
Cut your fabric out using a pair of fabric scissors. Try to be as neat as you can. Because of the small size you are working in, any small mistakes will have a big effect on the final product.
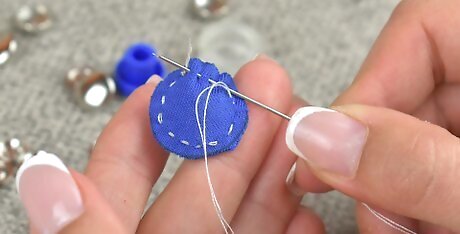
Hand stitch along the edges of the circle. This will make assembling the button easier. Be sure to leave a long tail of thread and the needle still attached so that you can pull on it to gather the fabric later.
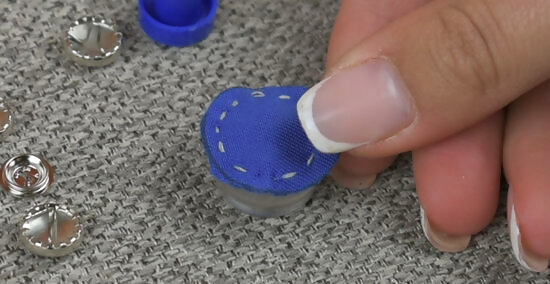
Place the fabric right-side-down into the button maker. This is the larger of the two plastic pieces. Try to center the fabric as much as possible.
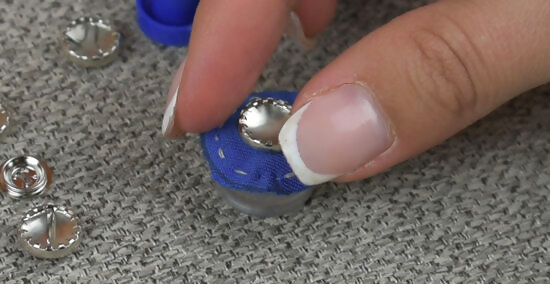
Place the button cap on top of the fabric, smooth-side-down. Push it down until it rests firmly inside the button maker.
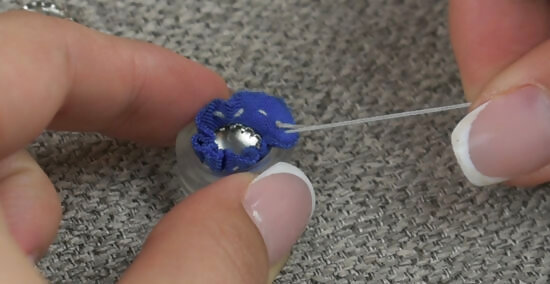
Pull on the thread to gather the fabric. The fabric should now be gathered around the inside of the button. Stitch in place a few times, then tie the thread off into a knot, and snip it. This will keep the fabric in place for the next step.
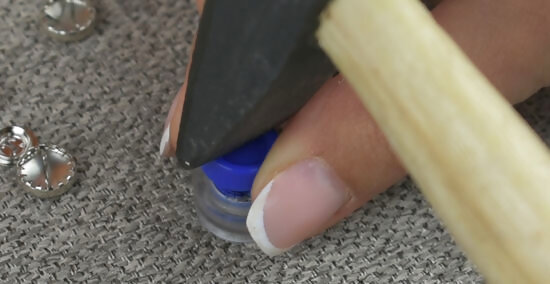
Push the back of the button in place. If you need to, place the button cover tool (the other piece from your button making kit) on top, then tap it firmly with a hammer. Lift the button cover tool away when you are done.
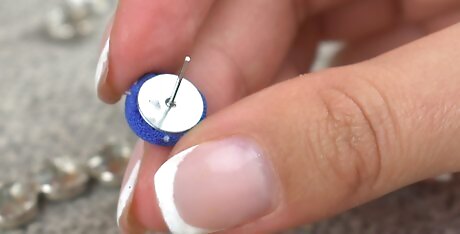
Glue an earring post to the back of your button. Place a glob of super glue, epoxy glue, or industrial-strength glue onto the back of your earring post, then press the earring post onto the back of your button. If you want to turn this into a hook earring, click here If you don't have pierced ears, use clip-on earring backings instead.
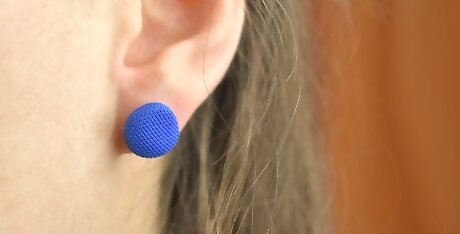
Wait for the glue to dry before wearing your earrings. How long the glue takes to dry depends on the type of glue you are using. Some only take a few minutes to dry, while others require a few hours. Refer to your glue bottle for specific drying times. Once the glue has dried, your earrings are ready to wear!






Comments
0 comment