views
Bending Light with a Water Bottle
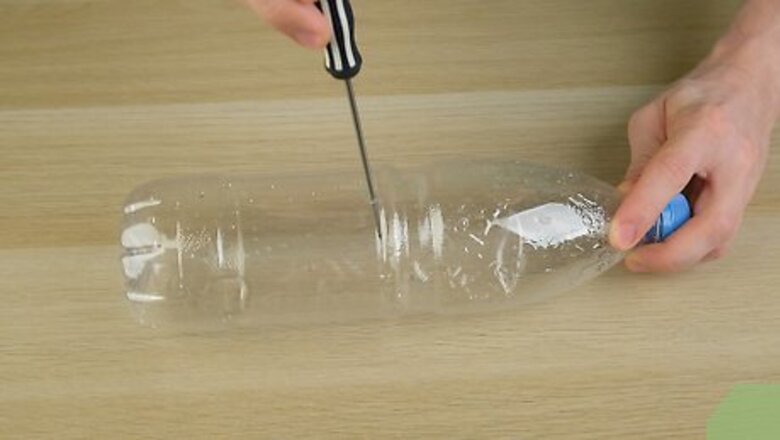
Poke a hole into the middle of a water bottle with a screwdriver. Use the tip of a small screwdriver to pierce through one side of the water bottle. Make sure the hole is in the middle or just below the middle of the bottle so the water flows well. Cover the hole with a piece of masking tape so it doesn’t leak immediately when you add water. If you have trouble piercing the bottle with the screwdriver, start the hole with an X-acto knife before forcing the screwdriver through the plastic. Ask a parent or adult to help you poke the hole if you’re under 10.
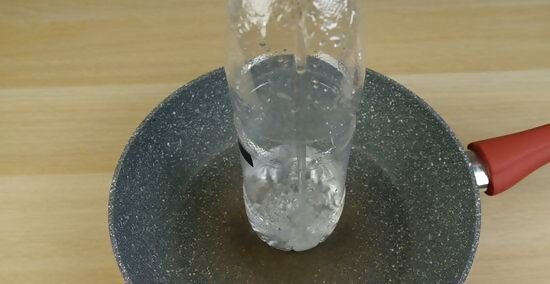
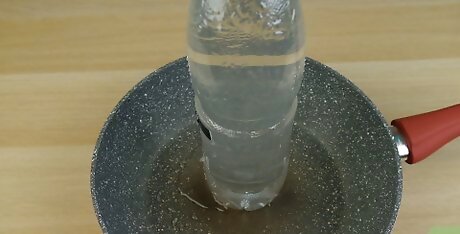
Place the bottle in a cooking pan and fill the bottle with water. Use a funnel to pour tap water into the bottle. Fill it completely to the top and leave the lid off. The pan will catch the water as it drains out when you remove the tape. Do the experiment over the sink if you don’t want to use another dish.
Aim the beam of a laser pointer through the bottle at the hole. Any laser pointer will work for this experiment. Aim the pointer horizontally through the bottle from the opposite side as the hole. Press the button on the pointer to turn it on and make sure the light lines up with the hole. Turn off the lights in the room you’re conducting the experiment to see the laser light better. Do not point a laser in anyone's eyes. This could cause permanent damage to their vision.
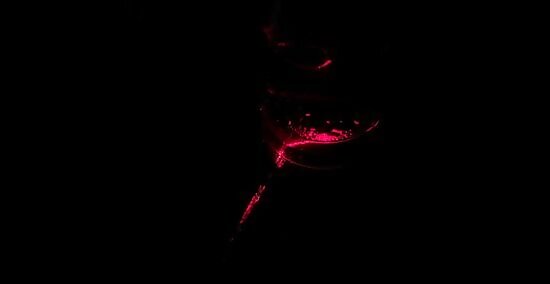
Remove the tape and watch the light bend as the water pours out. Once the water starts flowing, the light will appear to bend along with the water. The water carries the light and gets reflected inside the stream, making it seem like the light bends along with it. This phenomenon is known as internal reflection.
Refracting Light in a Shoebox
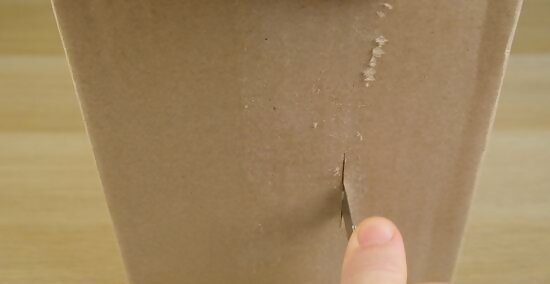
Cut 2 vertical slits in one of the short sides of a shoebox. Take the top off the shoebox and use a utility knife or an X-acto knife to make the cuts in the side of the shoebox. Make the slits between 1–2 in (2.5–5.1 cm) long and space them apart no wider than the width of your glass of water. The glass of water should be just as wide as the slits. Ask an adult to help you with the knife if you are under 10 years old or uncomfortable using a knife.
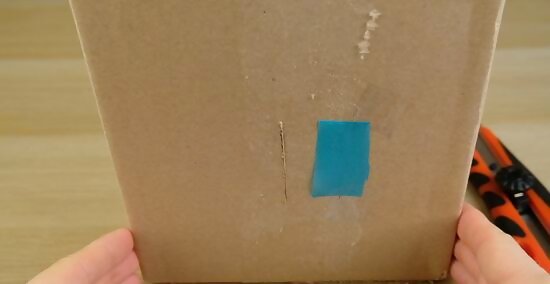
Tape colored plastic over a slit if you want to see different colored lights. Cut a piece of tinted cellophane or transparent reading sheet so it can cover the slit. Use scotch tape to attach it to the inside of the shoebox. Colored film can be purchased at your local arts and crafts store. You can cover either the right or left slit. You only need to do this step if you want to see 2 different colors of light inside the box.
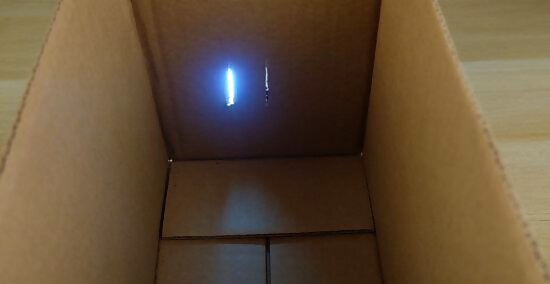
Point a flashlight through the slits and observe the light in the box. Move your flashlight from side to side to see how the light acts inside the box. Right now, the light should travel straight through the slits and appear on the other side. Turn off the lights in the room so you can see how the flashlight works inside the box.
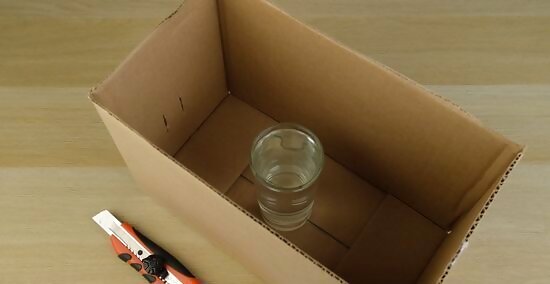
Put a glass of water in the middle of the box. Fill a glass three-quarters full and place it in front of the slits. Make sure that it is in between both of the slits so that the light hits each side of the glass. Use a cylindrical-shaped glass for the best results. The width of the glass should be the same along its entire length.
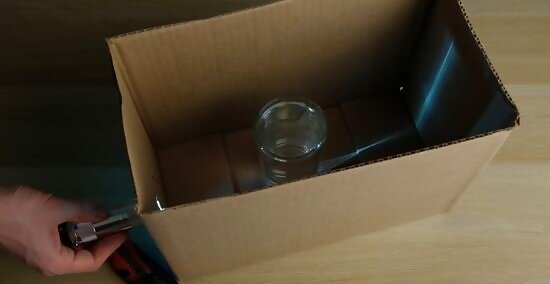
Shine the flashlight through the slits again and observe the light. Instead of running parallel to one another, the light from the two slits will now cross on the opposite side of the glass and bend toward the sides of the shoebox. This occurs because the light slows down as it passes through the water, causing the beams to refract and bend.
Using Sugar Water to Bend Light
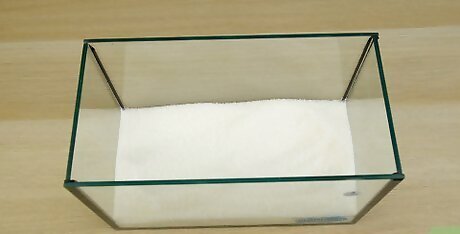
Cover the bottom of a rectangular fish tank with 2 lb (0.91 kg) of sugar. Coat the bottom so the sugar forms an even layer. Use your fingers to break apart any larger clumps so the sugar dissolves easily later on. Purchase white granulated sugar from your local grocery store.
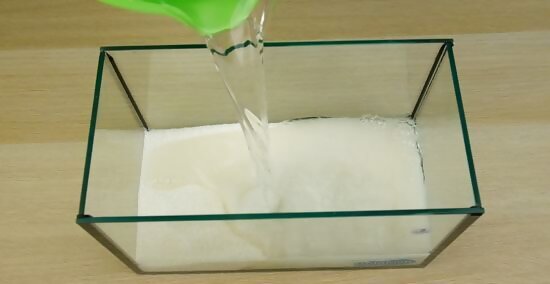
Pour 1 ⁄2 US gal (5.7 L) of water into the tank. Tap water will work fine for this experiment. Use a pitcher to pour the water onto the walls of the fish tank. This way, the water gently flows over the sugar so it doesn’t disperse completely through the water. Use a cardboard tube to help direct the water more.
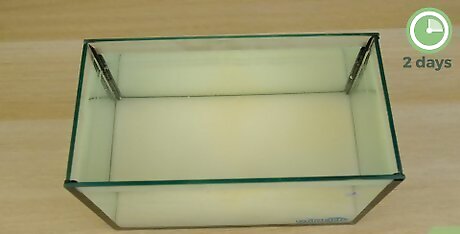
Let the sugar dissolve for 2 days. Wait at least 2 days before performing the experiment so the sugar can completely dissolve. The water may appear cloudy during these 2 days. Don’t stir the water or else the concentrations won’t settle evenly.
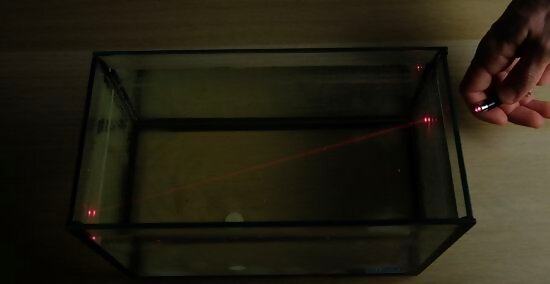
Move a laser pointer up and down the side of the tank to see the light bend. After 2 days, start with your laser pointer even to the water level of the tank. Move the pointer towards the bottom of the tank to see the light bend down. Sugar water is denser than tap water, so it sinks below the water. The different concentrations affect how fast or slow the light moves through it, causing the laser to bend. Try the experiment with various colored laser pointers. Since the wavelengths are different with each color, the light will bend either sooner or later.




Comments
0 comment