views
Selecting a Good Spot
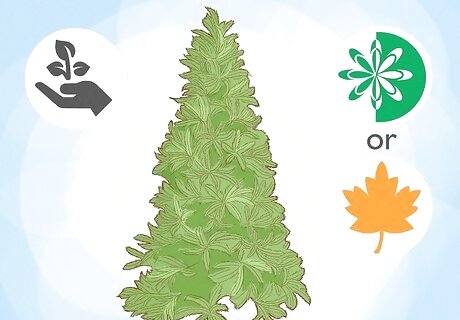
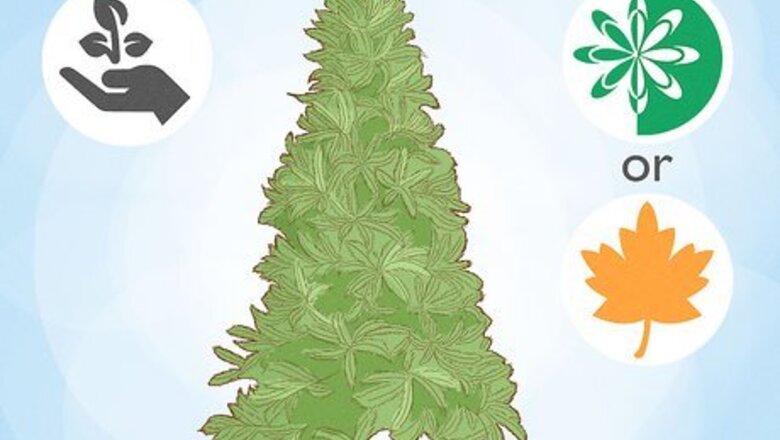
Plant your Arborvitae in fall or spring. This will give the tree time to adapt in its new climate before the hottest summer months or frosts in winter. If possible, plant the Arborvitae tree in late fall or early spring, depending on your preferences. Because of their height, Arborvitae plants do not make good indoor plants and must be grown outside.
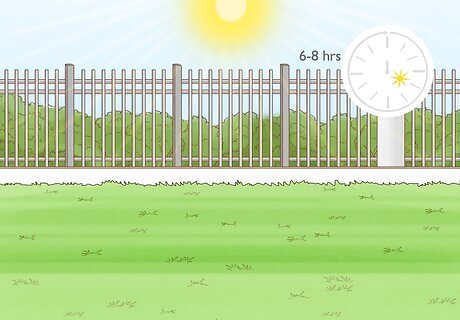
Choose a spot with full or partial sunlight. Although Arborvitae trees can grow in shaded areas, they grow best in sunny spots. Find a spot in your garden that receives at least 6-8 hours of direct sunlight to help your tree adapt faster. Though adaptable, arborvitae trees prefer sunny, humid climates. If you live in a climate that does not receive at least 6-8 hours of direct sunlight, your tree may grow but will have stunted growth. If your area has hot summers, your tree will need light shade in the afternoon in order to thrive.
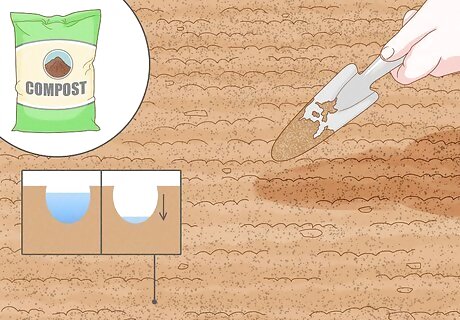
Prepare well-draining, loamy soil for your tree. Arborvitae trees prefer moist soil with plenty of organic nutrients. Add compost or an organic soil mix to the ground to give your tree a boost as it acclimates to its new spot. To test your soil's draining levels, dig a 12 in (30 cm) deep hole and fill it with water. If the water takes 5-15 minutes to drain, you've found well-draining soil. Arborvitae trees also grow best in alkaline, or non-acidic, soils. You can check your soil's acidity by ordering a soil pH balance test online or from a plant nursery.
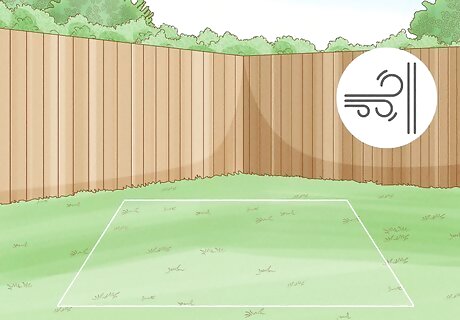
Find a spot where your tree will be protected from wind. For the first several years after planting Arborvitae, it will need protection from wind. Choose a low-lying spot next to an obstruction like a wall, building, or large tree to prevent wind damage. You can also stake your tree to the ground after planting it if you can't find a low-lying spot.
Planting Seeds or Saplings

Buy Arborvitae saplings if you want to plant them immediately. If you're ready to plant the tree, purchase Arborvitae saplings from a nearby garden center or nursery. Look for Arborvitae saplings with a healthy, green color and no signs of sickness or damage.
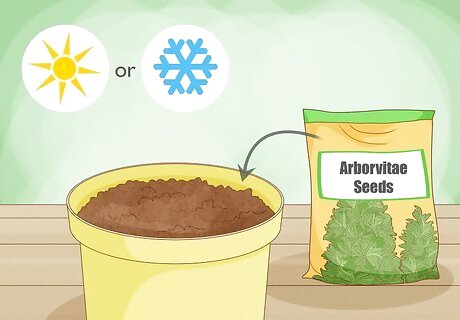
Grow Arborvitae seeds in pots if you can wait to plant them. If it's not currently spring or fall and you have time to sprout the tree, plant Arborvitae seeds in a pot and raise them to saplings indoors. Once you reach planting season, you can transfer your Arborvitae tree outdoors. Arborvitae trees can only grow indoors as saplings. To reach their maximum height and stay healthy, they must grow to maturity outside.
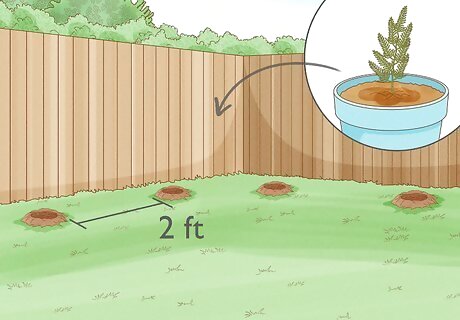
Align your arborvitae trees in rows. Arborvitae trees make great natural fences or hedges. If planting multiple arborvitae trees, dig holes in an evenly spaced line for even landscaping lines. Space your Arborvitae saplings at least 2 feet (0.61 m) apart to give them room to grow. Place wooden stakes wherever you want to plant a tree for an organized layout.
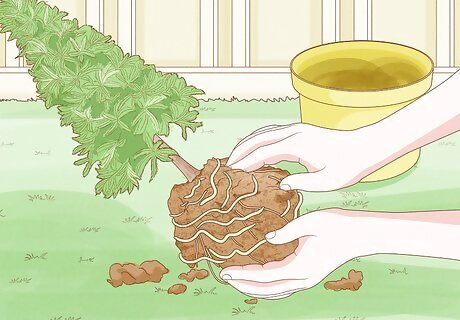
Remove your tree from the pot and tease its roots. Turn the pot upside down and gently tap on its bottom to loosen the tree and lift it out by the trunk. Pull at the tree's root ball, loosening any external roots to help them absorb more nutrients when you plant it. Loosen the root ball carefully to prevent damaging your tree.
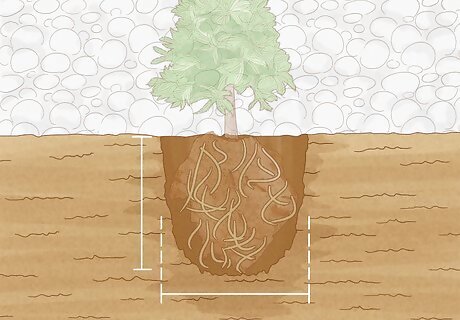
Dig a hole at approximately the same depth as the root ball. Measure the root ball from top to bottom, then side to side, and write its measurements down. First, dig down far enough to fully cover the root ball, then make the hole 2-3 times as wide as your root ball so that the soil will be loose enough for the roots to grow. If your root ball has a 12 in (30 cm) diameter, for example, dig a 12 in (30 cm) deep hole. Mix compost into your soil before filling in the hole so that the root bulb will receive more nutrients. You'll want to cover the roots with soil but not any of the tree's trunk to prevent root rot.
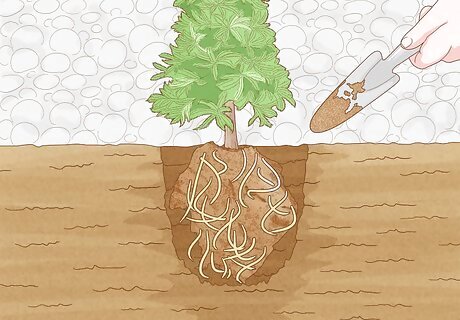
Position the tree into the hole and cover it with dirt. Lower the tree carefully into the hole and, when finished, cover its roots up with soil. Inspect the tree afterward to make sure you don't expose the roots or accidentally bury the trunk. Before you bury the tree, make sure that it's level with the ground. Otherwise, the tree may permanently lean. Burying the trunk can cause your tree to develop fungal infections and other diseases.
Caring for Planted Trees
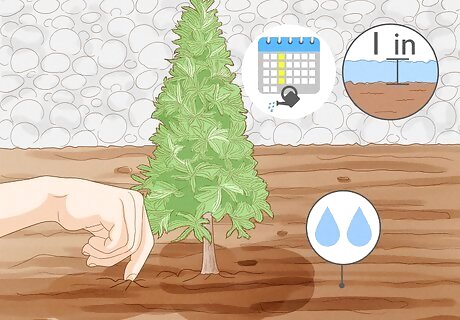
Give your plant at least 1 in (2.5 cm) of water per week. Arborvitae plants prefer moist, not dry or soggy, soil. Check your soil's dryness every day by sticking your finger in. If the soil feels dry, water the plant immediately. In drier climates without rainfall, you may need to supply more water per week. Use the soil's dryness as a guide for when to water your plant. If your tree's needle tips are brown or yellowing and its foliage turns dull, it may not be getting enough water.
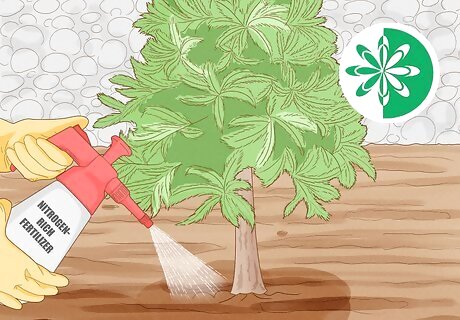
Fertilize your Arborvitae tree in springtime. Annually fertilizing your tree can give it nutrients it needs to thrive. Buy a nitrogen-rich fertilizer from a garden center or nursery and spray it over your plant in a thin, even coating. Fertilize your plant yearly to boost your plant's nutrient levels before the growing season.
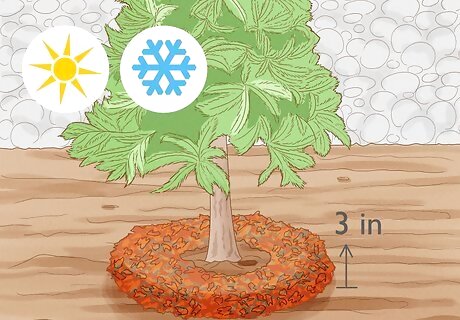
Mulch your tree during the summer and winter. Apply a 3 in (7.6 cm) layer of mulch around your tree's base twice a year, or more often as needed. This will cool your tree down during hot temperatures and insulate it in cooler seasons. Mulch also helps maintain a moist atmosphere around the Arborvitae tree, which imitates its naturally humid environment.
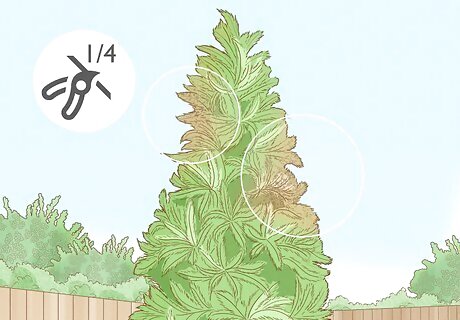
Prune your tree to maintain its natural shape. Use pruning shears to cut away dead or dying branches, thin out overgrown areas, and shape your tree as desired. Avoid trimming more than 1/4 of the Arborvitae's foliage at a time to prevent it from going into shock after cutting it. Most Arborvitae trees need pruning about once a year to stay healthy.


Comments
0 comment