views
Setting up Your Workspace

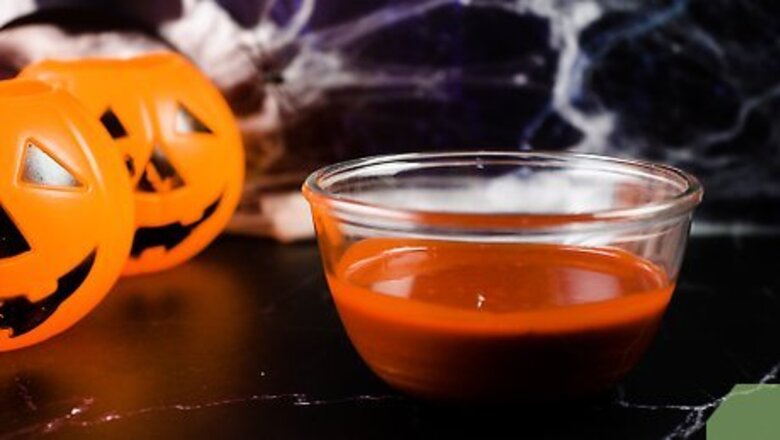
Buy a fake blood or create some yourself. You can make your own fake blood by mixing corn syrup, chocolate milk, and red food coloring. If you don’t feel like making your own, you can simply purchase fake blood online or from a costume store.Tip: If you’re making fake blood yourself, skip the food coloring and use red dish soap as the base if you want to wash your shirt afterward. Washable fake blood is easier to work with since you can wash it off of your skin and clothes. However, permanent fake blood tends to more accurately resemble real blood. It’s really up to you to determine which kind you want to use.
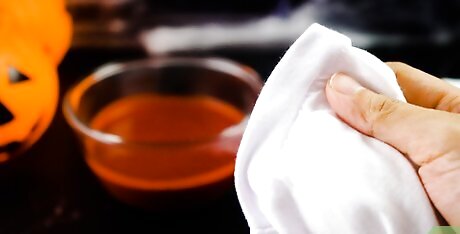
Pick lighter shirts that will contrast well with the blood. A black or red shirt isn’t going to showcase your fake blood very well. Choose a white shirt for maximum effect. Alternatively, you can use a yellow, light blue, or patterned shirt that is mostly white. If you’re using purchased fake blood, read the label to see if it will wash out. If it won’t, use a shirt that you don’t mind throwing out.
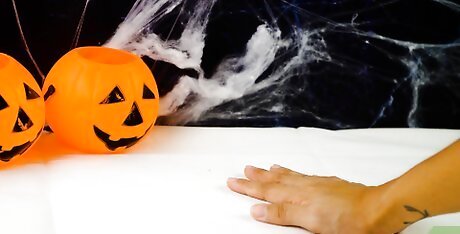
Put a drop cloth under your shirt or work outside. If it’s nice outside and it isn’t particularly windy, take your shirt out to your yard and find a secluded area to work. If you want to apply your blood indoors, put a thick drop cloth down under your shirt before you get to work. Alternatively, you can layer trash bags under the shirt to avoid splashing it all over the place. If the fake blood can be washed out, you can apply it in a bathtub or shower and simply rinse the excess blood off after you’re done. This process can get messy and you may end up staining a floor or table if you don’t put something underneath your shirt.
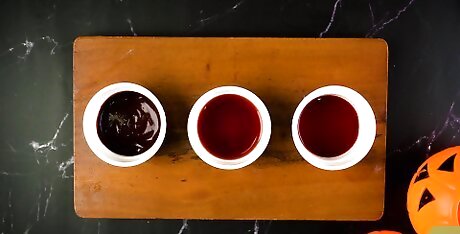
Use a combination of fake blood colors for a more dynamic look. If you’re putting a basic Halloween costume together, feel free to stick with a single shade of fake blood. If you’re going for a more impressive look, use 2-3 shades of different fake bloods to create realistic or scary combinations. If you’re working with homemade fake blood, you can simply alter the color as you work. Mix in chocolate syrup to make the blood darker or add more water to thin it out. If you want to work in layers, start with the lightest shade and work your way to the darker colors.
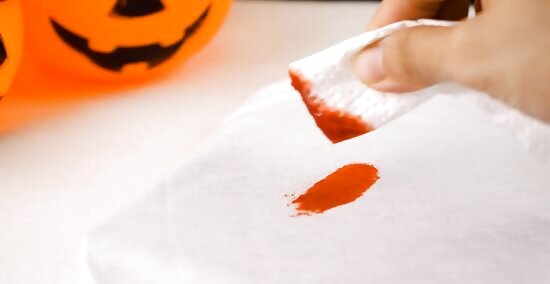
Spot test your blood on a dirty shirt to see how it will look. If you aren’t sure what your fake blood is going to look like and it’s washable, spot test the blood on a dirty white shirt or sock. If the fake blood stains, dab a little on a paper towel to get a rough idea of how it will turn out. This will make it easier to determine what your shirt will look like when you’re done. Spot test washable blood on a dirty item of clothing so that you don’t add to your laundry pile. You can spot test on a clean shirt if you’d like, though.
Pouring Your Blood
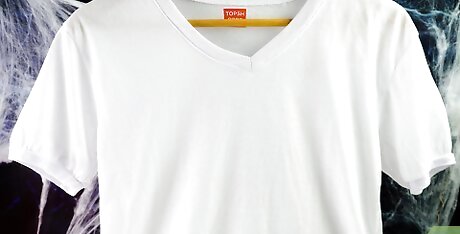
Hang your shirt on a hanger or clothing line to apply paint vertically. If you want to pour blood on to the shirt to make drips, you need to hang the shirt vertically. If you’re working indoors, put the shirt on a hanger and hold it over your drop cloth or hang it from a hook or curtain rod. If you’re working outdoors, use clothespins to hang the shirt from a clothes line.
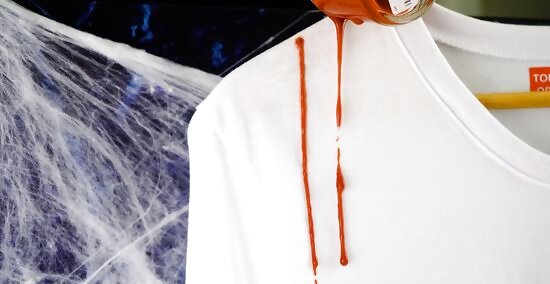
Pour the blood from a cup to make drips or add a lot of blood at once. Grab a small cup with a spout and fill it with some of your fake blood. Hold the spout of the cup over the top of your shirt and slowly pour it over the clothing. You can pour directly on the neckline and shoulders to start your drips from the top of your shirt, or start lower to add it to the chest or back. This is a great choice if you’re using a fake knife or tearing your shirt a little to simulate a wound. The drips will make it look like the blood is leaking out of the injury. Tilt the cup over extremely slowly to ensure that you don’t waste any of your blood. You can use a watering can instead of a cup for a more textured pattern.
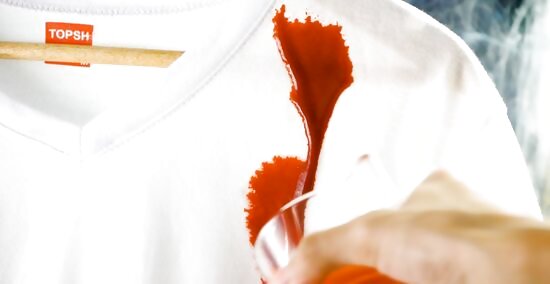
Toss a small amount out of a cup at an angle for splatters. Grab a small cup and fill it with a small amount of blood. Stand at the angle you want the blood to splatter and lob the paint at the shirt. You can lob it underhand for a smoother splatter, or toss it quickly to make it splash everywhere.Tip: The more blood you use, the bigger the splash will be. A ⁄3 cup (79 mL) of blood will make a thin splash, while 2 cups (470 mL) of fake blood will look like a large splatter. This is great for a zombie outfit or if you want to look like you were in a crash or fight. If you don’t care about blood soaking through your shirt, you can do this with the shirt laid flat.

Drip blood from 2–3 ft (0.61–0.91 m) above to add smaller droplets. For a more controlled look, lay your shirt out flat. Add a small amount of blood to a cup with a spout. Hold the cup above your shirt and tilt it until the fake blood is barely under the lip of the cup. Then, tilt the cup slightly forward, let a small drop of blood fall, and tilt the cup back up. Move the cup as needed to apply smaller droplets of blood. This is great for adding details or layering other colors of blood on top of lighter colors. You can use a dropper bottle or turkey baster for more control, but these items can be difficult to clean out and you may not have them laying around your home. This is easier to do with thin fake bloods.
Applying the Blood Directly by Hand
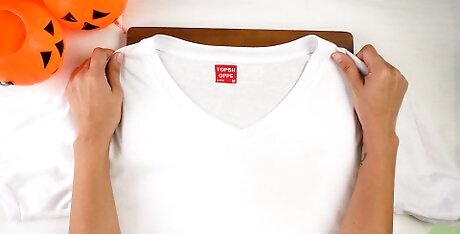
Lay your shirt out flat on your drop cloth or work surface. Before you apply blood directly to your shirt, lay it out flat on your work surface. Pull the corners of the shirt away from the center and smooth any wrinkles out with your palm. If the shirt is still wet from other layers of blood, do this carefully and avoid touching the wet areas.
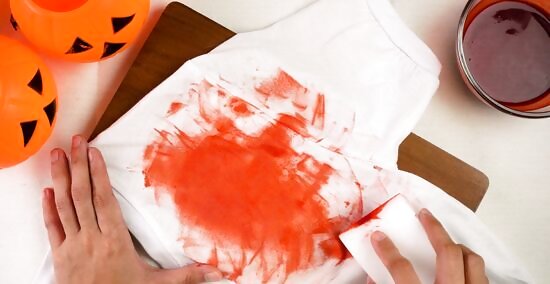
Blot your shirt with a sponge or soft cloth to add texture. To apply blood by hand, grab a soft washcloth or dry sponge. Pour a little fake blood in a bowl. Then, dip the cloth or sponge in a bowl. Apply the sponge or cloth directly to your shirt. Either dab the sponge or cloth to add texture, or drag it across the shirt to smear the blood.Tip: A sponge is better if you want the blood to look a little faded, like it has been on the shirt a long time. A cloth is better if you want to cover a specific area entirely, since the cloth will apply the blood more evenly.
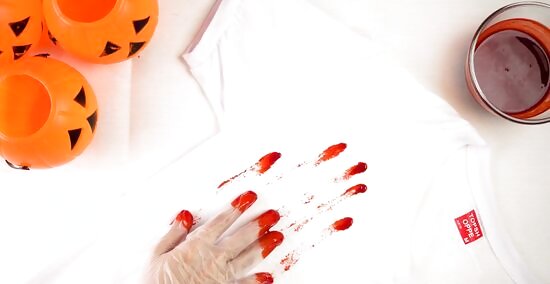
Use your fingers to smear the blood by hand for a creepier look. Put some rubber gloves on to protect your hands if you’re using a permanent fake blood. Fill a small bowl with your fake blood. Dip your fingertips into the blood and spread them over your shirt. Drag your fingers to add smear marks like someone was trying to grab on to your shirt. Alternatively, you can dip your entire palm into the blood and press it into the shirt for a more ominous touch. This is perfect if you want to add a little character to your shirt. A few smeared finger marks or bloody handprint is sure to send shivers down a few spines!
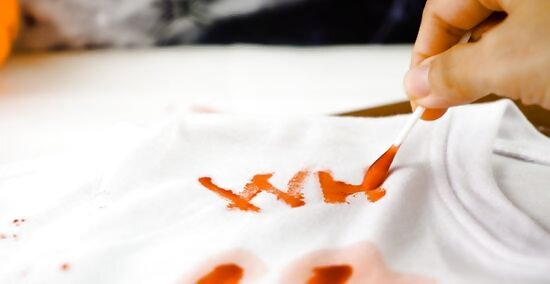
Dip a cotton swab in the fake blood and use it to add small details. For really small marks and controlled writing, grab a cotton swab. Dip the head of the cotton swab in your fake blood and hold it like a pencil. Then, use the head of the cotton swab to make small marks or lines. Reload the head of the cotton swab as needed once the cotton dries out. This is the best way to feather out harsh lines, write small messages, or apply minor corrections to other blood you have added. You can use a paint brush instead of a cotton swab for larger marks.
Spraying and Flicking Blood
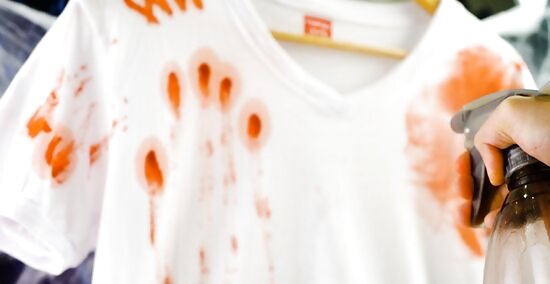
Use a spray bottle to mist your shirt with fake blood. Get an empty spray bottle and fill it up with fake blood. Hang your shirt from a hanger or clothes line. Turn your nozzle to the widest setting and hold it 8–24 inches (20–61 cm) from the shirt depending on how dark you want the blood to appear. Pull the trigger to spray the shirt. Work your way around the shirt to apply the blood. You can also use a thinner nozzle setting for more concentrated bursts of blood.Tip: You can spray blood like this if your shirt is laying flat, but spray bottles don’t work very well if they’re parallel to the ground. If you do want to do this, hold the bottle at 45-degree angle. This will change the shape of your sprays, though. This is a great way to cover your shirt a light layer of blood before adding heavier layers. Really thick blood may not come out of a spray bottle. If you’re worried about spilling when you pour the blood into the bottle, use a funnel.
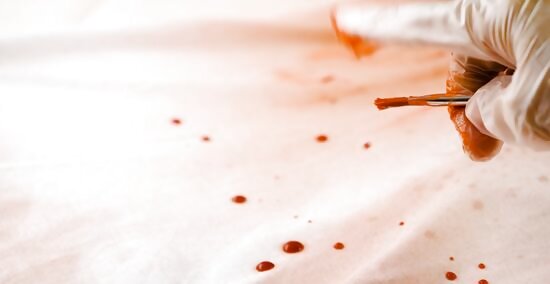
Load a paint brush with fake blood and flick it to add small sprays. For smaller splatters and details, grab a 1–3 in (2.5–7.6 cm) flat brush. Put on a pair of rubber gloves. Fill a small bowl with a little blood and dip the tip of your paintbrush in the blood. Then, hold the brush 2–3 inches (5.1–7.6 cm) away from the shirt. Tap the tip of the brush where the bristles begin to add drops. For larger splatters, pull the bristles back and then let them snap forward to add controlled splatters. You can do this with your shirt hanging vertically or laying flat. If you flick the bristles, put on a smock or old shirt on. The bristles can cause paint to snap back sometimes when you flick them.
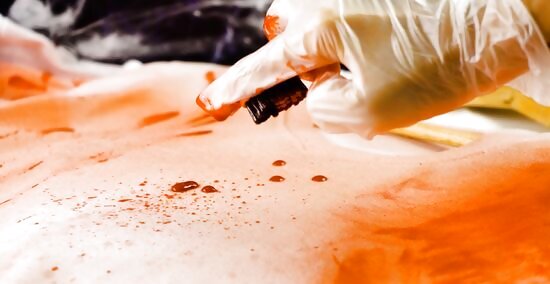
Use a toothbrush to add exceptionally small splatters. Put on a pair of rubber gloves and lay your shirt flat. Grab a clean toothbrush and dip it in your small bowl of fake blood. Hold the brush 1–4 inches (2.5–10.2 cm) above the shirt. Turn the brush so that the bristles are pointing down. Then, use your finger to rub the bristles and send blood spraying out of the toothbrush’s bristles. This is perfect for feathering out large splatters and giving them a more realistic look.







Comments
0 comment