views
Choosing a New Cartridge and Draining the Faucet
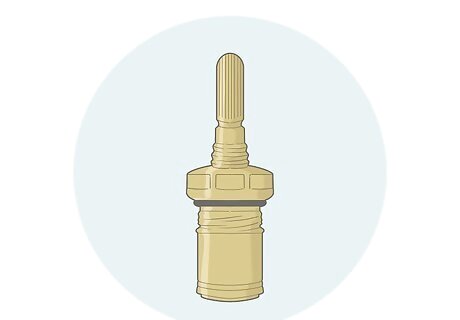
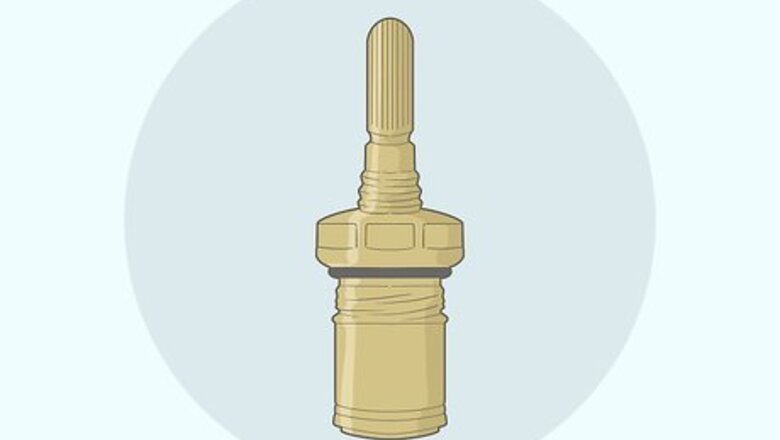
Purchase a cartridge that matches your faucet’s model. The cartridge varies depending on the faucet you have, so getting an identical replacement is important. Order a new cartridge by noting the manufacturer’s name and the faucet’s model number. The name is usually printed somewhere on the faucet handle. The model number can sometimes be found on the faucet as well, such as on a tag tied to the cold water line. The water lines are located underneath the sink for a sink faucet and in the wall for a showerhead. They won’t always be accessible, so look in the owner’s manual for the model number as well. If you are unable to find the information you need to get a replacement, pull the cartridge out first, then take it with you to a hardware store. New cartridges can also be ordered online from the manufacturer.
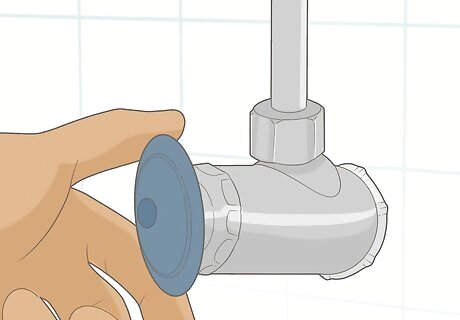
Turn the water control valve clockwise to shut off the water flow. If you’re replacing a sink faucet, check underneath the sink. Look for a pair of water lines running from the handle, each with its own valve. If that isn’t an option, locate the main shut-off valve in your home instead. It will be on the lowest floor of your home, close to the water heater. If you’re having a hard time finding the valves, follow the water lines. For example, find where the main water line enters your home. Follow it to the water meter and the shut-off valve. The main shut-off valve can vary. It could be a colored wheel that you rotate or a handle that you position horizontally to stop the water flow. It may also be outside of your home.
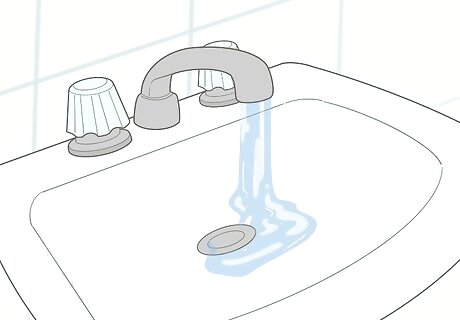
Open the faucet to release any water still inside it. Go back to the faucet you are replacing and activate it. If the water has been shut off, it won’t shoot out its normal jet of water. Instead, any water trapped in the line will spill out. Wait until the faucet stops gurgling and dripping before attempting to replace the cartridge. Draining the line won’t take long. The lines can’t store much water, so they clear within several seconds.
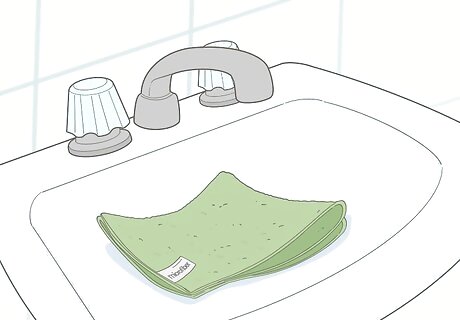
Cover the drain to prevent anything from falling down it. Faucets have some small screws and other parts that could cause a lot of unnecessary hassle if they were to get lost. To prevent accidents, fit the drain’s plug into place. If it doesn’t have a plug, place a towel over it. Make sure the drain is completely covered. Anything that falls down the drain will be difficult to remove and could damage your plumbing. If you happen to lose a part, order a replacement online or from a hardware store.
Handling a Sink Faucet
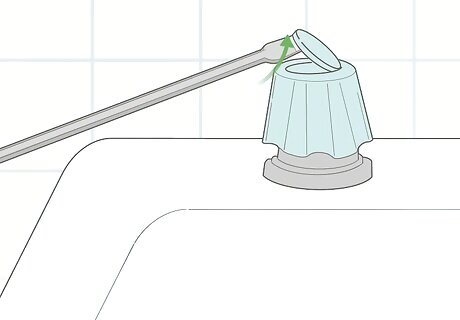
Pry off the faucet cap with a flathead screwdriver. The decorative cap is at the very top of the faucet stem. Find the bottom edge of the cap, then slide the tip of the screwdriver underneath it. Push the cap up until it pops off the faucet. If the cap is stuck, pry it at a few different angles. Keep working around the edges until it is loose enough to lift off the faucet. Note that every handle is separate. If your faucet has separate cold and hot water handles, they have their own cartridges. Single-handle faucets only have one cartridge.
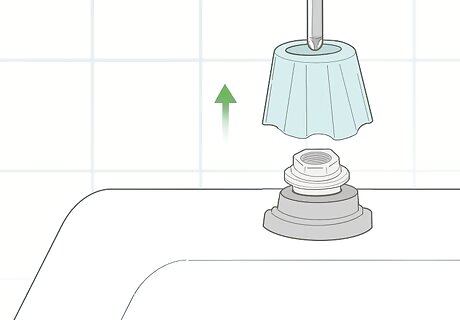
Unscrew the handle with a Phillips screwdriver. Check the top of the faucet. There will be a small hole in the center where the cap was. Stick a small Phillips screwdriver into the hole to reach the screw, then turn it counterclockwise until you are able to remove it. Pull the faucet handles off afterward. Some faucets open with an Allen wrench instead. If the screw has a hexagonal opening on top, use an Allen wrench.
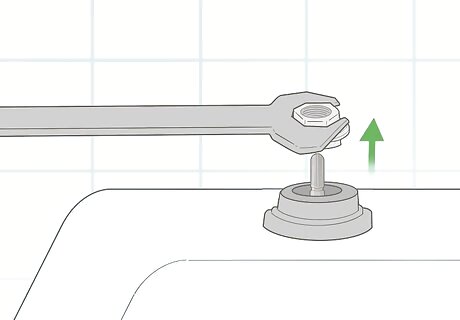
Remove the nut on the faucet with a crescent wrench. Removing the handle exposes a circular metal nut on the base of the faucet. Clamp the wrench around the nut, then turn it counterclockwise. Once the nut comes loose, you can finish turning it by hand. Continue rotating it until you’re able to lift it off of the faucet. You could also use pliers to remove the nut. Water pump pliers are designed for dealing with plumbing nuts and bolts, but you may be able to remove it with different tools.
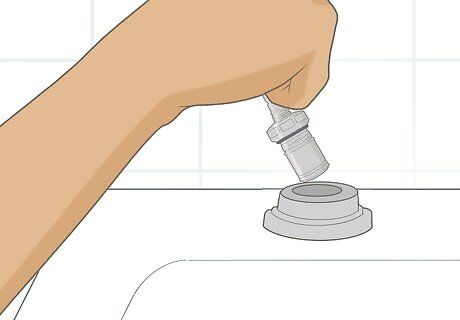
Pull the cartridge out of the faucet by hand. The only thing left in the faucet is the cartridge. It has a wide base with a metal or plastic column in the center. You can use the column to get a grip on the cartridge. Just pull it straight up from the faucet to remove it. The old cartridge can be thrown out in the trash. Cartridges have traditionally been made of brass, recognizable because of its dull yellow coloring. Your faucet may have a silvery cartridge made of chrome or zinc, or a white one made of plastic. If you’re having a hard time holding onto the cartridge, grab it with pliers. Needle nose pliers are great for such delicate work.
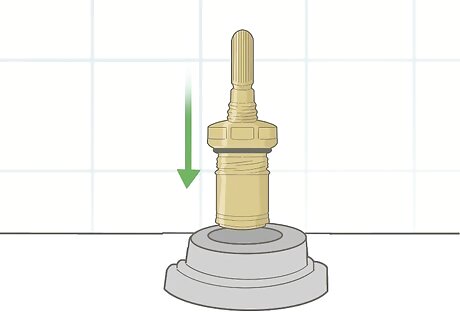
Insert the new cartridge into the faucet stem. The new cartridge won’t fit unless it aligns with the stem slot properly. Check the bottom edge of the cartridge for a small tab. The inner part of the faucet stem will have a matching slot. Simply align the tab with the slot and slide the cartridge in to install it. Make sure the new cartridge is properly aligned with the opening so it you don’t inadvertently damage it. Handle it with care!
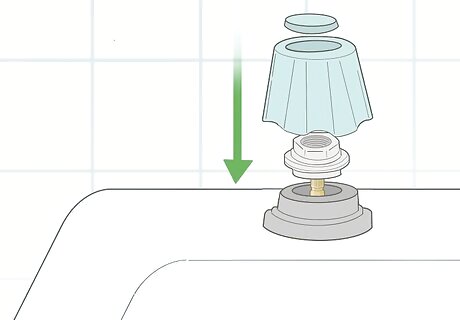
Reassemble the remaining handle parts to finish the installation. Put the parts back in reverse order. Start with the nut, tightening it by rotating it clockwise with a wrench once it’s on the faucet stem. Place the handle on top of it, inserting and tightening its screw with a Phillips screwdriver. Finish by pressing the cap onto the top of the handle. If your faucet is connected to multiple handles, remember to replace the cartridge in the other handle as well if necessary. Once you have finished, reactivate the water line to test out the new cartridge!
Fixing a Shower Faucet
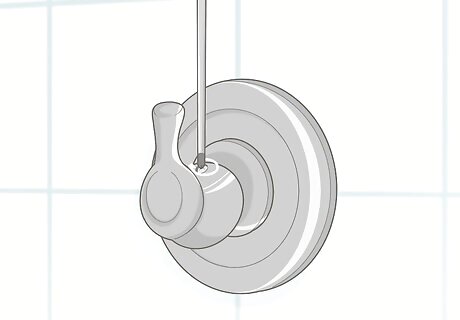
Unscrew the shower handle with a Phillips screwdriver. Rotate the handle until you spot a small opening with a screw inside. Turn the screw counterclockwise until you’re able to remove it. Once the screw is gone, the handle won’t have anything holding it to the wall. Slide it off the wall and set it aside. The cartridge is located behind the handle, so you won’t be able to reach it without removing the handle first. Some shower handles have alternative types of screws. You may need an Allen wrench instead of a Phillips screwdriver.
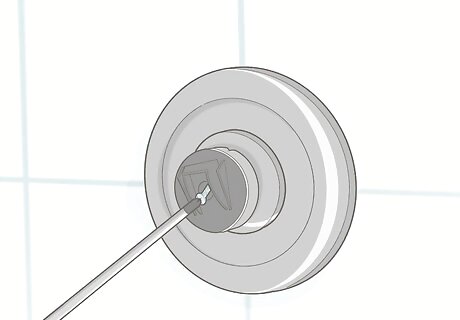
Use a Phillips screwdriver to remove the handle adapter. The handle is held in place by a round plate with an adapter in the middle. In the center of the adapter, you will see a screw. Turn the screw counterclockwise until you’re able to remove it. Then, slide the adapter forward to detach it from the faceplate. Sometimes the adapter can be removed by twisting it off. It depends on the model, but, if you don’t see a screw, you most likely have to twist it off. Note that you may need to remove the faceplate in some cases. It usually isn’t necessary, but every cartridge system is a little different. If you don’t see the cartridge, check the faceplate to see if it can be unscrewed too.
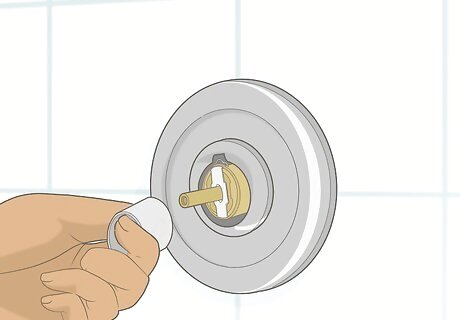
Slip off the stem cover and anything else in front of the cartridge. Removing the adapter will reveal a small metal cylinder in the center of the wall opening. However, many shower cartridge systems have a few extra layers of protection around it. Yours may have a white plastic cap, followed by a metal ring. Pull both of them off the cartridge by hand and set them aside. These components are for adjusting and limiting the water temperature. They aren’t present in all faucet models, but save them if you have them.
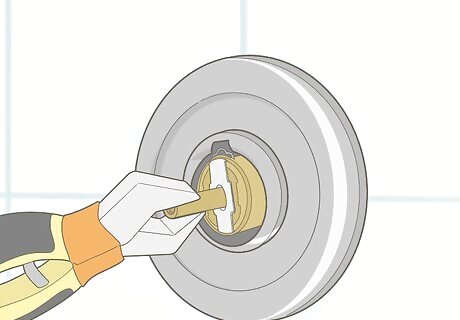
Use pliers to pull out the clip holding the cartridge in place. Look along the top edge of the cartridge for the clip. It is usually made of steel and situated in a groove on the cartridge. Reach in with a pair of needle nose pliers, then lift it to pop it out of the slot. Pull it toward you to remove it, then dispose of it in the trash. Some faucets have a nut instead of a clip. If you see a ring around the cartridge but no clip, use pliers or a wrench to turn the nut counterclockwise. Once it comes loose, slide it off the wall.
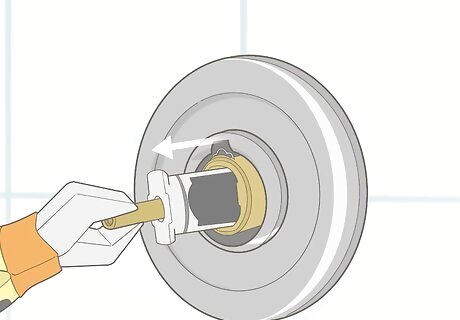
Remove the cartridge by gripping it with a pair of pliers. Once everything else is out of the way, the cartridge isn’t tough to remove. Grip the stem, then attempt to pull it toward you. If it doesn’t come out right away, take a closer look at it. Some cartridges have to be rotated slightly to align with a slot in the wall before they can be removed. The cartridge is recognizable because of its column-like stem jutting out from the wall. The cartridge’s base is round and fits inside the wall opening. The cartridge is usually made of brass, which has a yellow coloring. Some cartridges are made of silvery steel or white plastic instead.
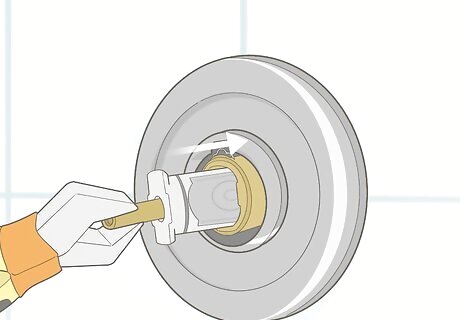
Install the new cartridge by aligning it with the wall opening. Check the cartridge stem to see if it has a notch on it. If the notch is present, align it with the groove in the wall slot. Then, slide the cartridge in with pliers or a wrench. Make sure it is plugged all the way in before putting anything else on top of it. If the new cartridge came with a packet of grease, rub it onto the cartridge before putting it back. The grease protects the cartridge from damage during the installation. You could also apply your own plumber’s grease to it.
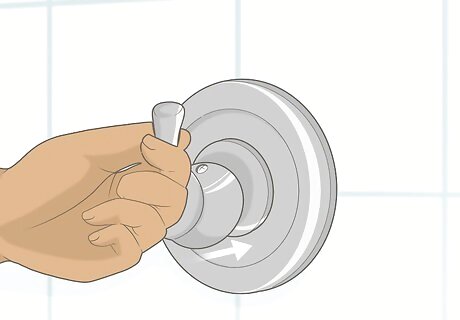
Replace the remaining parts to finish the installation. Replace the parts one by one in reverse order from how you took them out. Start with the retaining clip or nut, tightening it after putting it back. Return any stem coverings next, followed by the screw-on handle adapter. When you’re done, add the handle and screw it into place. Test the faucet afterward. If it doesn’t seem to be working the way you want, check all of the parts to ensure they are undamaged and have been put back correctly.






Comments
0 comment