views
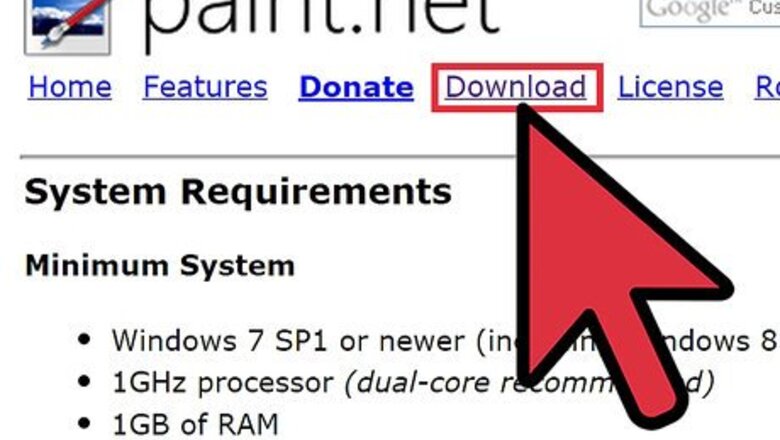
Install Paint.net on your computer.
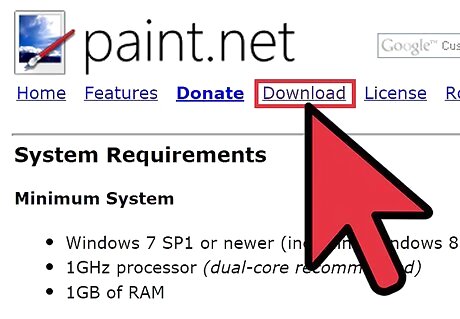
Download Paint.net from http://www.getpaint.net/download.html. If you don't already have Paint.net, it's easy to install.
Open the image you want to resize.
Open Paint.net and select the image you want to resize. You can also right-click the file on your computer, choose Open with, and then select Paint.net.
Click the "Image" menu and choose "Resize."
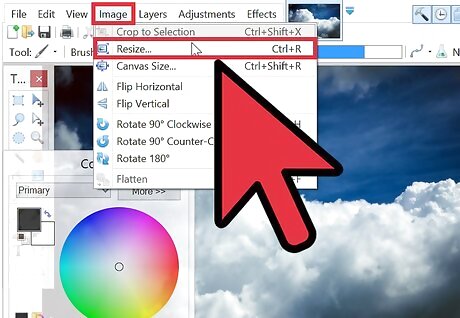
This shows the current file dimensions. The size is broken into width and height.
Check the "Maintain aspect ratio" box.
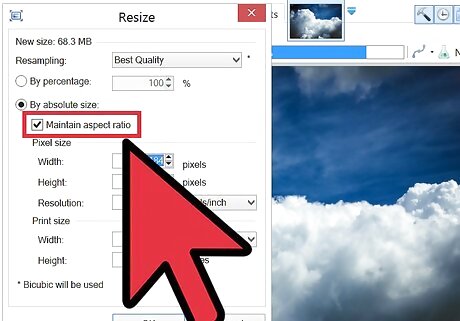
Make sure the box is checked. By doing so, you can change the value of the width, and Paint.NET will automatically calculate the correct value for the height (or vice versa) so the photo won't get distorted.
Enter a smaller width.
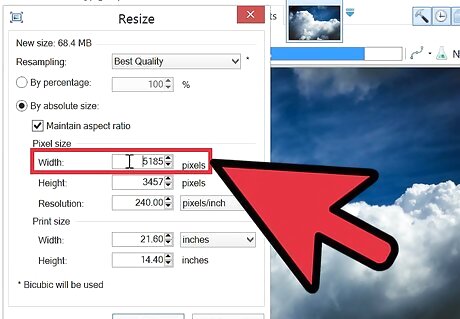
Type the new width size in pixels. If you don't want to do pixels, you can choose a different measurement from the drop-down menu.
Adjust the height and click "OK."
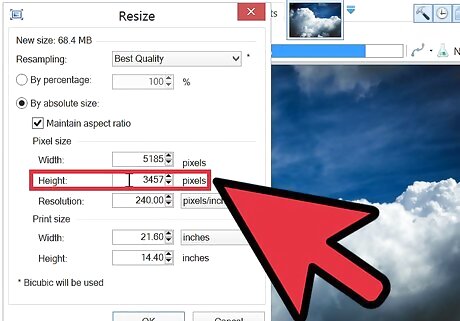
Since the aspect ratio is maintained, the height will adjust automatically. If it's too tall, you can adjust the height manually—the width will update automatically so the photo isn't warped. Don't be afraid to experiment! Paint.NET has a nice undo function that will quickly restore your photo to its original size (plus, you have that backup copy).
Save the photo.
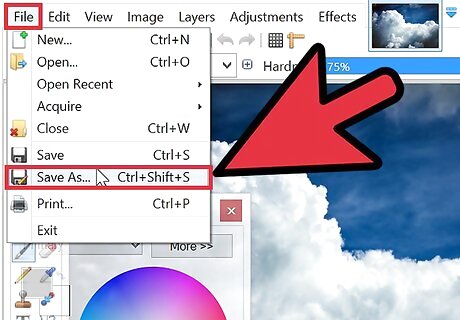
Now you can save the image at its new size. Click File, choose Save As, type new name, and click OK.
Adjust the Quality setting.
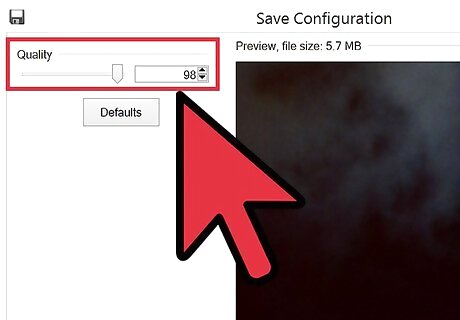
The higher the quality, the larger the size of the file will be. If you lower the quality, the file size will be smaller. If you don't care about file size at all, just leave the slider at 95% or 100%.
Click "OK" to finish.
Click OK, and you are done. The new file is now saved to your computer.


Comments
0 comment