views
Creating an Invoice
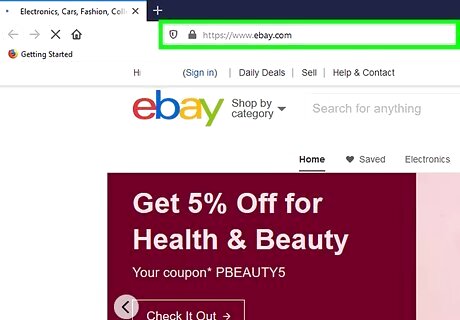
Go to https://www.ebay.com in a web browser. You'll need to use a web browser on your computer to send an eBay invoice, as this feature is not visible in the mobile app or mobile version of the website. Invoices can only be sent within 30 days of the auction's close.
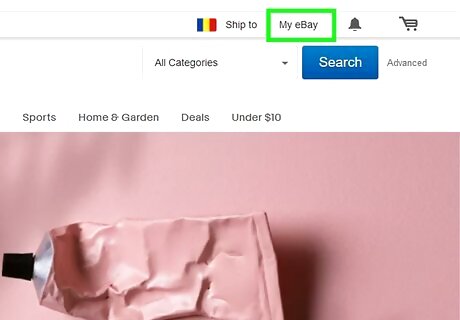
Click My eBay. It's near the top-right corner of the page. This displays your user dashboard. If you're not already signed in to your account, you'll be prompted to do so before your dashboard is visible.
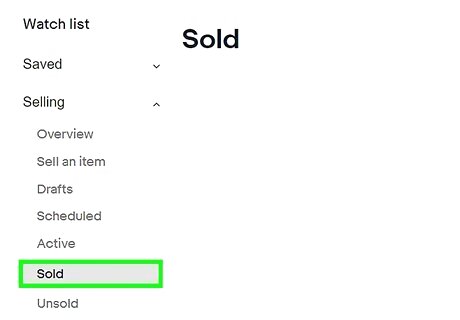
Click Sold. It's in the left column. If you don't see it, click the small arrow next to "Sell" to expand the menu. A list of items you've sold will appear. Your sold items from the past 7 days will appear by default. You can select a different time period from the "Period" menu above the "Sold" list.
Click Send invoice next to the item. If the buyer only purchased one item from you, this creates an invoice for that item. If the buyer purchased more than one item from you, a list of all of their purchases will appear. Remove the checkmarks from any items you don't want to include in the invoice.
Add shipping charges. See How to Determine Shipping Costs for tips on calculating a fair shipping rate for all products.
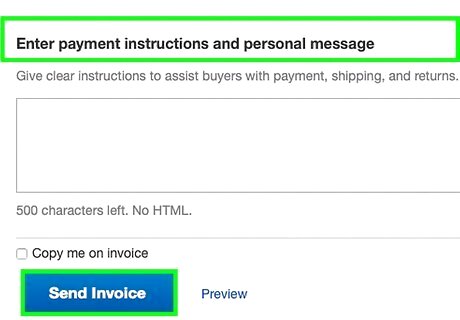
Enter a message (optional). If you'd like to type some text to include in your invoice, you can do so in the provided blank.
Choose the payment options you'll accept for the item(s). The options you'll see vary by location.
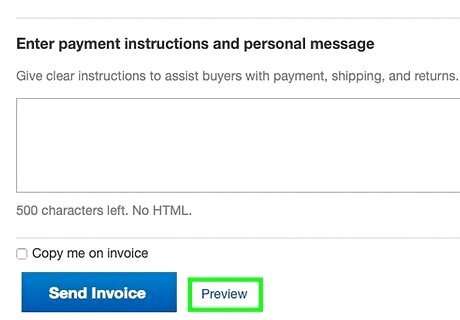
Click Preview invoice before sending (optional). You can click this option if you want to see what the completed invoice looks like.
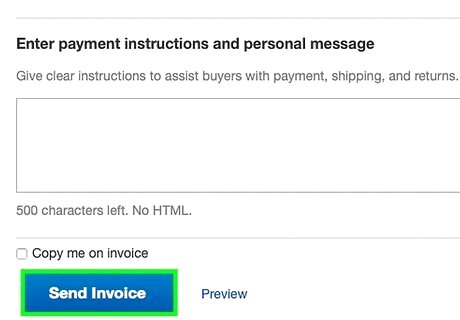
Click Send invoice. This delivers the invoice to your buyer.
Adding Items to an Invoice
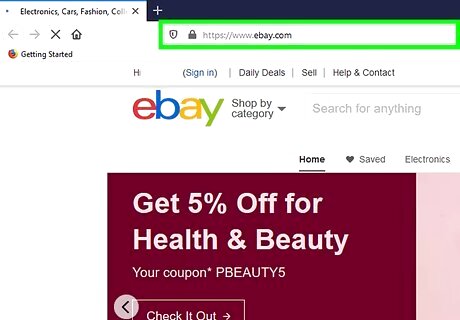
Go to https://www.ebay.com in a web browser. You'll need to use a web browser on your computer to send an eBay invoice, as this feature is not visible in the mobile app or mobile version of the website. Use this method if you need to add another item to an invoice you've already sent.
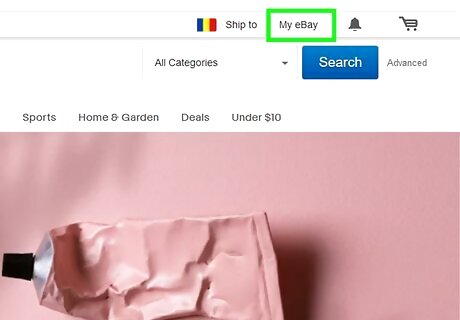
Click My eBay. It's near the top-right corner of the page. This displays your user dashboard. If you're not already signed in to your account, you'll be prompted to do so before your dashboard is visible.
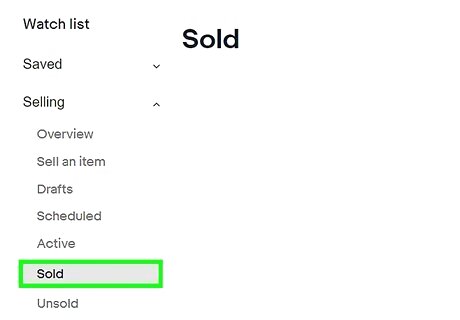
Click Sold. It's in the left column. If you don't see it, click the small arrow next to "Sell" to expand the menu. A list of items you've sold will appear. Your sold items from the past 7 days will appear by default. You can select a different time period from the "Period" menu above the "Sold" list.
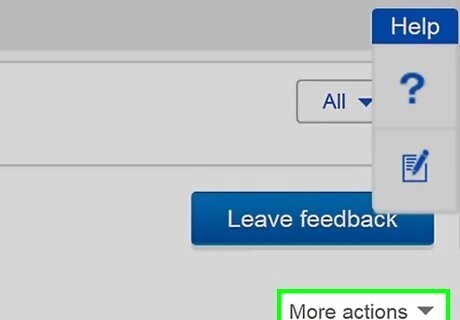
Click More actions next to the buyer's name. Finished invoices appear in the main panel under the buyer's name. Clicking this link should display more invoicing options.
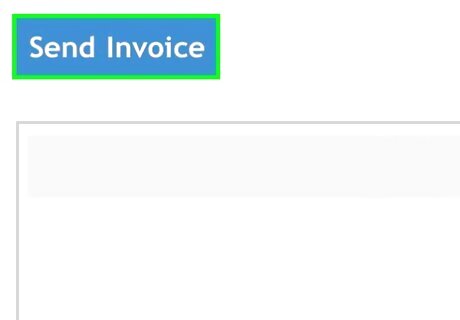
Click Send invoice on the menu. This displays a list of all items that are eligible to be added to the invoice. If you don't the Send invoice option, you can no longer add items to this invoice and you'll need to create a new one.
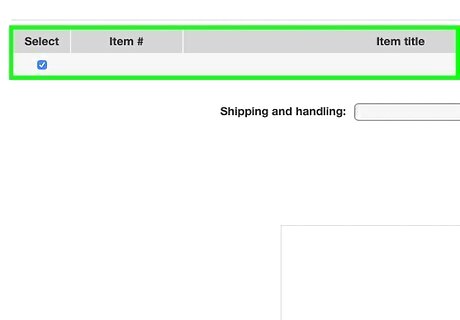
Select the items you want to add. If there's a checkmark next to an item you don't want to include, remove that checkmark.
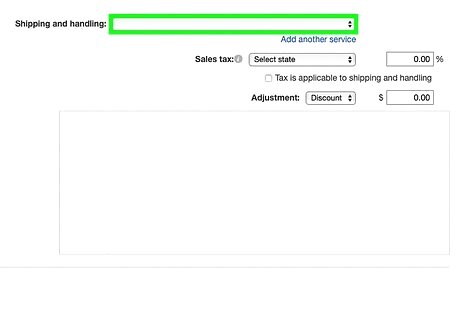
Edit the shipping charges and message (optional). If adding this item changes the shipping price, you can make that correction now. You can also update the message to the buyer if you'd like.
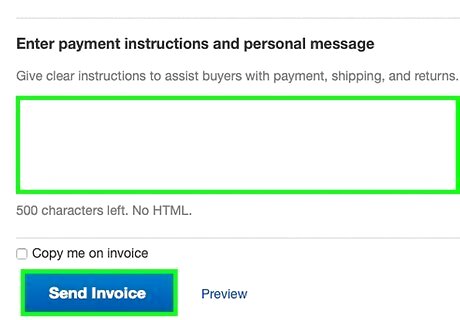
Choose the payment options you'll accept for the item(s). The options you'll see vary by location.
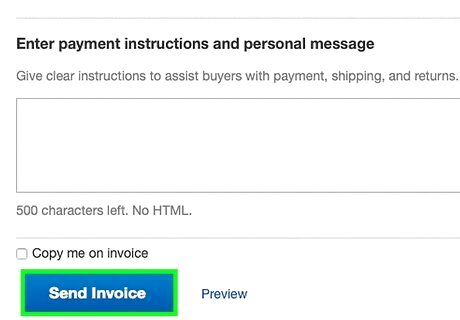
Click Send invoice. This delivers the new invoice to the buyer.


Comments
0 comment