views
Using WiseFax
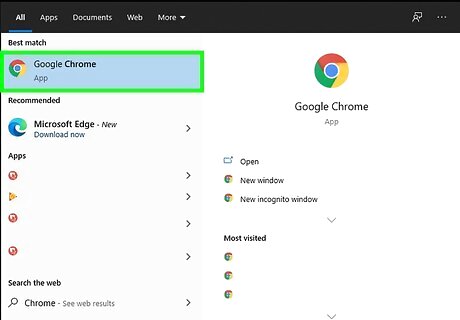
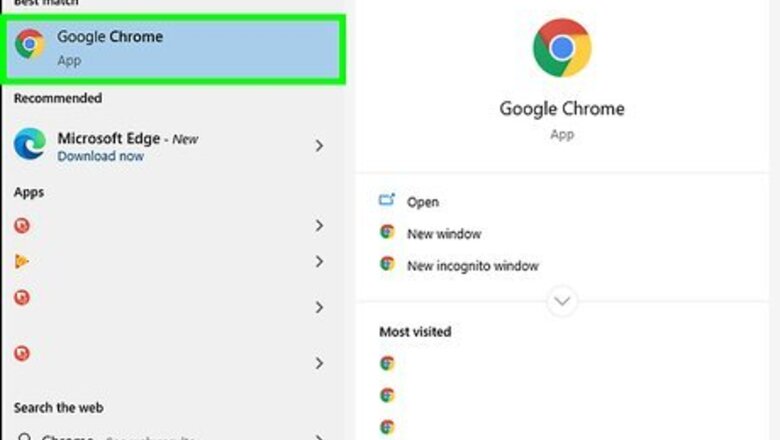
Make sure that you're using Google Chrome. If you aren't currently using Google Chrome, open a new Chrome window and navigate back to this article before continuing.
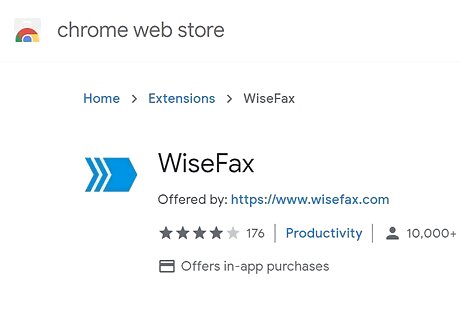
Go to the WiseFax extension page. Click the provided link to do so.
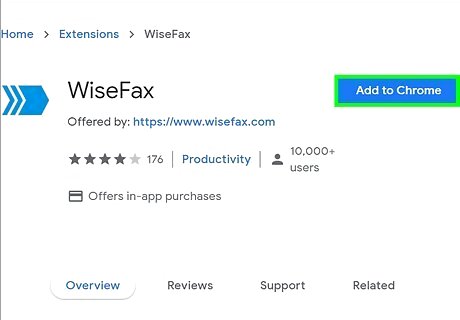
Click ADD TO CHROME. This blue button is at the top of the WiseFax page.
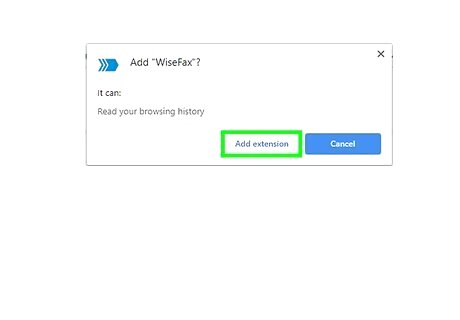
Select Add extension when prompted. It's near the top of the page. Doing so will install the WiseFax app.
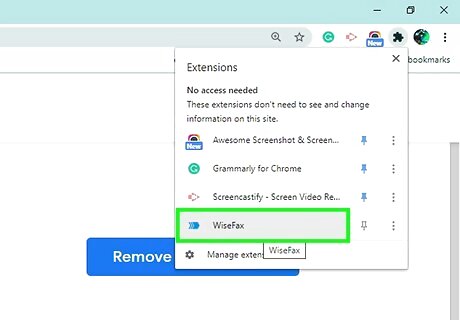
Click the WiseFax icon. It's a blue right-facing arrow icon in the upper-right side of the Chrome window. A new tab will open to the WiseFax page.
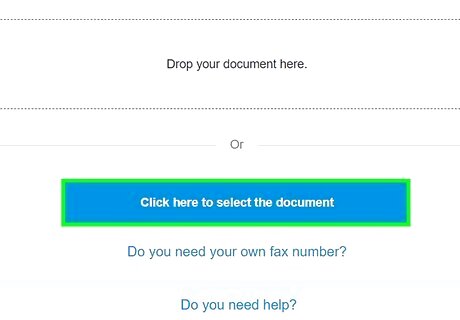
Hit Click here to select the document. You'll find this button near the bottom of the page. Clicking it opens a File Explorer (Windows) or Finder (Mac) window in which you can select a document.
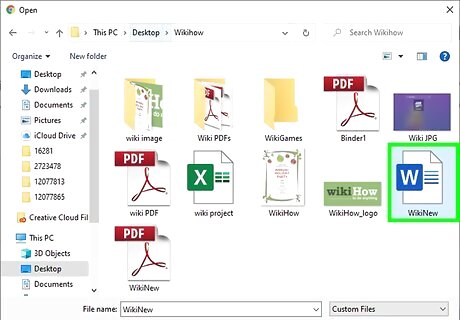
Select a document to send. Click on the document that you want to fax, then click Open. The document will be uploaded to the WiseFax page.
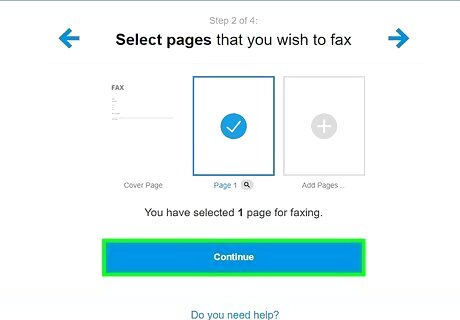
Push Continue. It's at the bottom of the page.
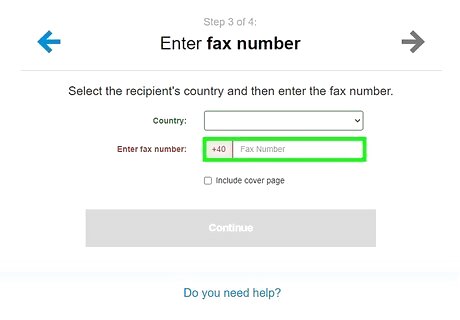
Enter your recipient’s fax number. Type in the number of a fax machine, then click Continue.
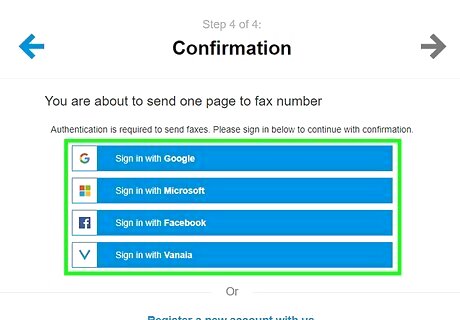
Click Sign in with Google account. It's an option near the top of the page.
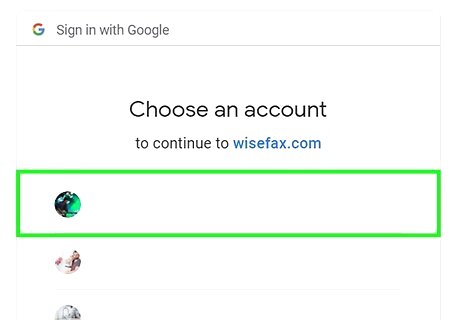
Select an account. Click on a Gmail address that you want to use to sign into WiseFax. If you aren't signed into the correct account, enter your email address and password when prompted. You may first have to click Use another account at the bottom of the page.
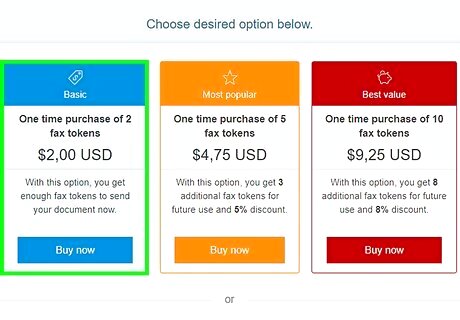
Click Buy required number of fax tokens. It's a blue button at the bottom of the page. Selecting it opens a pop-up window. If nothing happens, make sure you have Chrome set to allow pop-ups.
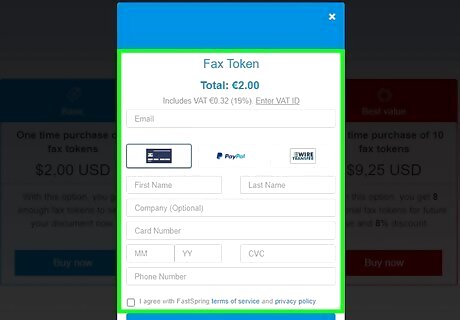
Enter your credit or debit card's details. In the pop-up window, enter your cardholder name, card number, expiration date, security code, and billing address. You can also click Other Methods in the upper-right side of the window to select PayPal or Amazon as your payment method.
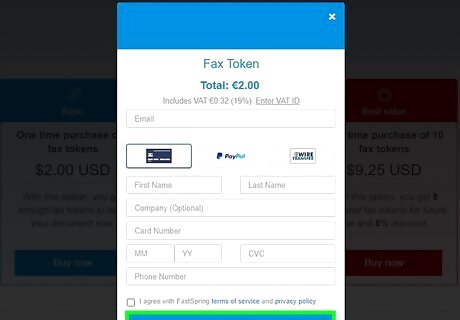
Click Pay. It's in the bottom-right corner of the window. Clicking this button will send your fax to the number that you entered earlier, though you may have to confirm this decision if prompted. You'll see a number that indicates how much you're paying (e.g., $1.00) to the right of Pay.
Using an Online Fax Account

Make sure that you have an online fax account. If you haven't registered your email address with a fax service online, do so before continuing. You will need to use the free trial version of a paid service if you want to send a fax for free, so make sure that you cancel your subscription before the trial period ends to avoid being billed.
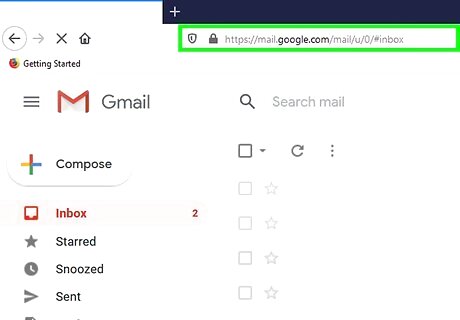
Open Gmail. Go to https://www.gmail.com/ on a computer. This will open your Gmail inbox if you're already logged in. If you aren't logged in, you'll need to enter your email address and password before proceeding. You can't send a fax from the Gmail mobile app.
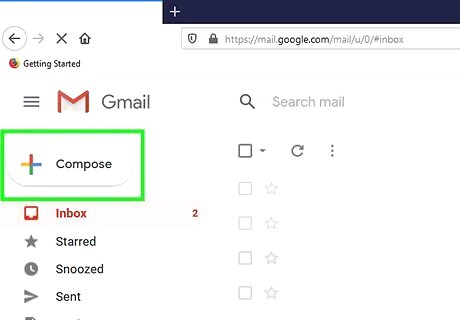
Click COMPOSE. It's a grey button in the upper-left side of your Gmail inbox.
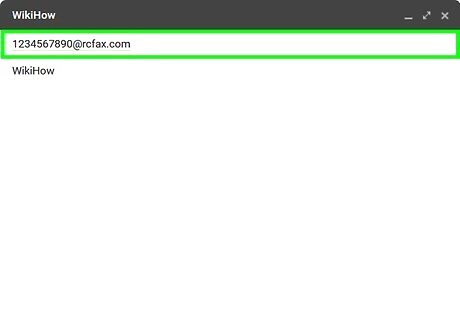
Enter the fax number and service extension. Type the number to which you want to send the fax into the "To" section, then type in the extension of the service that you use (e.g., RingCentral). For example, if you use RingCentral, you would type something like [email protected] into the "To" section. You must add a country code to the beginning of the fax number if faxing overseas.
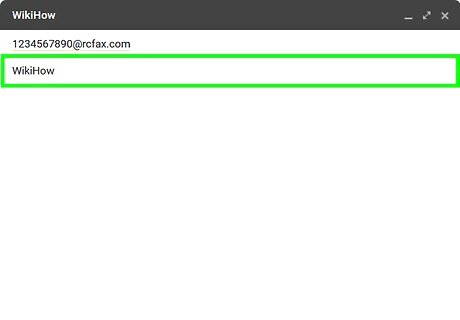
Add a cover page if you want. Type your cover page text into the "Subject" field. If you don't need a cover page, you can leave this field blank.
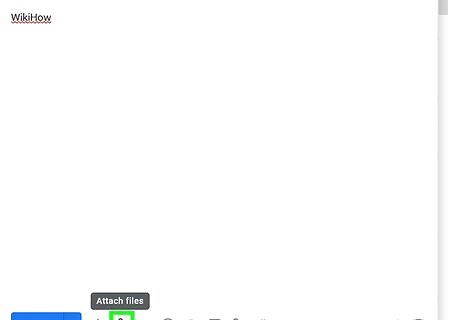
Upload your fax's document(s). Click the paperclip icon at the bottom of the email window, then select your fax document(s) and click Open to upload them. You can also type information into the body section of the email window if you want to send a text-only fax.
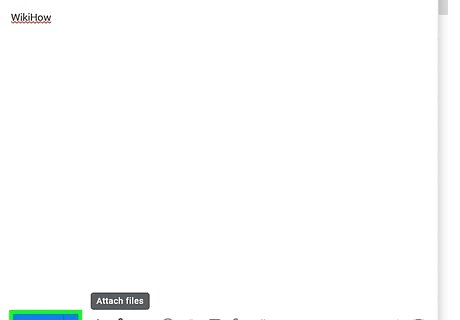
Click Send. It's a blue button in the lower-left side of the email window. Clicking it will send your fax to the indicated number.




Comments
0 comment