views
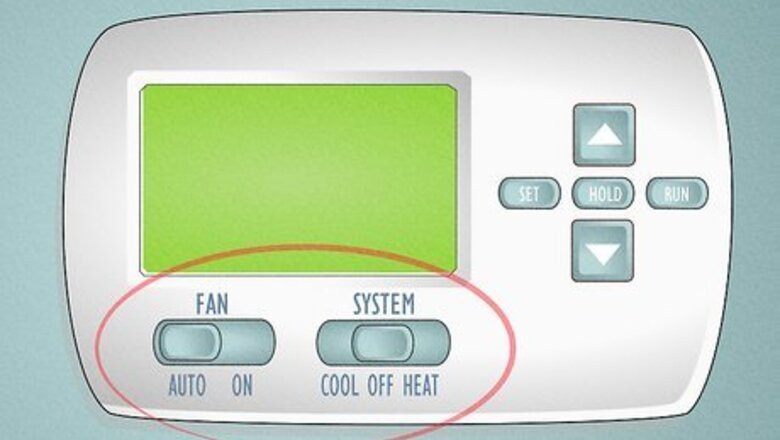
- Use the thermostat’s buttons to switch between fan-only, cooling, and heating modes. Adjust the temperature with the up and down arrow buttons.
- Program or schedule thermostats to work less while you’re out of the house to save energy. Consult your user manual for specific setting instructions.
- Set your thermostat to 78 °F (26 °C) in the spring and summer and 68 °F (20 °C) in the fall and winter to stay comfortable and save money.
Setting Your Thermostat Directly
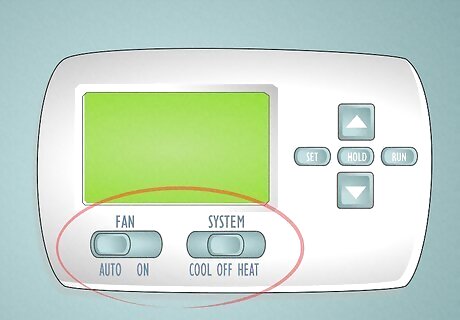
Learn the differences between settings. If your home has central heating and cooling, then you most likely have a central thermostat to control it. Thermostats, whether programmable or not, will have many similar settings, including fan options, heating options, and cooling options.
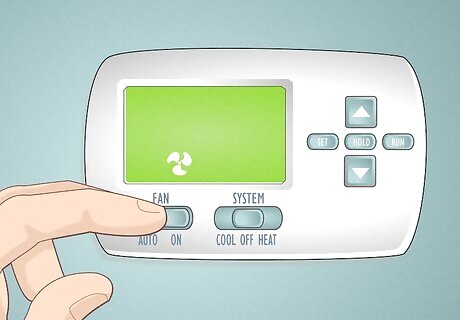
Turn on the fan. With fan options, you will most likely have “on” or “auto.” By choosing “on,” you will engage the fan on your system to circulate air through the home without heating or cooling it. The fan will run for as long as the “on” option is engaged. The “auto” option will only engage the fan when either the heat or air conditioning turns on and needs to be circulated. The “on” option for the fan is generally considered an energy waster since it will require a decent amount of energy to move that much air on a constant basis. Due to this most people only ever leave the fan set to “auto.” Many people use the “on” option simply to flush air out of a house—if something burned while cooking and you want to circulate enough air to clear the smell, for instance.
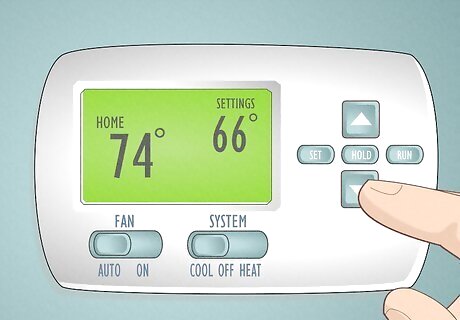
Set the air conditioner. Depending on your model of thermostat, you will likely either have a small switch on the thermostat’s faceplate or a cycle button to cycle between heating, cooling, and off options. You can prep the system to cool the home by moving the switch or pressing the button until you reach the “cool” setting. You will see a number on the thermostat display. This number is the ambient temperature in your home. Use the up and down arrows on the thermostat to set the temperature you want the home to reach. You will see a different display number come up that corresponds to the temperature you set. You will likely hear the system click as it engages and turns on the air conditioning to lower the temperature in the house to what you have set. The system will run until the house reaches the chosen temperature, and then it will automatically turn itself off and only reengage when the internal thermometer registers that the home is warmer than the set temperature. You can use the same switch or button to cycle the system to “off” at any time.
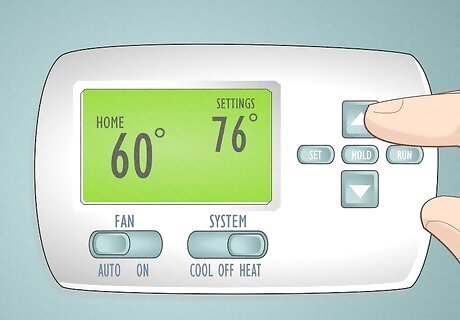
Set the heat. Setting the heat for your thermostat is very similar to setting the cooling option. Use the same switch or button to cycle through until you reach “heat.” You can then use the same set of arrows you used to set the cooling temperature to set the heating temperature. Again, the system will only run when the internal thermometer registers that the ambient room temperature is colder than the set temperature. You may also see an “EM heat” or “emergency heat” setting on your thermostat, especially if you live in an area prone to bitter cold conditions. This setting corresponds to a separate electric heating unit in the home in the event that the larger system breaks or freezes over during winter. While it does not hurt to test the emergency heating option periodically, you should stick to the standard heat setting for day-to-day use.
Programming Your Thermostat
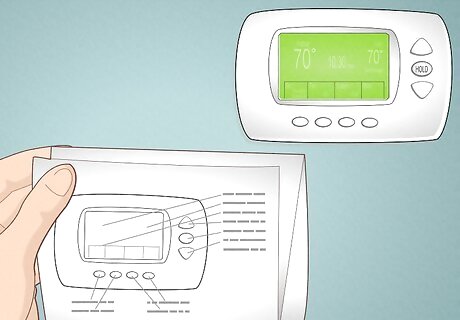
Read the manual. While all programmable thermostats have roughly the same functions, they aren’t universally operated in the same manner. If you have the manual for your thermostat, keep it handy in case it has a unique set of operations.
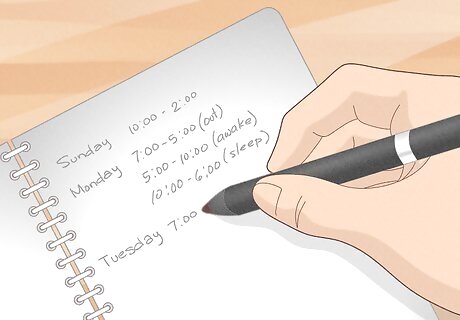
Determine your schedule. Track when you leave the house (or workplace) and are away regularly for at least 4 hours. Make notes about your schedule for 7 days, including all 24 hours each day.
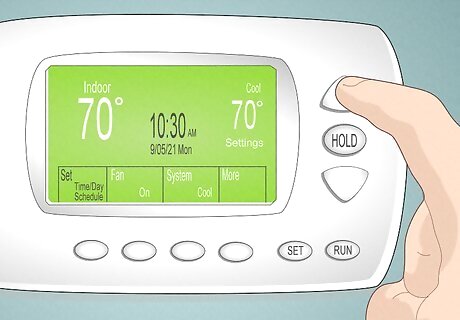
Program time and date information. The current time and date must be entered into your programmable thermostat for it to function properly. Nearly all thermostats have a button that reads “set” or possibly even “day/time” Press this button and a clock will appear on the display for you to set the time and the date. Use the up and down arrows to set the items and press the same “set” or “day/time” button again after each step to proceed to the next. Prompts will indicate whether to enter the time as a twelve-hour increment or as a twenty-four-hour figure. You may also need to set the day of the week, but it will follow in the same process after the time and date.
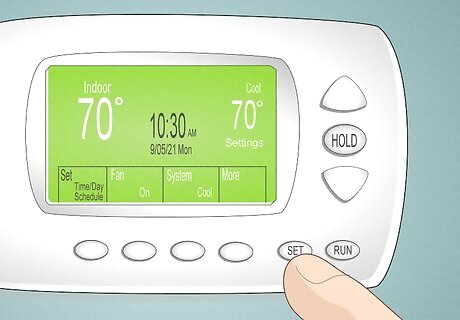
Press the “set” or “program” button. Once you have the date and time programmed, you are ready to program the thermostat’s schedule. Some brands will have an actual “program” button, whereas others may require you to scroll past the time and date information by hitting the “set” button several times. You will reach a screen on the display where it prompts you to set a “wake” time for weekday mornings. You may actually want to set the time very slightly before you wake up so that the system is already running. Most thermostats will allow you to schedule weekdays and weekends separately, whereas some may allow you to schedule each day separately. Again, you can use the up and down arrows to cycle through the time.
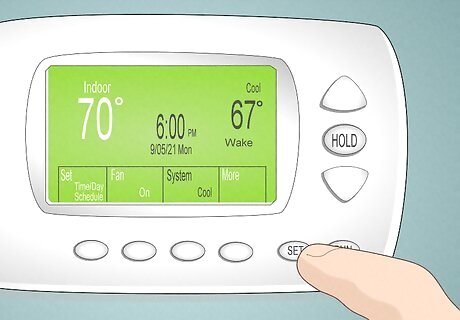
Press “set” or “program” again to set a temperature. With the “wake” time set, you will now have to set the “wake” temperature. Press the respective button for your model thermostat again and the temperature will begin blinking. Use the up and down arrows to find the temperature you want. Some models may allow you to set a temperature range so that you don’t have to reprogram the thermostat with each season. For example, it may prompt you to set both a wake summer and winter temperature. This will ensure that the system heats when the ambient temperature is below a certain threshold and cools when above another threshold.
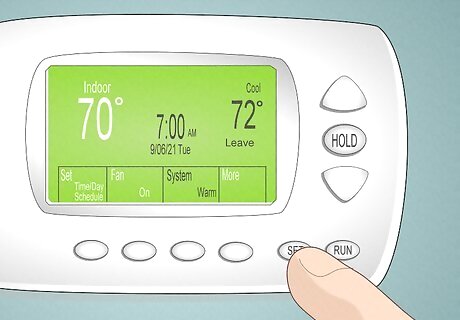
Set the “leave” time and temperature. With the “wake” time and temperature set, the thermostat will prompt you to schedule the time you leave for the day during the week. Most people set these temperatures much higher during the summer or lower during the winter to conserve energy and run the system less while no one is home. Use the same process of hitting the “set” or “program” button and the up and down hours to cycle through and find the settings you want. If you don’t want the system to run at all while you’re away, you can simply set it to turn on at a temperature that you know your home won’t reach.
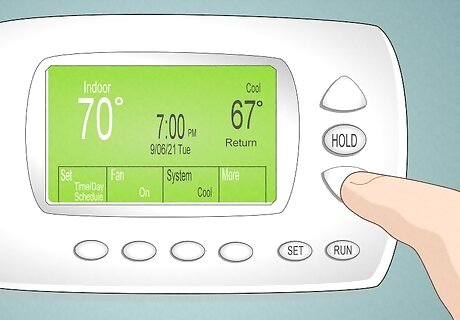
Set the “return” time and temperature. The next time and temperature setting the thermostat will request is for what time you return home during the week. As with the “wake” setting, you may want to set the time fifteen-to-thirty minutes before you get home if you want to ensure that the home has already reached the temperature when you arrive.
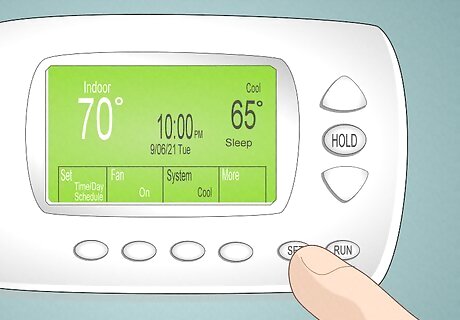
Set the “sleep” time and temperature. The fourth and final weekday setting the thermostat will request is for the time you go to sleep at night. Since many people might open windows during summer nights or pile on extra blankets during the winter, you can save money and energy by respectively raising or lowering the overnight temperature setting. Wherever you set this temperature will hold over until the “wake” time and temperature you have set for the following morning.
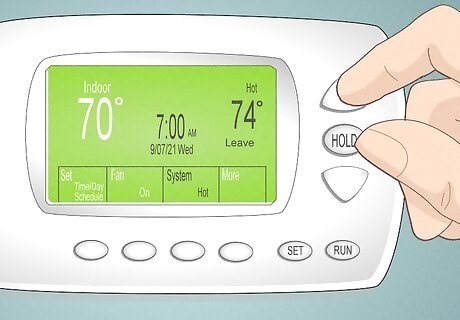
Repeat the process for the weekend. Once you finish setting the weekday schedule, the thermostat will prompt you to set the same four times—wake, leave, return, and sleep—for the weekend. As with the other settings, keep using the “set” or “program” button in order to advance the menu and keep using the arrows to adjust the times and temperatures.
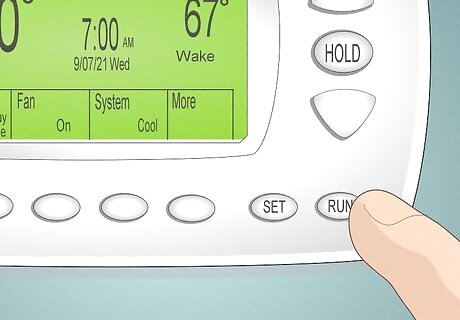
Press the “run” button to initiate. Depending on your thermostat model, once you hit “set” or “program” on the final weekend “sleep” settings, it may return you to the current day, time, and temperature and begin following the schedule. Other models may have a “run” button that you must press to initiate the schedule.
Programming a Smart Thermostat
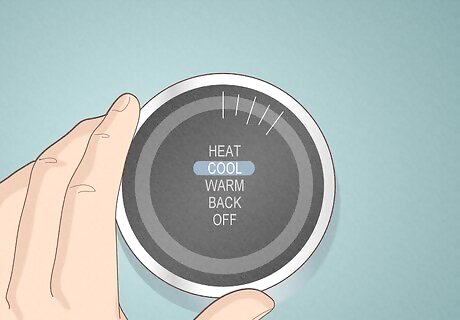
Learn the settings on your smart thermostat. Smart thermostats come with 3-4 standard settings. If you're using a Nest thermostat, for example, click the red Mode button on the top-left of the dial. There, you will have the option of Heat, Cool, Heat/Cool, Off, and Eco. You can also run the fan. To do so, return to the home screen on your dial and click the fan image on the top right. This will circulate air throughout your home without cooling or heating it. Heat controls the heater. Cool controls the air conditioner. Heat/Cool allows you to run both at the same time to give your home a more personalized temperature. Eco sets the thermostat according to energy-saving temperatures when you're out of the house.
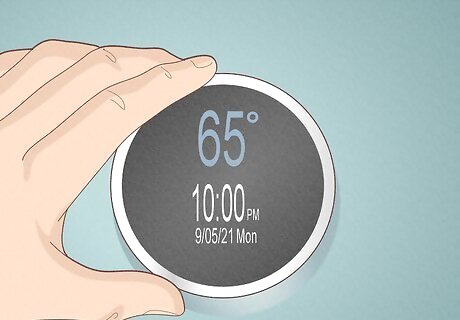
Schedule your settings. Smart thermostats allow you to set the temperature in your home according to a schedule. If you're using a Nest thermostat, click the calendar image on the bottom right of the dial. Once it takes you to the schedule, twist the dial until you reach the date and time you would like to set a new temperature. Tap the bottom of the dial and click "New." Twist your dial to the left or right to pick your preferred time, then twist the dial up or down to select the temperature you would like.
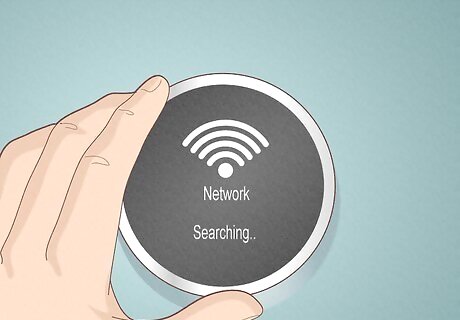
Connect your Smart thermostat to Wi-Fi to program it remotely. Smart thermostats allow you to program or change your thermostat settings via an app on your phone or your computer. If you have a Nest thermostat, click "Settings" on the thermostat's home screen. Select "Network," click your Wi-Fi network, and enter your password.
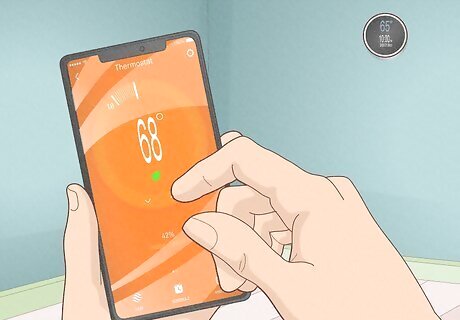
Use the app to program your smart thermostat. You'll need to be at home to connect your thermostat to the app for the first time. First, download the corresponding app to your smart thermostat. If you're using a Nest thermostat, download the Nest app and create an account. Go to your thermostat at home and select "Settings." Next, click "Nest App," followed by "Get Entry Key." Use that key to connect the thermostat to the app. To enter the entry key, open your app and select "Settings." Click "Add Product," followed by "Continue Without Scanning." The app will prompt you to enter the entry key. Once you connect your thermostat to the app, you'll be able to access your thermostat's home screen via the app anytime you're connected to Wi-Fi.
Ideal Settings for Each Season
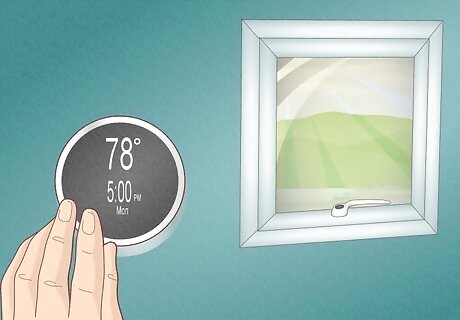
Set your thermostat to 78 °F (26 °C) in the spring and summer months. Keeping your home in the high 70s allows you to cool off while still saving energy and money. If it's a little too hot, get a few fans going.
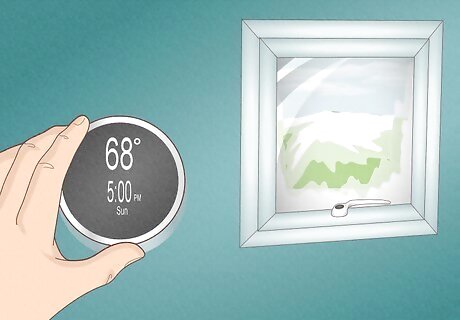
Heat your home to 68 °F (20 °C) in the fall and winter. A temp in the high 60s helps you stay warm while also saving energy. Staying at this temperature also helps you save money on your electric bill. If this feels a little cold at first, wear warmer clothes around the house and bundle up with some extra blankets at night.
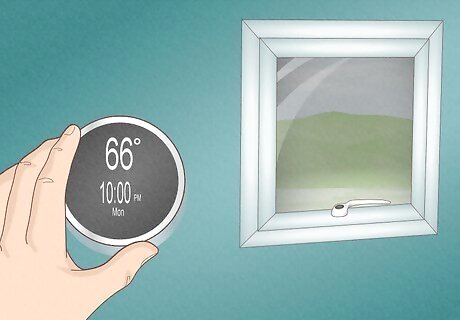
Lower the temperature at night by 1-2 degrees no matter the season. For example, if you set your thermostat to 68 °F (20 °C), lower it to 66 °F (19 °C). This helps you save on your electric bill, and it can also help you sleep more comfortably.
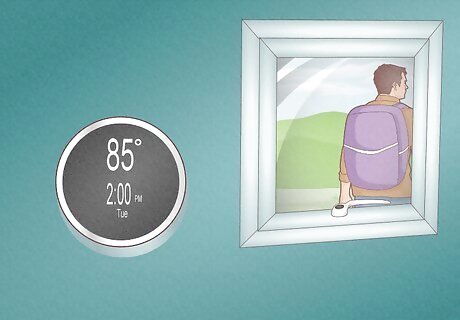
Raise the temperature to save money in the summer. Try boosting it to 85 °F (29 °C) when you're out and about. That way you're not spending money cooling off your home when you're not there.
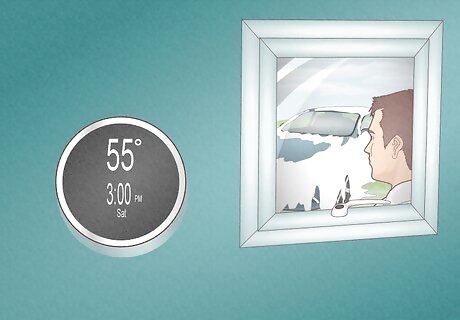
Lower the temperature to 55 °F (13 °C) if you leave town during winter. This temperature helps you cut costs on your electric bill. It also keeps your house warm enough so that you don't have to think about the pipes freezing while you're gone.




Comments
0 comment