views
Open Microsoft Word. On your desktop, double-click the Microsoft Word icon to launch the application.

Make the ruler visible. By default, the ruler at the top of the document should already be visible. In the case that it is not, click the View option at the very top of the screen, and a window will drop-down. Click on “Ruler” to display it at the top of the document.
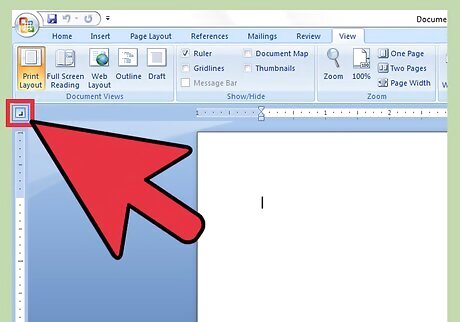
Click the tab selector. At the top-left corner of the document, you can see the tab selector. It should be exactly on the left side of the ruler. Click it and you will be able to select the type of tab you want.
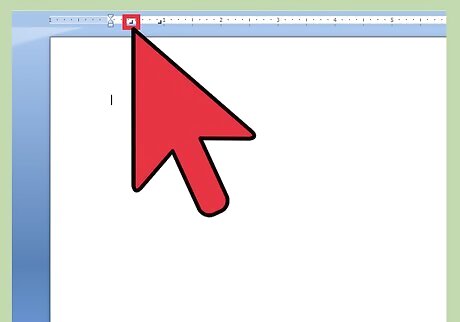
Set the tab position. Now click anywhere at the bottom edge of the ruler to set where you want the tab.
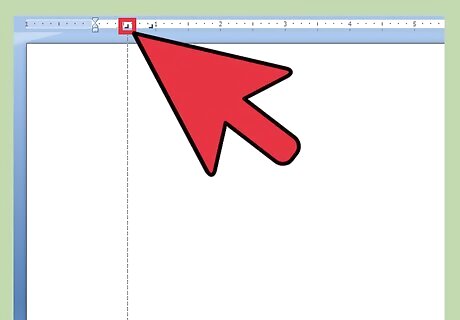
Adjust the tab. If you need some more adjusting to your tab, simply drag the tab you set left or right along the ruler.




Comments
0 comment