views
X
Research source
This stitch is just as useful for filling in shapes as it is for outlining, as its chained structure makes it flexible enough for following curves and spirals. Best of all, there are multiple ways to sew a chain stitch, so grab a needle and thread and start learning today!
Making a Basic Chain Stitch
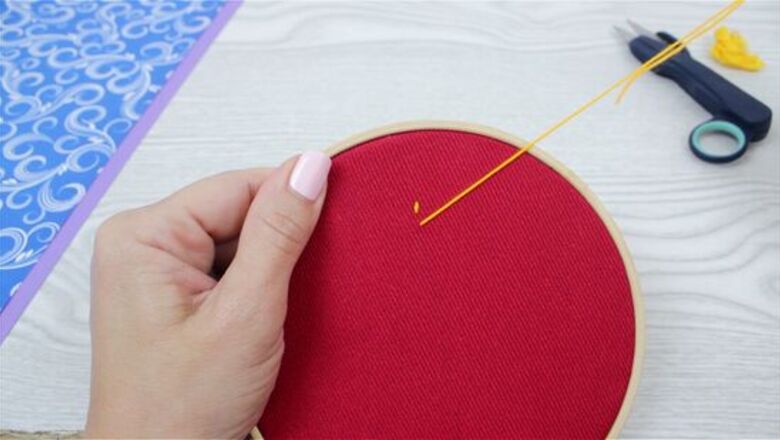
Start with a small stitch. The very beginning of a basic chain stitch is easy — all you need to do is make a small, straight stitch in your fabric. The exact size doesn't matter, but it shouldn't be any larger than a quarter inch or so. This stitch will "anchor" the rest of your chain. To make a simple stitch, just bring the needle through the back of the fabric, then bring it through the front of the fabric near the first hole. Try practicing chain stitches on an old pair of pants first. Always start at the side seam, not in the middle of the garment. This way, any mistakes won't be noticeable. Mark your garment with tailor's chalk as you practice. Then, simply follow the chalk line as you sew!
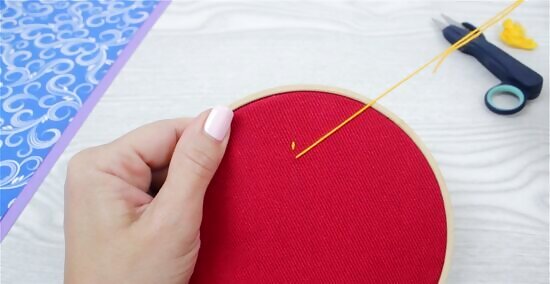
Come back through the fabric near your stitch. Bring the needle through the back of the fabric a short distance below your first stitch. This new hole should be in line with the first two (not off to either side.)
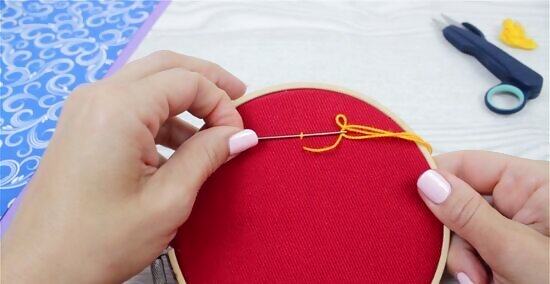
Loop the thread through the first stitch. Bring the needle under the initial stitch from the side. You may need to use the needle tip to work the stitch open slightly. Pull the thread through so that it's reasonably tight (but not so tight that the fabric bunches up.)
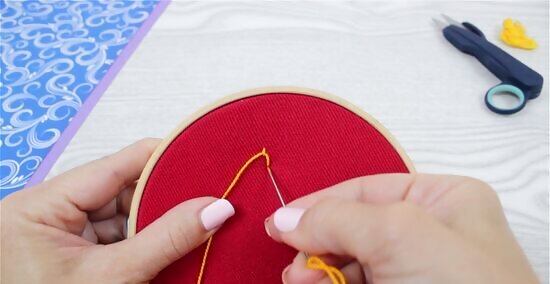
Put the needle back through the second hole. Next, put the needle point through the same hole that you came up through in Step 2. Your stitch should look like a skinny oval or slit. You've just made the first "link" of your chain!
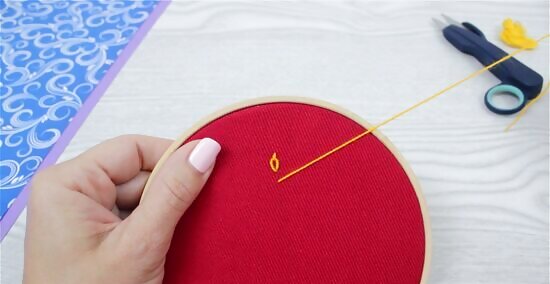
Come back through the fabric below your stitch again. Now, all you need to do is just repeat the steps above to continue your chain. Bring the needle through the back of the fabric at a spot that's about as far from your first link as you did before.
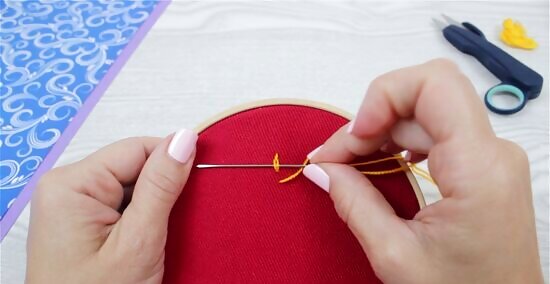
Loop the thread through the previous link. This time, pass the thread underneath both threads in the "link" of the chain. Then, put the needle down through the same hole you came up through. Your chain should now have two links.
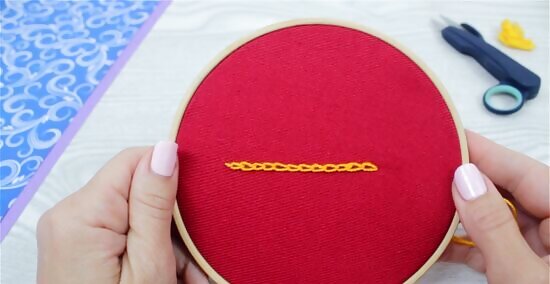
Repeat as needed. Simply continue this pattern to continue adding links to your chain.
Making a Heavy Chain Stitch
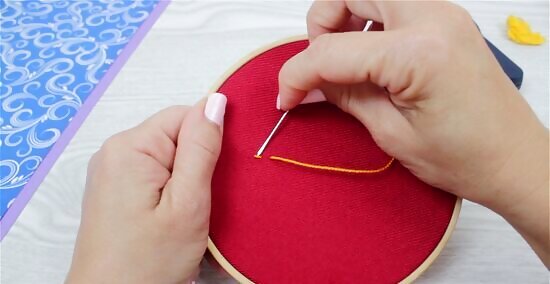
Start by making a single "link" of a basic chain stitch. This variation on the basic chain stitch has a thicker, more defined appearance, making it a great choice for stitching borders and outlines that you want to stand out. To begin, you'll want to create a one-link basic chain stitch according to the method above. In other words: Start with a single small stitch Come back through the fabric at a spot in line with your stitch (less than an inch or so away) Loop your thread through your first stitch Put the needle back through the hole it came from.
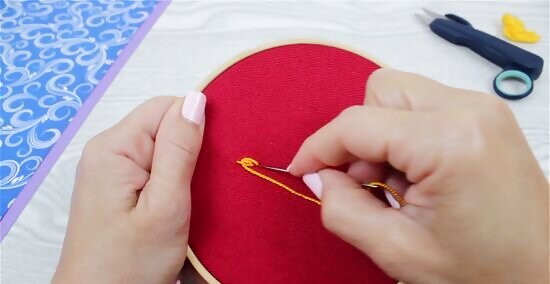
Make a second "link" through the original stitch. At this point, the heavy chain stitch starts to differ from the basic method. Come back through the fabric a little ways from your first link as you normally would, but then make a loop that passes through the original "anchor" stitch — not the link you just made. After this, pull the thread through and put the needle back through the hole it came from once again.
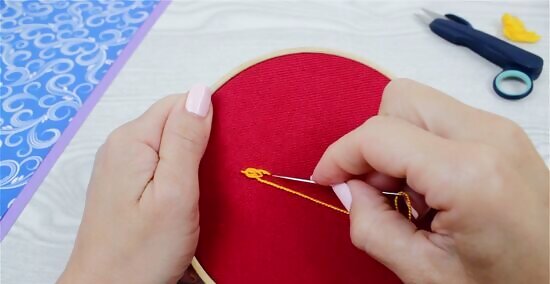
Make a third link through the first two links. Come back through the fabric below the second link. Pass the needle under both of the previous links. This is crucial — you want the thread to pass under not just the second link, but the second and first links together. When done, put the needle back through the hole it came from as before. Ignore the original "anchor" stitch — we don't need to deal with it any more.
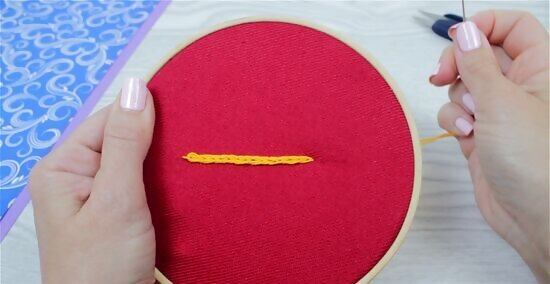
Repeat as needed. Continue this pattern to extend your chain. Each time you come up through the fabric, loop your thread under the last two links you've made. If you do this correctly, a thick, "tight"-looking chain stitch should begin to form. It takes careful attention to get the pattern down, but once you get it, this stitch isn't difficult. Until it becomes natural, be careful about missing a stitch and looping your new link through just one previous link instead of two — if you don't catch your mistake, this will give your finished product an uneven "kink" in the chain.
Making a Cable Chain Stitch
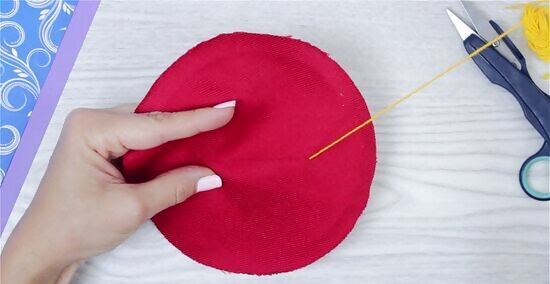
Start by bringing the needle up through the fabric. This variant on the basic chain stitch actually looks like a real chain. Unlike the method above, we won't start with a basic chain stitch here. Instead, simply bring the needle from the back side of the fabric to the front.
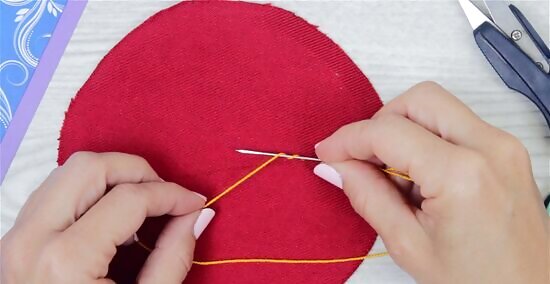
Wrap the working thread around the needle. Next, bring the needle in front of your working thread (the "slack" length of thread that you haven't used yet.) Wrap the working thread one complete turn to form a tight loop around the needle.
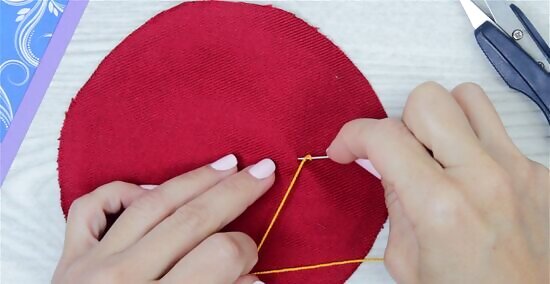
"Scoop" up a short length of fabric. Stick the needle back through the front of the fabric a short distance from where you brought it through. Then, without pulling the thread tight, bring the point of the needle back through the fabric again a short ways down the line. An easy way to do this is to bring the needle through the fabric at a shallow angle, rather than at a 90-degree angle. This way, you can slip the needle into the fabric and back out again using only the length of the needle, so you won't need to pull on the thread.
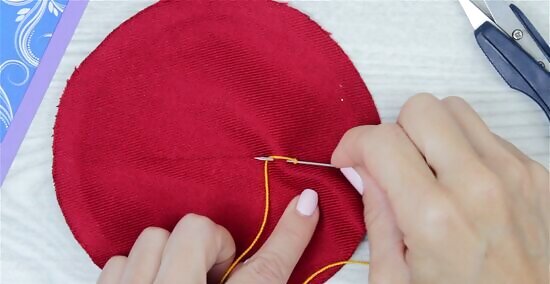
Pull the needle over the working thread. Start pulling the needle to tighten the thread. Make sure the needle travels over the working thread rather than under it. Finally, pull the thread tight. If you've done everything correctly, at this point you should be left with a stitch that looks like an oval shape or the number 0.
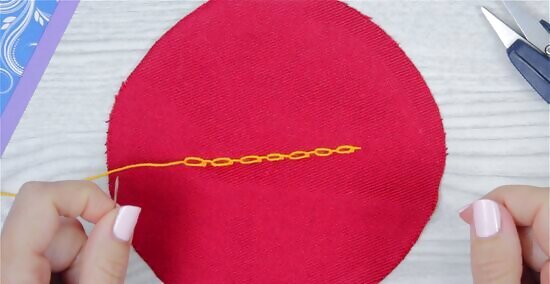
Repeat as needed. Though it may not seem like it at first, all you need to do to continue your cable chain stitch is just repeat the steps above. As you lengthen your stitch, you'll eventually get a string of "0s" joined by short "-" segments that resemble the links in a real chain. To recap, for the rest of the stitch, you'll need to: Wrap the working thread around the needle Scoop up a short length of fabric by putting the needle through the thread and bringing it back through without tightening the thread. Pull the needle back over the working thread Pull to tighten.




Comments
0 comment