
Preparing to Tape the Ankle
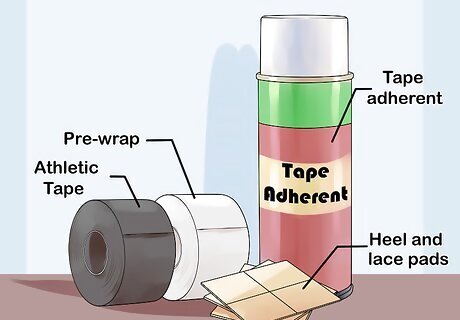
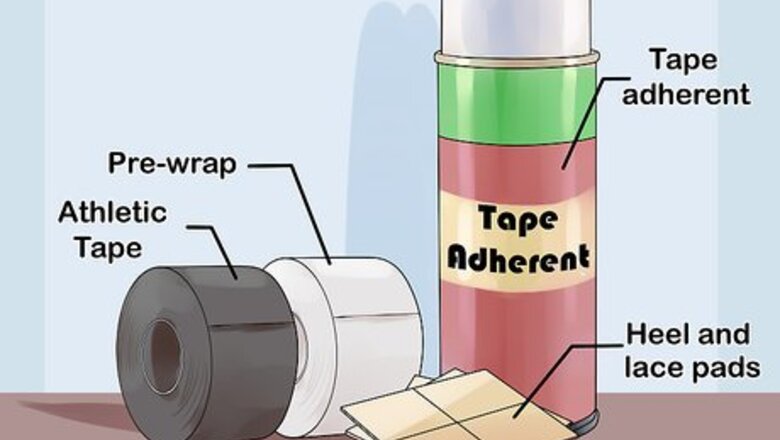
Gather materials. Make sure you have everything you need to tape the ankle properly. Without all the proper equipment, you may cause further injury to the person whose ankle you wish to wrap. You will need: Tape adherent. Tape adherent helps to prevent slippage and ease the wrapping process. Pre-wrap. Pre-wrap acts as a barrier between the skin and the tape and is a foam- or gauze-type cloth pad. It can be made of cotton, latex, other synthetic materials, and blends of these materials. Athletic tape. Athletic tape is the main structural component used when wrapping ankles.
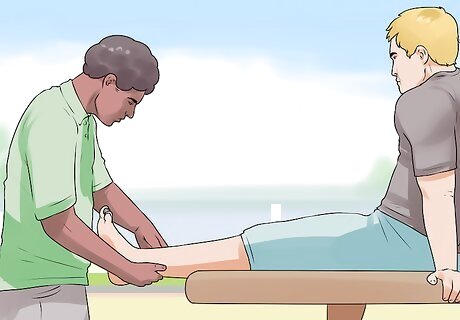
Position the injured patient’s foot at a 90-degree angle. Ask the patient to sit someplace sturdy where their foot can be elevated and extended. Place the foot in a pointed upright position at a 90-degree angle. Keep the foot in this position as you wrap.
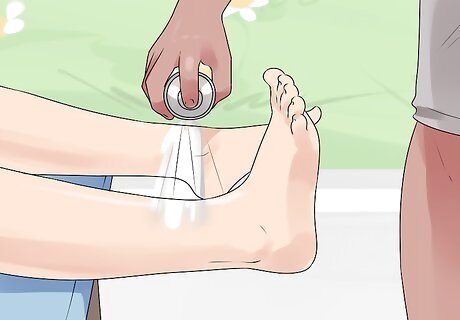
Apply a QDA adhesive. Lightly spray a quick-drying adhesive (QDA) over the area you wish to wrap. This adhesive will help ensure the wrapping stays in place. Wash and dry the area you’ll be wrapping before applying the adhesive spray and tape, as dirt can make the tape loosen even with the adhesive.
Taping the Ankle
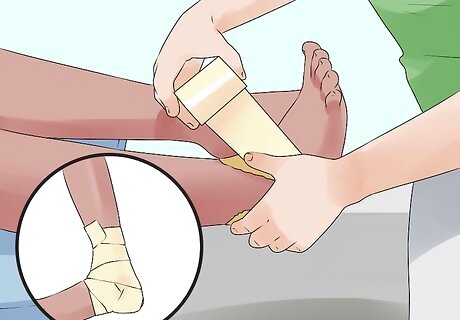
Wrap the ankle fully with a pre-wrap. Apply pre-wrap from the mid-foot to the bottom end of the calf muscle. Cover the foot entirely to prevent the tape from sticking to the skin. The heel may remain uncovered. This will provide a barrier between the tape and the skin and an additional layer of support.
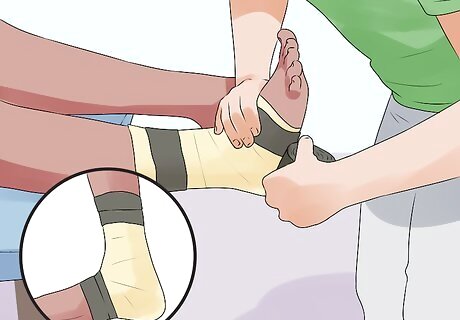
Apply anchors. Put 1 to 3 anchor strips at the top of the pre-wrap. Each consecutive strip should overlap at about its midpoint. Place one around the foot's arch, where the pre-wrap's lower portion ends. Make sure that each anchor strip is applied with even tension. Too light and the tape won't anchor to the pre-wrap strongly enough; too tight and the circulation to the foot could be pinched or cut off. Check with the athlete after application to find out if the tape is comfortable.
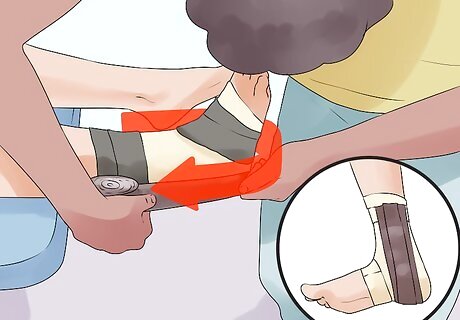
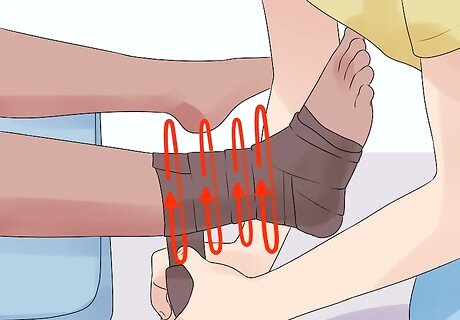
Attach stirrups. Apply 3 semi-overlapping stirrups, beginning on the medial side (inside of the ankle) and working to the lateral side (outside of the ankle). These stirrups will be U-shaped strips. The tape starts at the top anchor, goes over the bottom of the heel, under the foot, and back up the other side. It ends at the starting anchor on the opposite side of the foot. Make sure you're using even tension as you put the stirrup on the inside anchor, under the foot, and on the outside anchor.

Place 3 horseshoes. Horseshoes stabilize the stirrups and go from either side of the foot—back around the Achilles tendon, to the opposite side of the foot. These add extra support to the ankle.
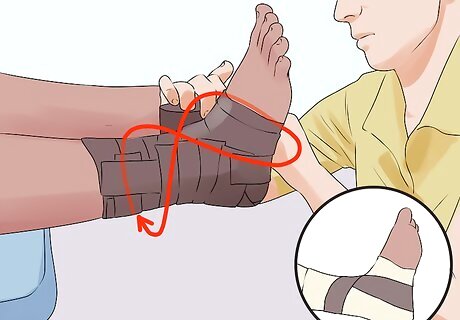
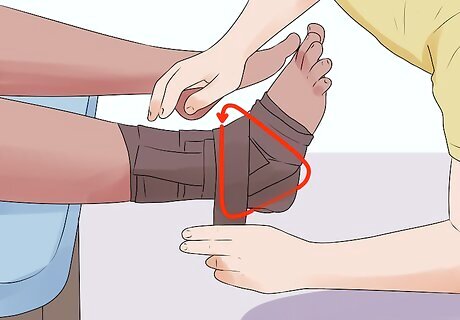
Make 2 figure-eights. Apply the tape in 2 figure-eight patterns, one going in each direction. Start at the top of the foot where the foot connects with the ankle, and take the tape under the foot, back up, and around the back of the ankle. The tape should end up where you started.
Use heel locks. Heel locks start on one side of the foot, wrap about the heel, and then are taped back on the side you began from. Four are applied in alternation—2 on each side of the foot to help to stabilize the ankle.
Tape up with horizontal strips. Fully cover the pre-wrap with 2 strips of horizontal tape. This helps to hold all the different pieces of tape together while also adding additional stability and closing up the wrap.


Comments
0 comment