views
Fixing a Basic Jam
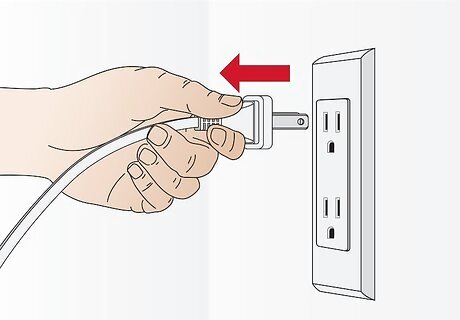
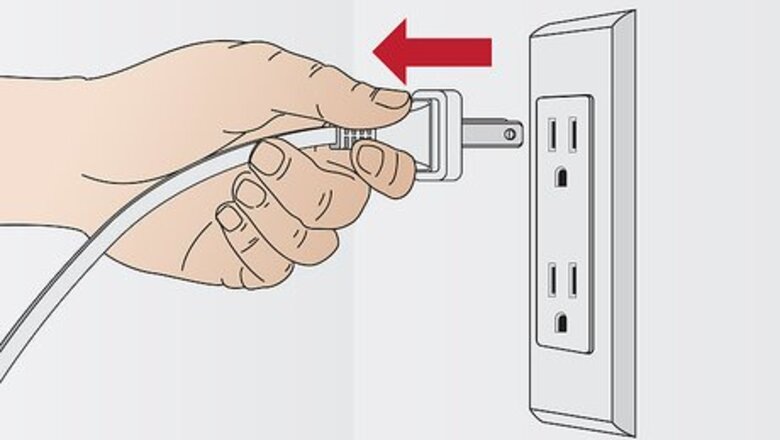
Unplug the shredder. As soon as you notice a jam beginning to form, stop the shredder to keep things from getting any worse. This gives you a chance to slow down, assess the situation and prepare to fix the jam. Jamming signs to be watchful for include a slowing down of the paper moving through the shredder, an outright stop, and a whirring, "straining" noise that should be readily obvious.
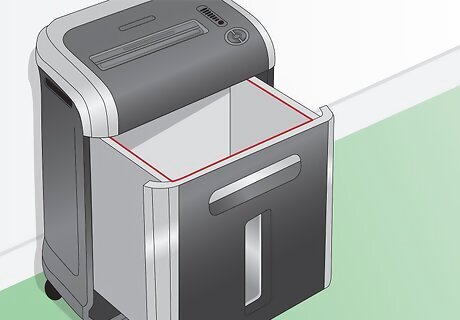
If needed, empty the wastebasket. One reason that shredders sometimes jam is that there isn't anywhere for the paper to go once it is shredded because the wastebasket is full. If your wastebasket is full, try emptying it and re-trying which may be enough to resolve your jam. If the jam still won't clear, proceed to the following steps.
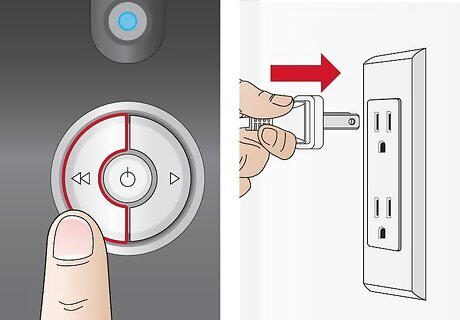
Switch the shredder to "reverse" and plug it back in. Because jamming is a common problem, most modern shredders come with a built-in option to run in reverse. Switch the shredder to its "reverse" option (usually there is a well-marked button on the top of the shredder) before plugging it back in. Ensure your fingers or any other tools are not near the shredder opening when you plug it in.
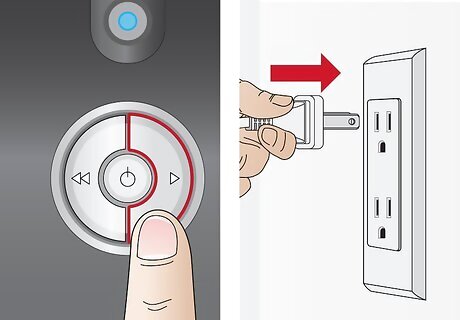
If the shredder jams in reverse, switch back to auto/forward. Reversing the shredder will usually clear a minor jam in a matter of seconds. However, in especially bad cases, the shredder may jam again when it runs in reverse. In this case, unplug the shredder again, switch it to "auto" or "forward" (the precise option may vary on your shredder) and plug it back in. Be prepared to alternate between auto and reverse as needed. A jam that's bad enough to gum up your shredder when it runs in reverse may be bad enough to jam it yet again when it runs forward for the second time. However, by switching between forward and reverse, it's almost always possible to gradually work your paper out of a jammed shredder.
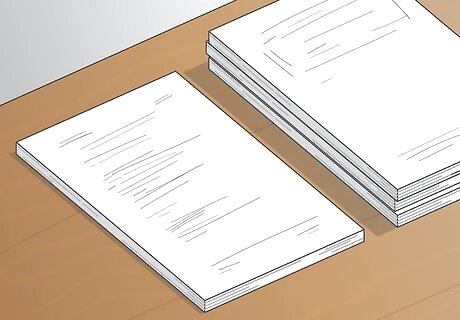
Reduce the thickness of your load before re-shredding. One of the most common reasons for a shredder jam is simply that too much paper was fed into the shredder at once. Once you clear your jam, try shredding a smaller amount of paper if this was the cause for the jam, the smaller second load should pass through with less difficulty. If you still can't seem to get your jam to clear after alternating between reverse and auto/forward, you may have an extra-severe jam that needs to be cleared manually. Never fear, consult the section below for further help.
Manually Unclogging a Stubborn Jam
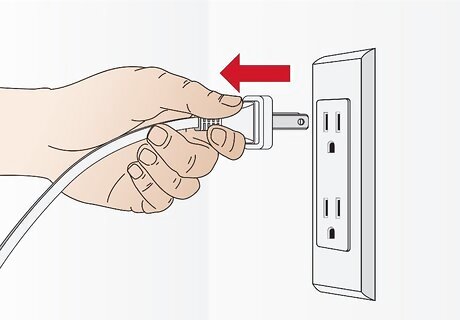
Unplug the shredder for safety. In this method, you'll be trying to remove the jam in your paper with your hands and various tools, so take this quick safety precaution to protect yourself while you try to fix the jam. You do not want the shredder to accidentally switch on while you have a finger or instrument in it.
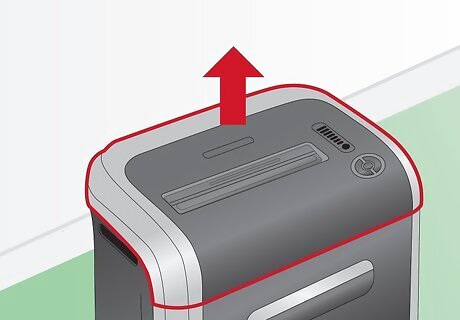
Remove the top "shredding" portion if possible. Most modern shredders come in two pieces: a wastebasket and a mechanical portion on top that does all the shredding. If you can remove the latter portion, you'll have an easier time accessing both sides of the paper slot to clear your jam. Usually, the top shredding portion can be simply lifted off of the wastebasket; high-quality models may have a simple locking mechanism. If you're able to, place the top shredding portion on a big piece of newspaper (or somewhere else where mess isn't much of a concern) before you start working.
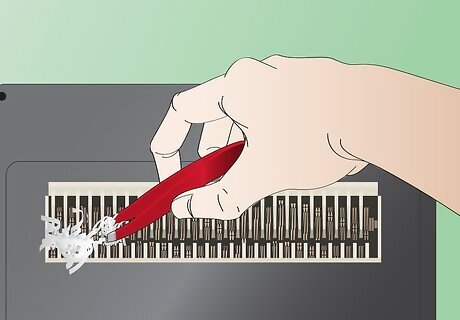
Use a pair of tweezers to pull pieces of paper from the blades. Tweezers can help you get a good grip on paper stuck in the thin paper insert slot. However, you can also use your hands as long as you're sure that the shredder is unplugged. Try pulling not just from the top of the shredder, but from the bottom as well. It is difficult to tell exactly how a shredder is jammed from looking at it, you may be able to make more progress from one direction than the other.
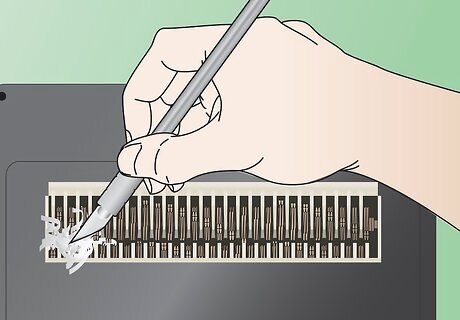
Cut curled-up pieces of paper with a knife, then tug them out. In a paper jam, strips of paper can become wrapped around the cylindrical rollers inside the shredder making it difficult to unclog the jam. Try using a a sharp knife (or, in a pinch, one blade of a pair of scissors) to slice these coiled strips and make them easier for the shredder to process.
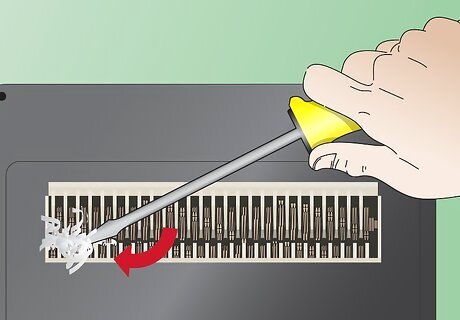
Use a screwdriver or a pair of pliers to remove stuck pieces of paper or plastic. If you can see that thick paper or plastic particles are stuck in the blades of the shredder (this is usually clearest when looking at the bottom of the shredder), consider using these metal tools to get a little extra leverage when removing them. Pull stubborn particles out of the machine with a firm (but not violent) yanking or prying motion. Note when using these tools that it's crucial not to damage the blades of the shredder as you work as this can lead to costly repairs in the future. These tools can be especially useful for removing tough pieces of plastic that have jammed a shredder after inserting a CD, credit card, etc.
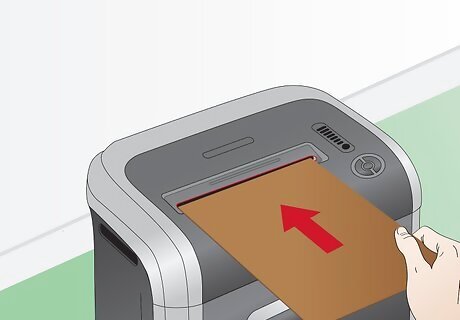
Feed heavy cardstock into the shredder behind the jam. Believe it or not, sometimes adding more paper can actually help clear a jam. For this trick, you'll need a stiff, rigid piece of cardstock (like a filing folder or a sheet of cardboard from a cereal box) that you don't mind shredding. Push the cardstock directly into the center of the paper slot while you run the shredder. Apply firm pressure to help push the jammed paper through. If you're not making progress, stop and try another method to avoid worsening the jam.
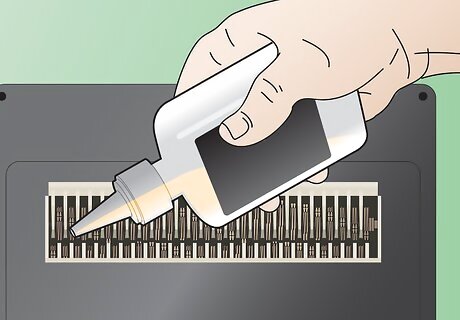
Use shredder oil for particularly nasty jams. Sometimes, nasty jams can result if the blades of the shredder aren't well-lubricated. To solve this problem, try using shredder oil, which is available at most office supply stores and online for cheap (usually about $10/bottle.) Cooking oil also works well, but you should not use aerosol lubricants (e.g., WD-40, etc.) as these can damage the inner machinery of the shredder. To use shredder oil, apply a few generous drops in the spots where the jam seems to be worst. Let the oil soak for about half an hour, then run the shredder forward once again. The softened paper should be much easier for the well-lubricated blades to process.
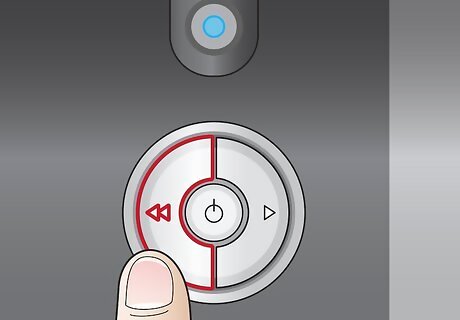
Run the shredder in reverse once the jam is mostly cleared. If you've managed to make major progress on clearing a jam but some paper remains in the shredder, try running it in reverse. Usually, you should be able to get the paper to "back out" of the shredder so that it can be easily removed.
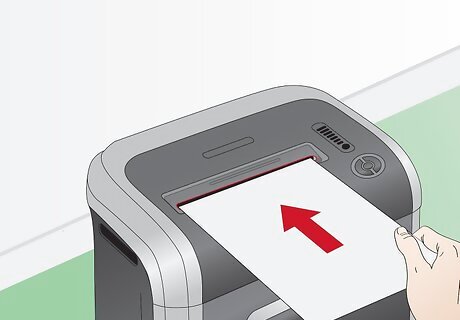
Test whether the jam is clear by shredding a single piece of paper. The paper should flow through the shredder without any difficulty. If the jam appears to be clear, continue shredding!
Avoiding Future Jams
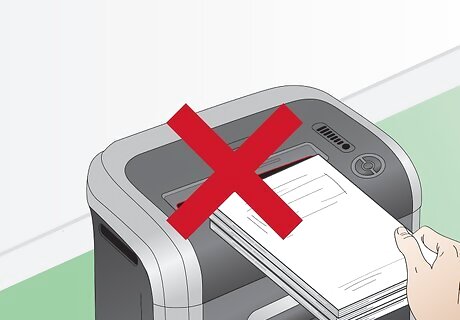
Avoid over-feeding the shredder. As mentioned above, one sure-fire way to cause a jam is to feed more paper into a shredder than it is designed to handle at once. Luckily, the solution here is simple: after a jam, make an effort to feed fewer pieces of paper into your shredder than you previously did.
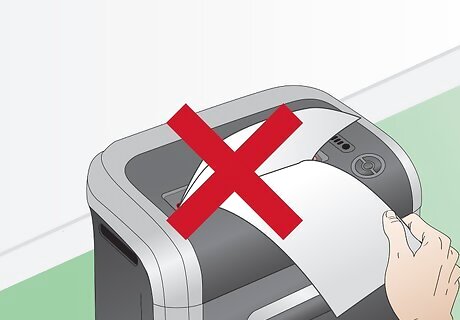
Avoid "fast-feeding" the shredder. Another way that jams are frequently caused is by feeding several loads into the shredder without giving each a chance to process completely (this is called "fast-feeding.") Remember that just because a sheet of paper has disappeared completely into the shredder does not mean it has been completely shredded. To avoid fast-feeding the shredder, simply wait a few seconds after each paper load before adding the next one.
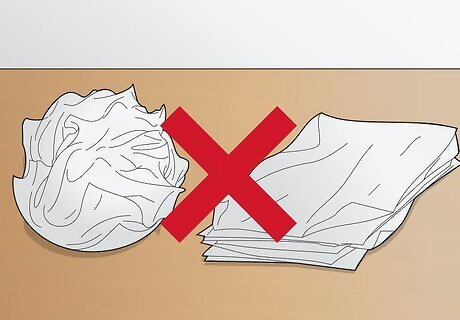
Avoid folding or wrinkling paper before feeding it into the shredder. Folds, wrinkles and creases can easily jam a shredder as each one essentially doubles the effective amount of paper has to work through at once. Smooth out any rough spots on your paper before adding it to your shredder. It's easy to accidentally crease the edges of a piece of paper if you're storing or handling it roughly, so be careful with the papers you plan to shred to avoid unnecessary hassles.
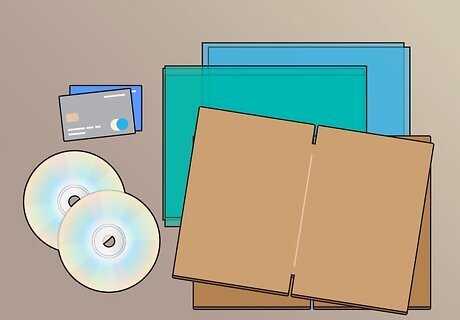
Be wary of thicker or harder materials (like cardboard, plastic, etc.) Materials thicker than ordinary paper can be difficult for shredders to handle. Try shredding these tough items by themselves to prevent a jam: Credit cards CDs or DVDs Laminated paper pages Cardboard Thick packaging materials Material containing adhesives.
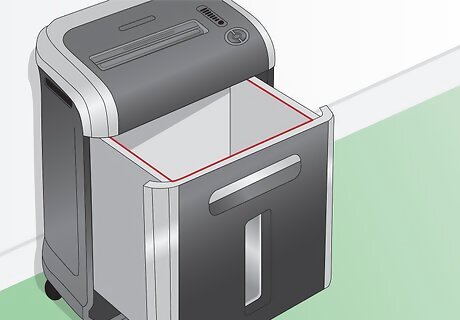
Empty the bin frequently. As noted above, a full bin under your shredder can cause jams by preventing paper from leaving the shredder as it is processed. To avoid this, just empty your bin before this becomes a problem. If jams seem to occur for this reason frequently, try posting a schedule for emptying the bin next to the shredder (for example, "Please empty Monday and Thursday afternoons.")
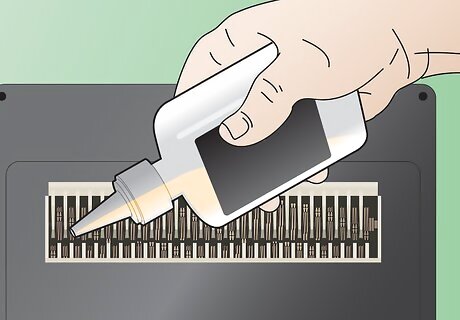
Keep the shredder's cutting cylinder well-oiled. Shredder oil isn't just a one-time fix for clearing jams however it's also a valuable tool for keeping your shredder in tip-top shape. Try adding a few drops to your shredder's blades every time you empty the wastebasket or a few times each month to keep the blades sharp and well-lubricated. Note that (as mentioned above), cooking oils like canola oil usually work just as well as commercial shredder oil. In fact, shredder oil is often literally re-packaged (and marked-up) canola oil. Don't use excessive oil. With the addition of paper dust, this can eventually form a thick mixture that makes it more difficult to shred paper. Canola oil can also go rancid if it's allowed to accumulate for long periods of time (at room temperature, about 1 year.)


Comments
0 comment