
In this article, you will learn how to quickly create a brush.
Steps
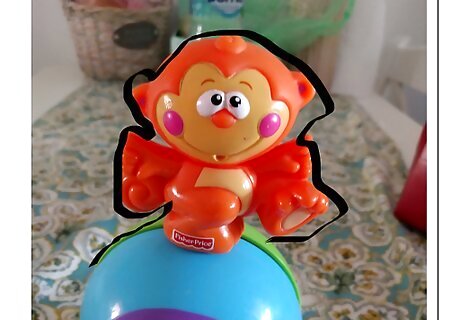
Import a PNG.
Vectorize it by performing an automatic trace and simplify the resulted path (you can use a brush obtained by whatever way you like, just be aware some of the tips described below work only with a path, not with a group or a special shape).
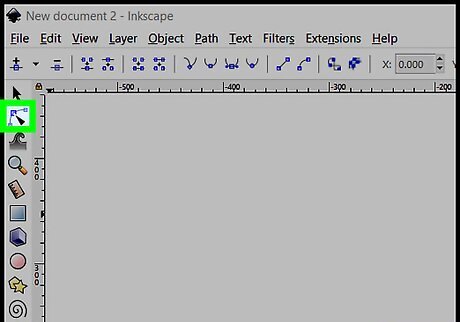
Select your path, drag it freely over the canvas and press the Space key while dragging from time to time when you want to place a stamp.
Alternatively, select the path, press Space and start dragging the path while the key is pressed. Control the density by adjusting the drag speed.
Pattern along Path
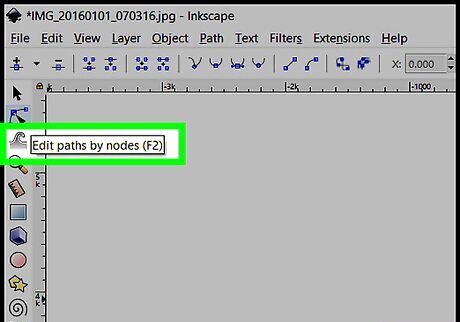
Draw a bézier curve as a guide, modify its shape at will.
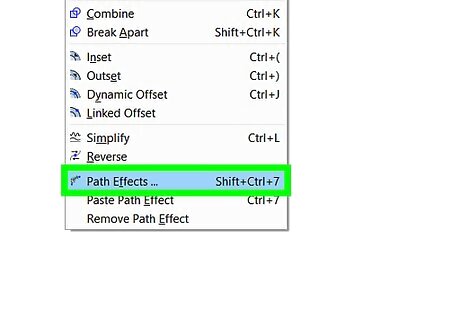
Select the path stamp (it should be a single path, not a group) and the guide and use Effects > Generate from Path > Pattern along Path. For a nicer effect, the result is colored with a simple gradient.
Interpolation

Create two copies of your path, use different colors if you like.

Select both of them and use Effects > Generate from Path > Interpolate.
If the start and end paths have different colors, check the "Interpolate style" box.
Cloned Tiles
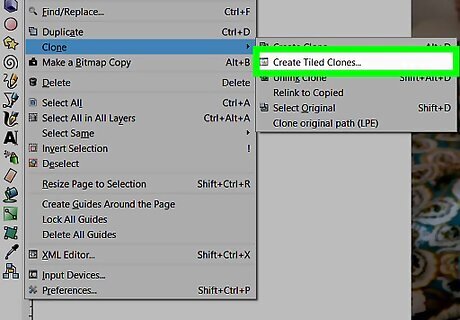
Select the path and use Edit > Clone > Create Tiled Clones.
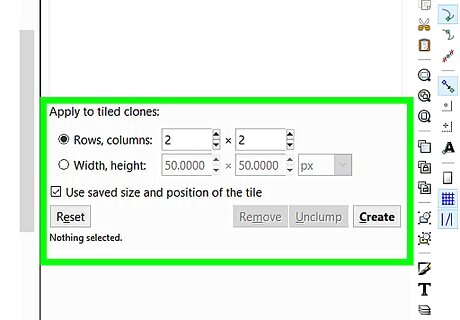
Play with the parameters as you will. In this case, Scale, Rotation and Opacity were randomized. For a "messy" look, use the Unclump button (not illustrated here).


Comments
0 comment