
- Create a text box on the Parent page in the desired location.
- Go to Type > Insert Special Character > Markers > Current Page Number.
- Apply the parent page to the rest of the document to insert page numbers.
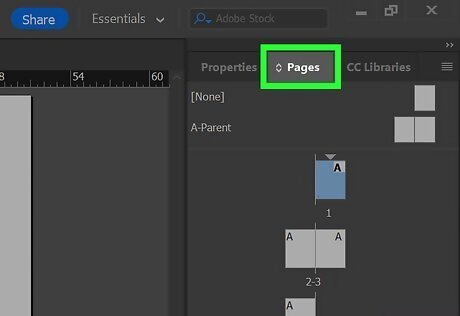
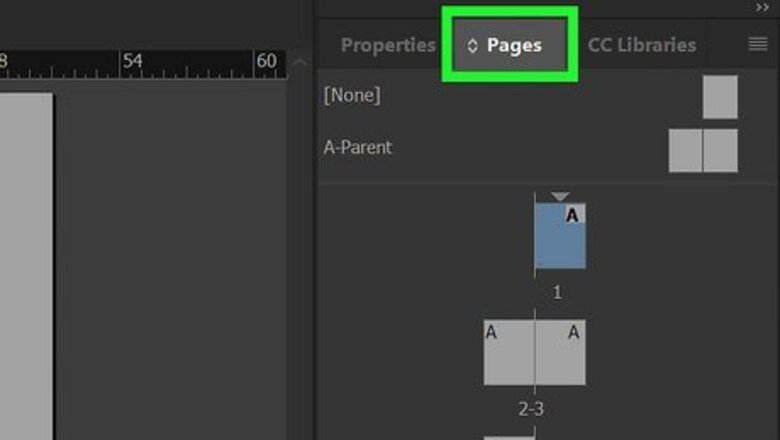
Click the Pages tab in your project in Adobe InDesign. You’re your document in InDesign, then click the Pages tab.
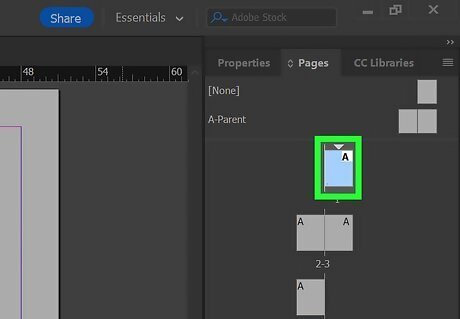
Double-click the first Parent page that will have a page number. You can select any page you want. Note that the first page in your list may be the cover, which often does not have a page number.

Zoom in to the location in which you want to add a page number. You can zoom in using the Zoom tool (the magnifying glass), or by holding down the Alt (PC) or Option (Mac) key while using the mouse scroll wheel. For example, if you want to place your page numbers in the bottom-right corner, zoom in to that area.
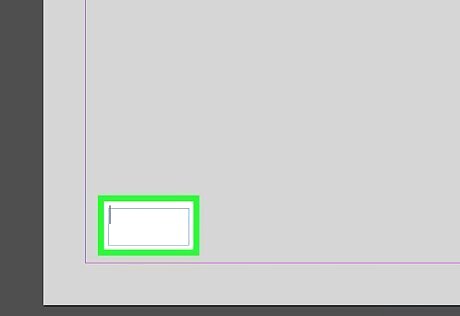
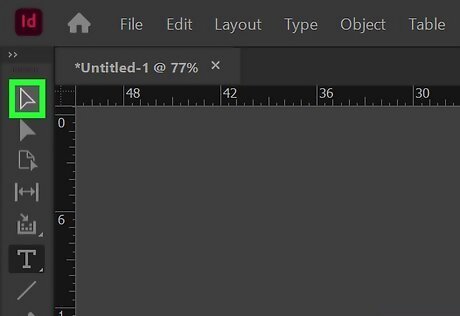
Draw a text frame. Select the Type tool, then click and drag a box in the desired area. Make the box wide. InDesign will automatically update page numbers when you are through and it requires that the box can fit the number 1,999, even if your page numbers will remain low.
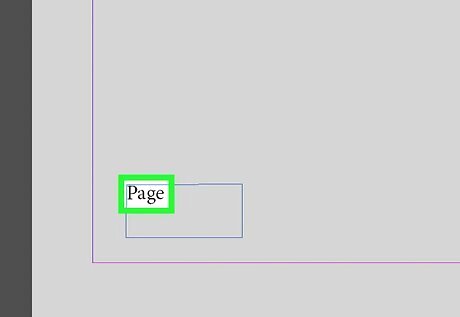
Add any text you might want before the page number. You may consider the word "Page" or the author's last name.
Click the cursor where you want the page number to appear. This will be the location where the page numbers will appear.
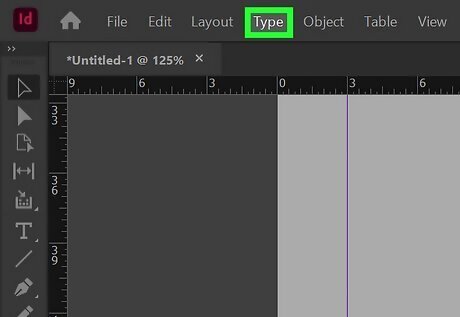
Click the Type menu. You'll see this at the top of InDesign.
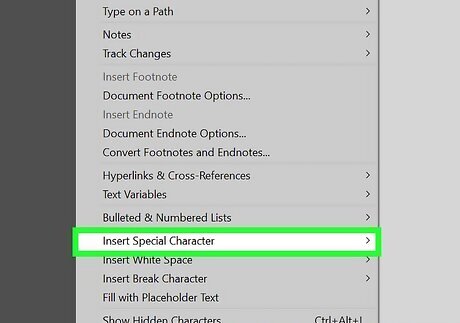
Select Insert Special Character. A list of special characters will expand.

Select Markers. Unlike symbols, markers can change depending upon the length or other changes to the document.
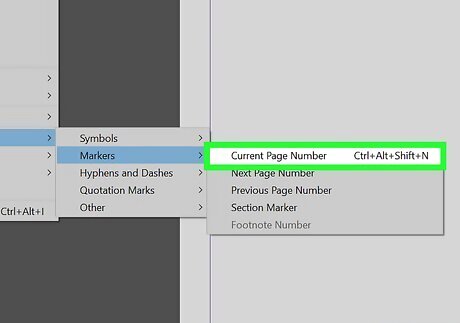
Click Current Page Number. Your first number will appear as an "A" with a number sign next to it because it is the Parent page. The other page numbers will appear as numbers. Alternatively, you can press Command + Option + Shift + N (Mac) or Ctrl + Alt + Shift + N (PC). You can move the page number box by choosing the Selection tool and dragging it to the desired location. Use the Paragraph Style panel to change the page number appearance. When you change the style on the Parent page "A," it will change all the numbers' styles.
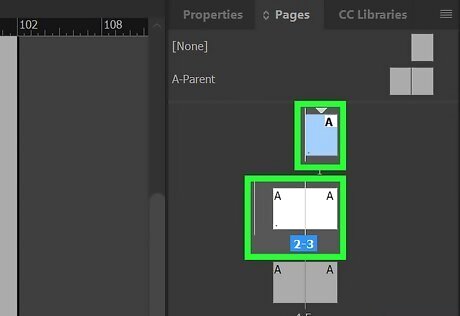
Apply the Parent page to all the document pages you want numbered. There are a few ways to do this: To apply the page numbering to a spread, drag the parent page icon to the spread's corner in the Pages panel until all pages are selected, then release the mouse button. To apply to multiple pages, select the pages you want to inherit the page numbering, then hold down Option (Mac) or Alt (PC) as you click the parent page. Another way to apply page numbering to multiple pages is to click Apply Parent to Pages in the Pages panel, select the parent page, enter the page numbers (e.g., 2-50, or 3, 8, 9-20), and click OK. You should now see that all pages are numbered using the same stylization as the Parent page. The page numbers will always be accurate, as they are updated to reflect the page's actual number after any additions or deletions.


Comments
0 comment