views
- When using the 3D tool, click "Window", "3D", then "Mesh from Preset". Click "cube" to create a 3D cube.
- When using the Transform tool, use a gradient or original designs to create a cube or box mockup.
- Photoshop will replace 3D features with Adobe's Substance collection in the future.
Using 3D Object Tool
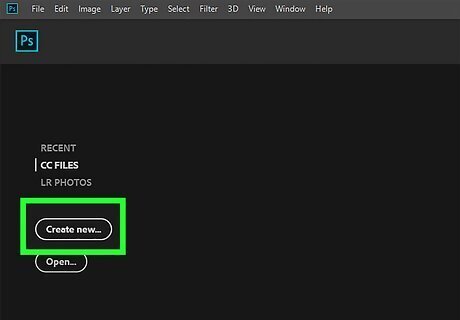
Open Photoshop and create a new document. You'll need an Adobe subscription to use Photoshop and Photoshop's tools.
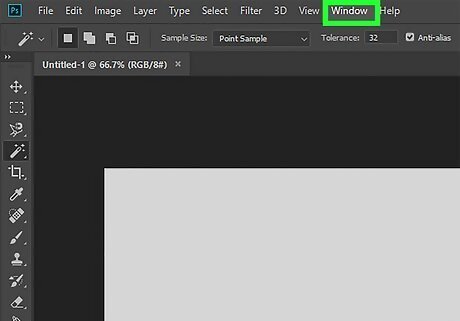
Click Window. This will open a drop-down menu.
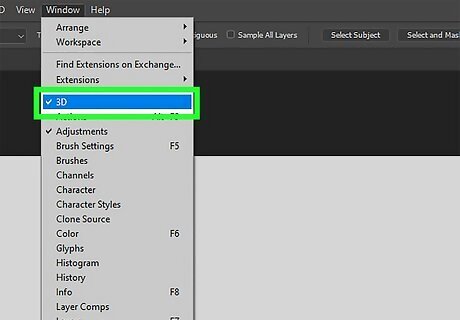
Click 3D. A new panel will open.
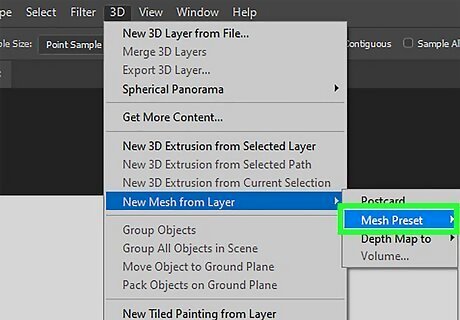
In the 3D panel, click Mesh from Preset. This will select the option.
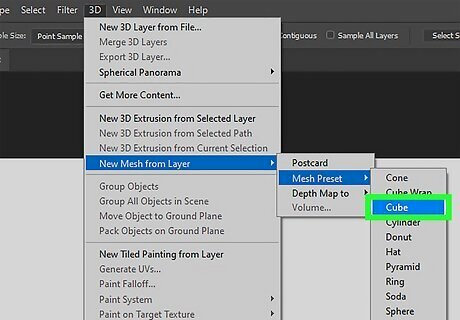
Click the drop-down menu and select Cube. This will be between Cube Wrap and Cylinder. You can also select other shapes.
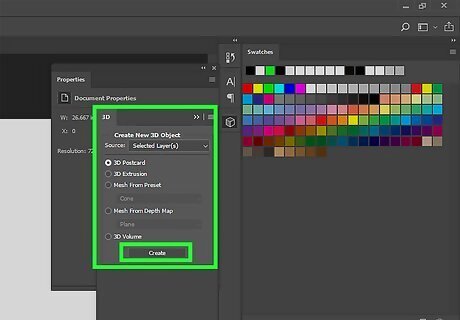
Click Create. A prompt will appear to switch to the 3D workspace.
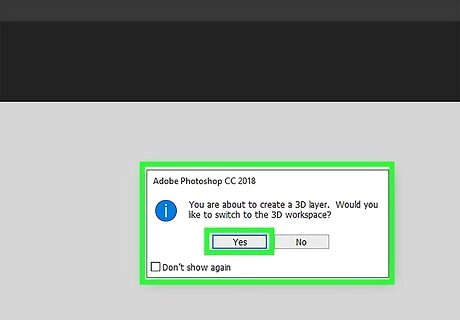
Click Yes. Your cube will appear in the 3D workspace. You can pan your camera by using the three icons at the bottom left corner of the screen. Click Orbit the 3D Camera to move around the camera and see the cube. Click Pan the 3D Camera to pan the camera. Click Dolly the 3D Camera to adjust the distance of the camera from the cube.
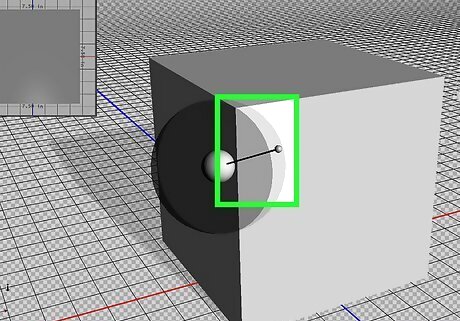
Edit your cube. You can change the lighting using the 'Infinite Light icon on the top right corner of your workspace. The icon will look like a wand with short rays. If you don’t see Infinite Light, you can navigate to the 3D panel and select Infinite Light to activate it. Click and drag the wand to adjust the lighting of your cube.
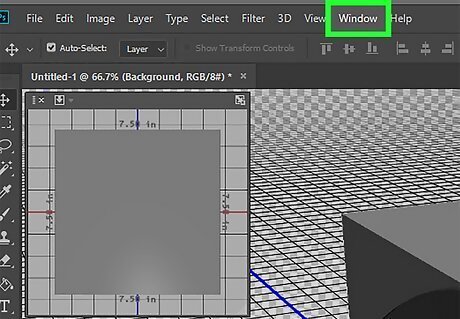
Click Window.
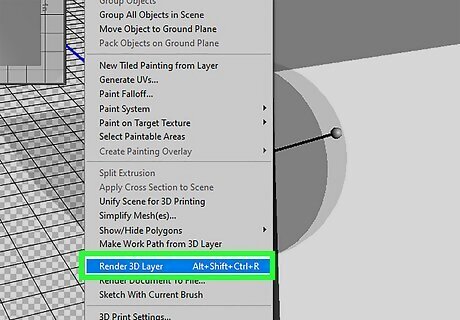
Click Render 3D Layer. This will begin rendering your cube. Alternatively, you can click the cube icon in the Properties panel. This will be next to the trash can icon. You'll be able to see the remaining rendering time at the bottom left corner, next to zoom percentage. If you want to work on this project later, you can make a PSD file.
Using Transform Tools
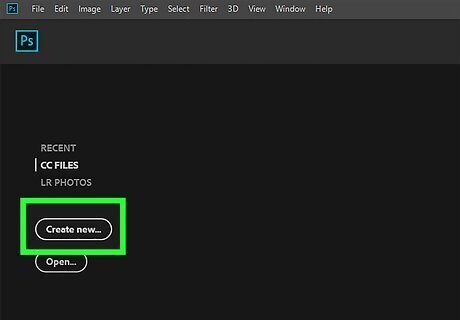
Open a new Photoshop project. If you want to make a 3D box for a mockup of a product, you can use Photoshop's Transform tools to create your packaging.
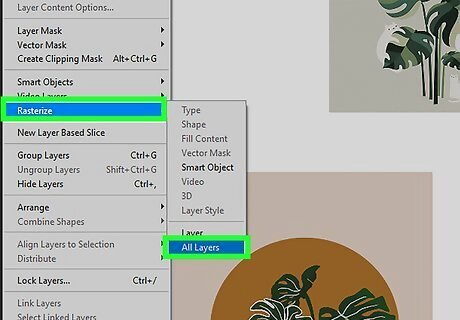
Prepare your images. You can create a simple cube by using a gradient. You can also use original images and designs to create a 3D packaging mockup. To use a gradient, create a new layer. Fill it in using a gradient with the lightest color at the top left. Duplicate the gradient layer. Go to Image → Transform → Flip Horizontal. Create a third layer and fill it in using a gradient with the lightest color now at the bottom left. To use original images as the faces of your cube, import at least three images. Be sure to rasterize your image layers. Select all image layers. Go to Layers → Rasterize → Layers.
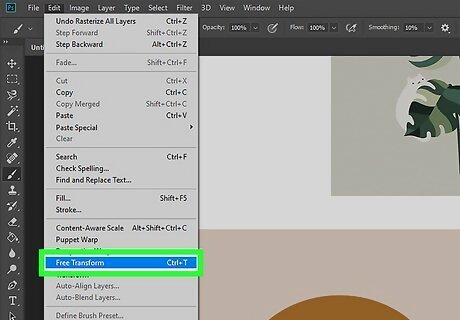
Click Edit in the top menu, then Free Transform. A selection box will appear. Alternatively, you can press CTRL + T (Windows) or CMD + T (Mac) to enter Free Transform mode.
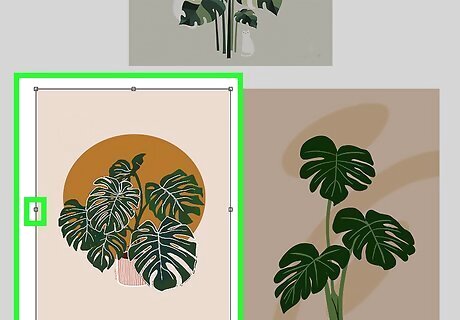
Edit the front-facing cube face. Use your gradient layer. For original images, decide which of the three prepared images will be the front of your cube. Hold down CTRL or CMD and click the middle dot on the left side of the image. Drag the image up until it rests at an angle.
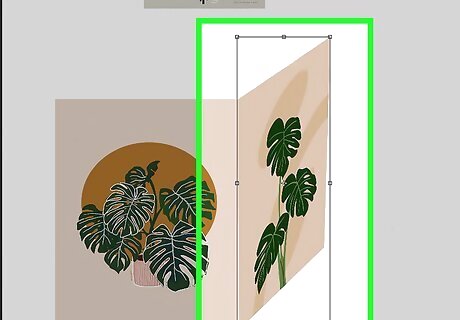
Edit the side-facing cube face. Use the gradient layer flipped horizontal. For original images, decide which of the remaining two images will be the side of your cube. Move your image until the left side meets the right side of the first image. Make sure the top-left and bottom-left corners meet. Hold down CTRL or CMD and click the middle dot on the right side of the second image. Drag the image up until it rests at an angle.
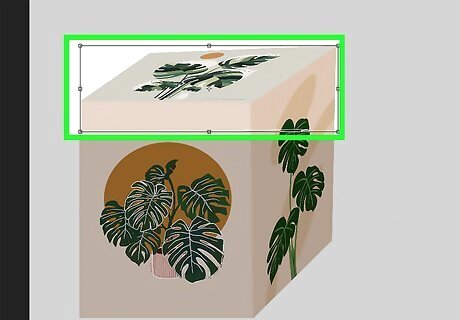
Edit the top-facing cube face. Use the gradient layer with the lightest color at the bottom-left. For original images, use the remaining image as the top of your cube. Move your image until the bottom-left corner connects to the top-left corner of your first image. Hold down CTRL or CMD and click the middle dot on the right side of the third image. Drag the image down until the third image lines up with the first image. Hold down CTRL or CMD and click the middle dot on the top side of the third image. Drag the image down until the bottom-right corner connects to the first and second image.
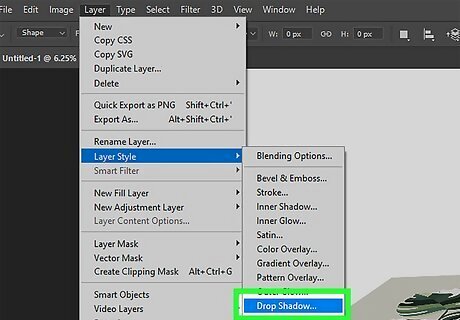
Add effects. You can trim the back corner for a more realistic look. You can also add a drop shadow. To trim the back corner, select the Rectangular Marquee tool in the Tools panel. Select a small segment at the back corner of the cube. Press del on your keyboard to delete the selection. To add a drop shadow, use the Rectangle tool to create a black square the same dimensions as the bottom of your cube. Hold down CTRL or CMD and drag to adjust as necessary. Go to Layer → Layer Styles → Drop Shadow. Adjust the drop shadow settings, then click OK.




Comments
0 comment