views
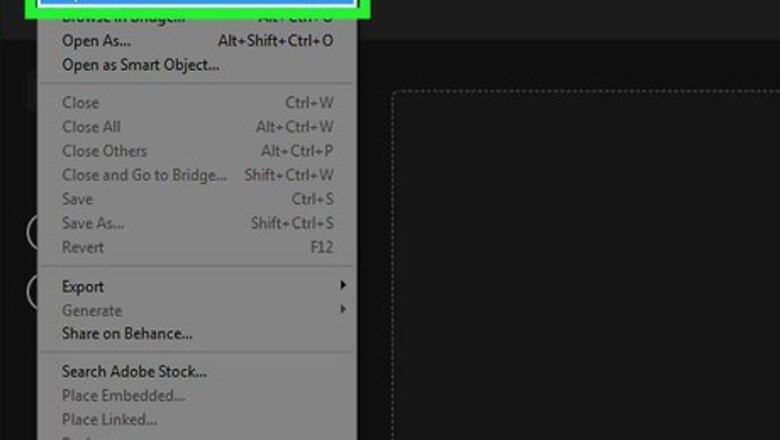
Using Color Range and Brush tool
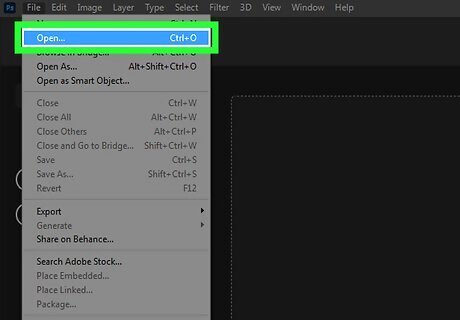
Open Photoshop and an image.
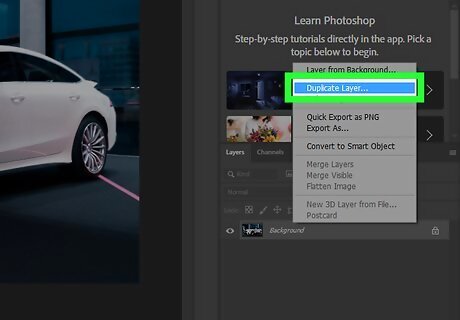
Duplicate the background layer by pressing Ctrl+J in Windows or ⌘ Command+J in Mac on the keyboard.
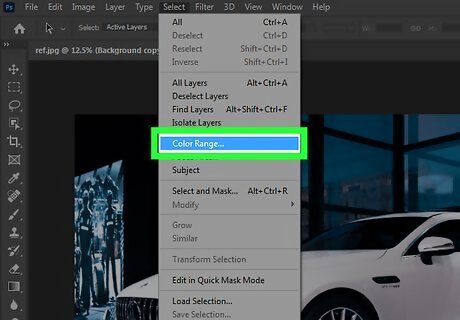
Go to Select → Color Range...
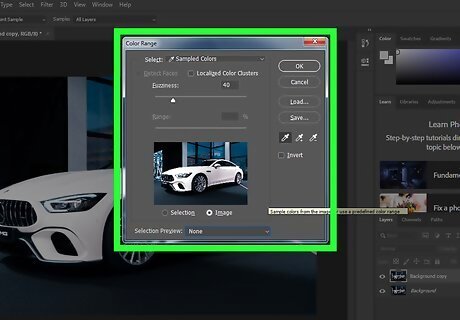
Wait for the Color Range dialogue box to appear. It might take a few moment depending upon the computer.
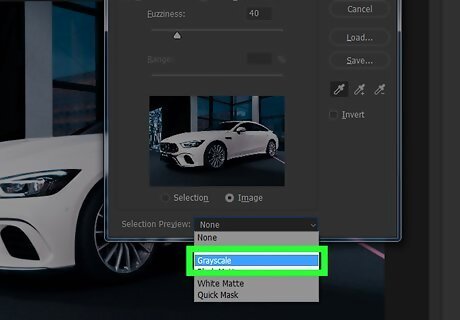
Choose Grayscale or any other preview from the drop-down list of Selection preview. Grayscale is the most preferred one.
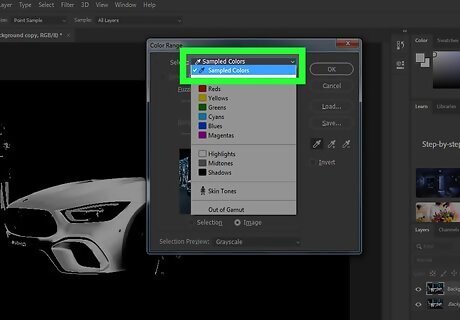
Choose Sampled Colors from the drop-down list of Select. "Yellows" will also work, but it will not give you control over it.
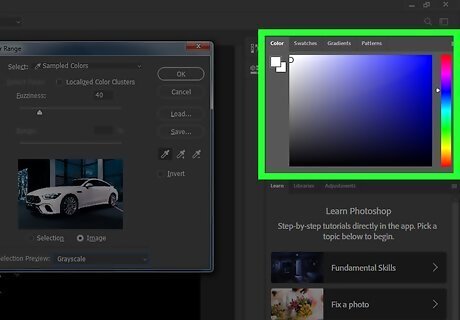
Play around with the options.
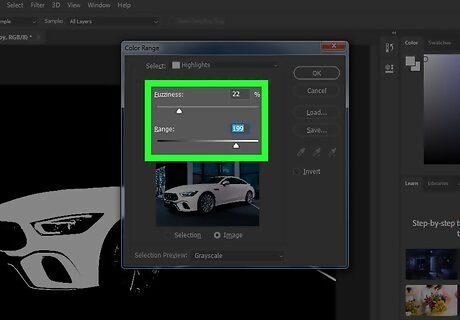
Change the Fuzziness and Range sliders until it looks good. Every image will differ. Normally the Fuzziness slider should be higher than the Range slider, but it depends on the image. Remember the lights (white) get selected and the darks (black) don't.
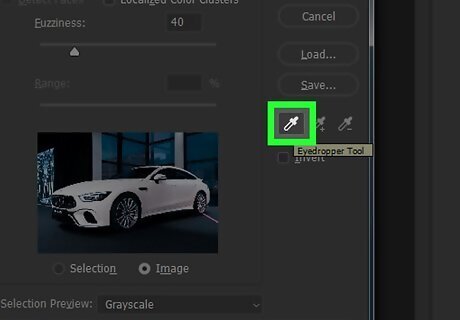
Click on the eye-dropper icon on the right.
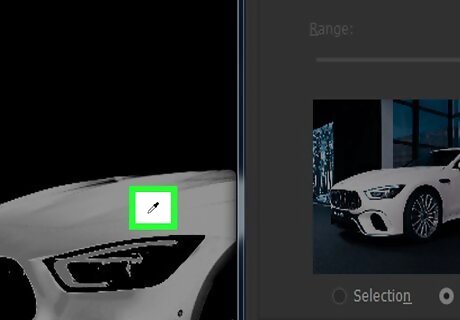
Select the color you want to change by clicking or dragging on it. You can either click on the little preview on the dialogue box or click on the image itself.
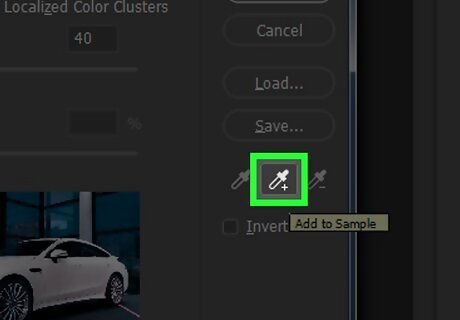
Click on the Plus Eyedropper icon. Because Photoshop does not select all the color automatically you want.
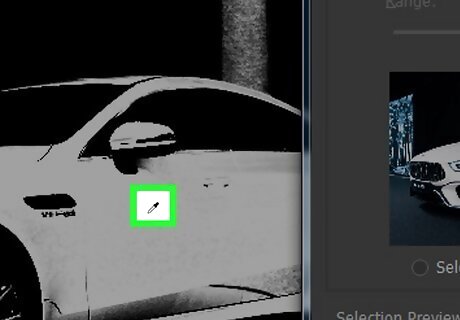
Click on the rest of the color with the Plus Eyedropper Tool.
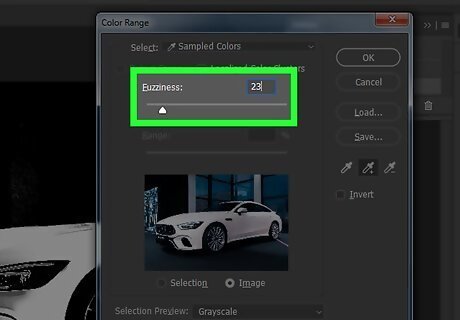
Don't click on every part of the object. Instead play around with the sliders.
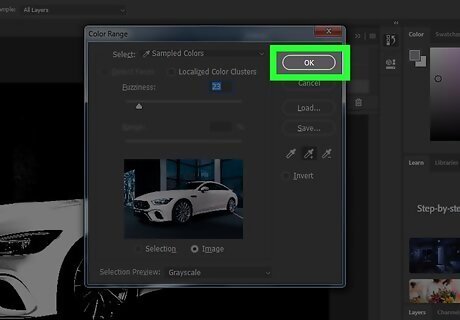
When you're done, hit OK. It will load it as a selection.
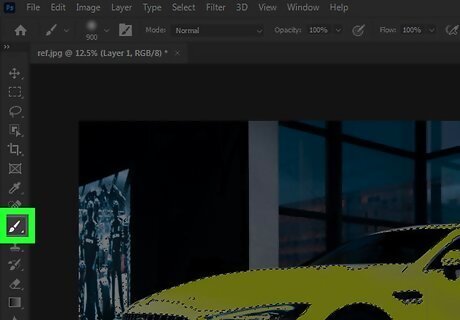
Paint it with the Brush tool(B) or give it a Layer Mask, etc. You can do it on a new layer too.
By Targeting the Color with Hue/Saturation Adjustment Layer
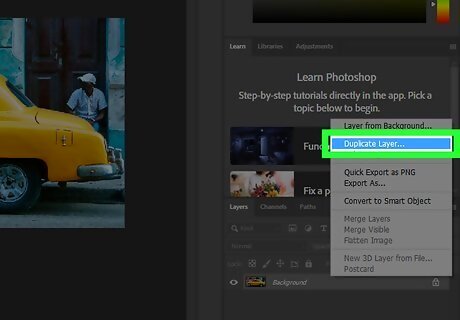
Duplicate the background layer by pressing Ctrl+J in Windows or ⌘ Command+J in Mac on the keyboard.
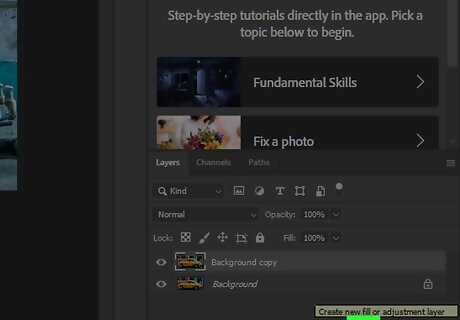
Click on the adjustment layer icon in the Layers panel. The adjustment layer panel will popup.
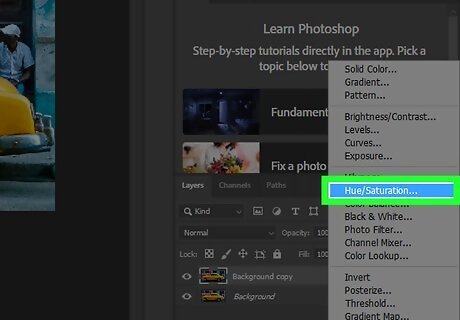
Select Hue/Saturation... . Or go to Image → Adjustments → Hue/Saturation... (Ctrl+Uor⌘ Command+U).
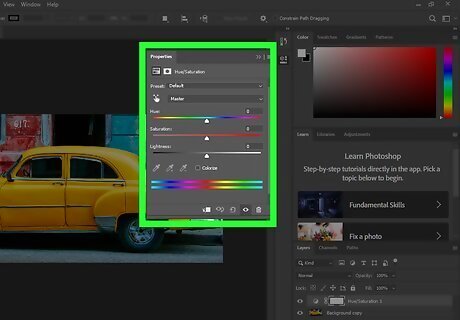
Wait for the Properties dialogue box to appear on the screen showing Hue/Saturation.
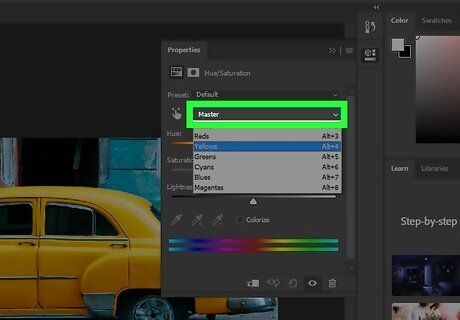
Click on Masters and select the color of the object, in this case yellow (Alt+4). This will target only the yellows. But, you can also use the Eyedropper Tool or the Plus Eyedropper Tool by clicking on it to add to the color range.
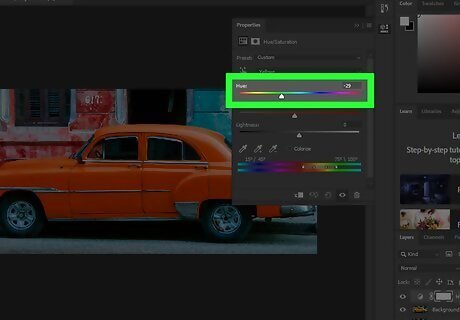
Move the Hue slider. As you move the hue slider left and right the color will change accordingly.
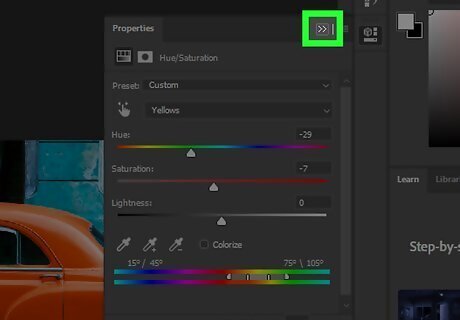
Close the Adjustment layer panel by clicking on the double arrow on the top right corner, after choosing the color.
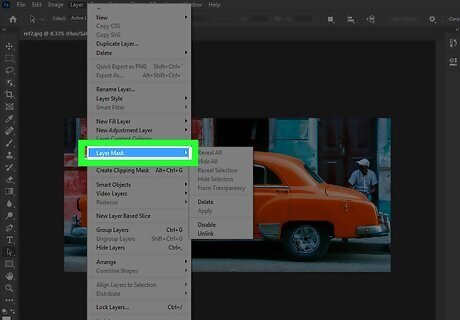
Add a Layer Mask if required. Remove the excessive part of the color by painting black on the Layer Mask. Like the walls or sky or road, etc. Look at the GIF image above carefully.









Comments
0 comment