views
Washing and Sectioning the Hair
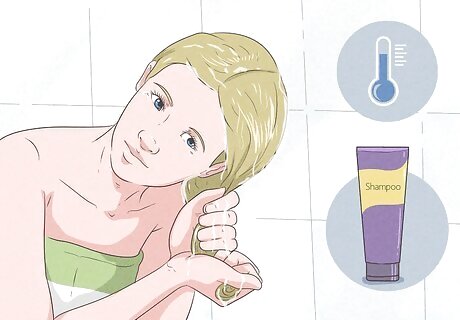
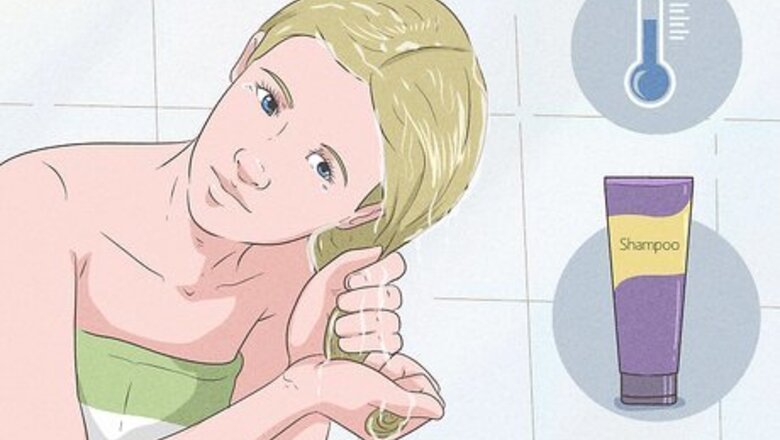
Wash the hair with lukewarm water and shampoo, then rinse it clean. Get the hair wet, either in the shower or a sink, and massage a dime-size amount of shampoo into the roots. Work it through the hair from the roots to the ends in a circular motion. Rinse the hair thoroughly until the water is suds-free. If the hair is particularly dirty, wash it a second time. Lukewarm water ensures you won’t burn your client’s scalp or your hands on accident.
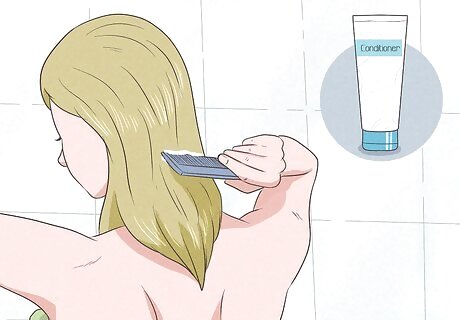
Apply conditioner and brush it through before rinsing it a final time. The roots don’t need conditioner, so start working the conditioner through the hair about 2 inches (51 mm) from the scalp. Once it’s in, take a wide-toothed comb and gently brush the hair to remove tangles and knots. Rinse the conditioner out with lukewarm water. The conditioner is an important part of the process. It’ll make the hair easier to work with, plus it’ll provide protection once the cut is finished and you go to style the hair.
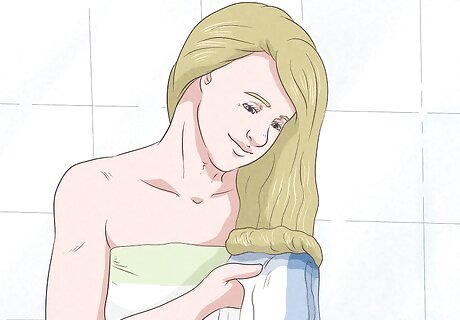
Towel-dry the hair to remove excess water. You could either wrap the hair in a towel and let it absorb the water for a few minutes, or gently squeeze the hair between the towel to prepare it for cutting. Avoid rubbing the towel back and forth over the scalp. That will just create more tangles and add frizz to your hair.
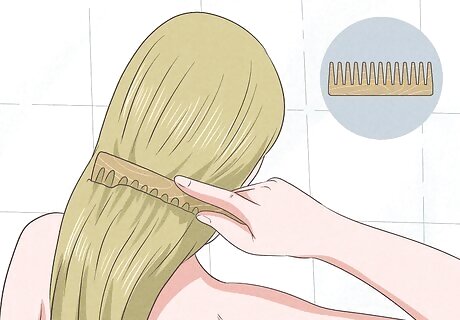
Detangle the hair one more time with a wide-tooth comb. Take the comb and gently brush through the hair. Start at the bottom to clear any tangles and then work your way up toward the root. This should help prevent any tangled sections from turning into knots. If the hair is tangled, you won’t be able to cut even layers. You’ll end up with strands that are longer than they should be once the cut and style are finished.
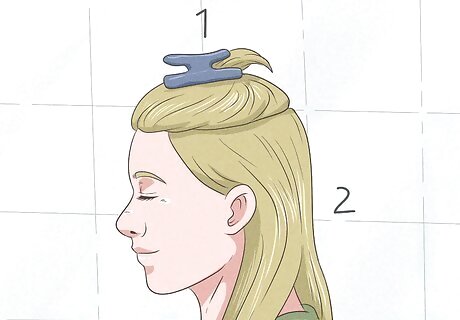
Pin the top half of the hair on top of the head to section it off. To create the best looking cut, work in 2 sections. Simply collect the hair starting about 1 inch (25 mm) above the ear using your fingers or a comb. Use a hair clip to keep the hair out of the way while you work on the lower section of hair. If the person’s hair is very thick, you may even want to consider working in 3 layers. If this is the case, you’ll pin up the top 2/3 of hair, cut the bottom layer, the middle layer, and finally, the top layer.
Cutting and Angling the Hair

Cut the front section of hair from behind the ear forward to mid-ear length. Comb the hair down so it’s smooth, then hold the strands between your middle and first finger. Pull the hair out from the head so that it’s taut, and cut a straight line so that the ends of the hair will fall just about at the middle of the ear. If it helps, clip the back section of hair into one piece to keep it out of the way.Alternative: Princess Diana sported quite a few wonderful looks throughout her years. If you’re interested in a softer, more layered look, cut the front section of hair at an angle from the ear down to the nape of the neck. This cut creates more volume while still giving you that framing that Princess Diana’s hair was popular for.
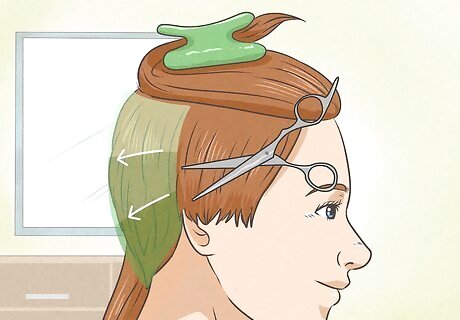
Trim the back section of hair at a downward angle so it meets at the nape. Follow the head’s natural shape as you cut so that you end up framing the head. Comb the hair straight and hold it between your middle and first finger. Pull it away from the head so it’s tight, then cut downward at a 45-degree angle. For this cut, the hair is supposed to be longer in the back and shorter in the front.
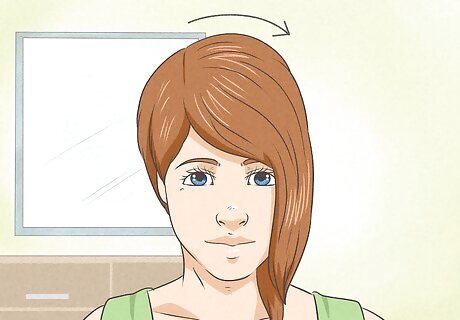
Take down the top section of hair and create the desired part. If the hair has started to dry, spritz it with a bottle of water and brush through it to remove any tangles that may have formed. Part the hair on the side or in the middle, just depending on what the client wants. Princess Diana often wore her hair parted on the left side.

Repeat the cutting process on the front and back sections of hair. For the front section, cut the hair so it stops at mid-ear. For the back section, cut downward at a 45-degree angle to create volume. Remember to comb each section as you work and pull it taut so that your cuts are even and mesh together well. If you’re doing a more angled cut, remember to start from the ear and angle back toward the nape of the neck while you’re trimming the front section.
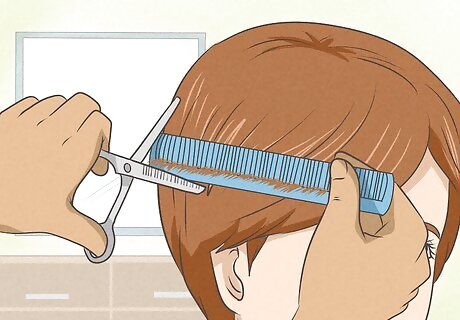
Feather the hair by cutting into the ends with your scissors. Princess Diana’s hair was popular for looking light and feathery. To create this natural-looking style, take the ends of the hair between your middle and first fingers and pull them down the hair until there’s about ⁄2 inch (13 mm) of hair. Cut up into the hair to add feathering. You could also use the razoring technique to add texture to the cut.
Creating Bangs and Styling the Cut
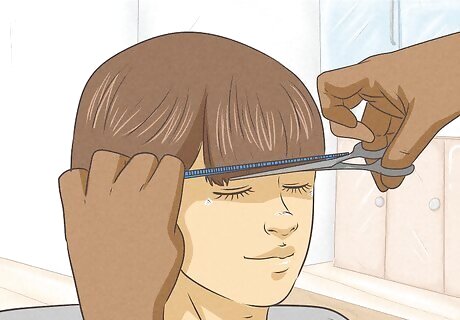
Brush the front section forward and cut fringe if bangs are desired. You don’t have to have bangs—Princess Diana sometimes did and sometimes didn’t, so it’s your personal choice. If you do want bangs, cut them slightly down toward the ears to complement the face’s natural shape. Even without bangs, you’ll still be able to style your hair so that it looks windswept and soft. You can always style longer hair so it covers part of your forehead to create the illusion of bangs without actually committing to the fringe.
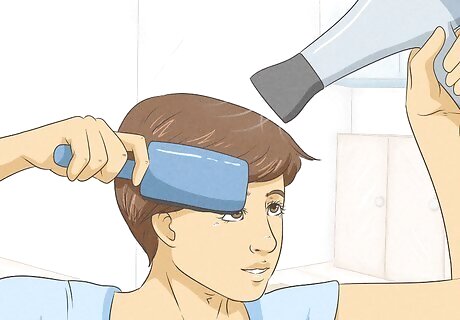
Blow-dry the hair both backward and forward to create a windswept look. One of the benefits of a Princess Di haircut is that it looks good with minimal styling. Try flipping your hair upside down while you dry it to give it extra volume. Brush the hair away from your face so that it doesn’t lay flat against your scalp. As an alternative, you could use a round brush to dry the hair back away from the face. This will add extra height and make it look feathery and layered.
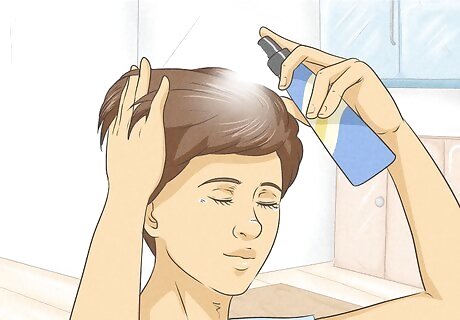
Apply a styling product to create texture in the hair. Work a pea-sized amount of styling wax or cream between your palms. Gently run your fingers through the hair, paying special attention to the ends. Use the wax to tame any sections that aren’t laying the way you want them to. You may also want to finish the style with a bit of light or flexible-hold hairspray, just to help the hair keep its shape. Don’t go too heavy on the hairspray, though! You want to maintain a soft look.







Comments
0 comment