
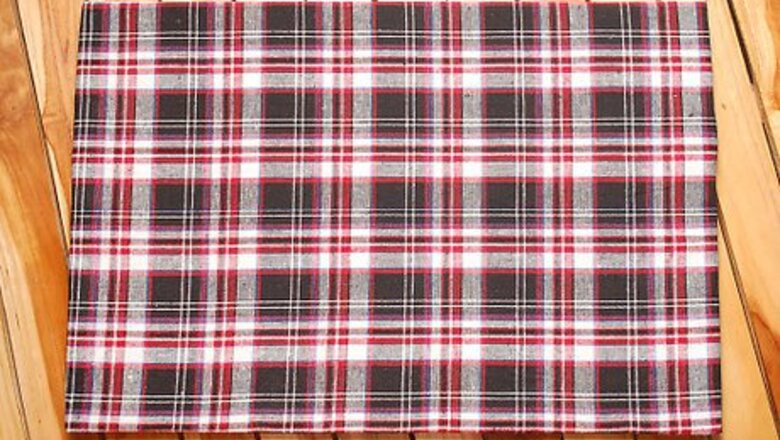
Cover a 24" x 18" cardboard with flannel, fuzzy side out. This will serve as your background. Choose a neutral color of flannel, such as pale blue. Glue the flannel on the back of the cardboard. Do not use glue on the front. Allow the glue to dry and the background is basically finished. Set it on an easel.
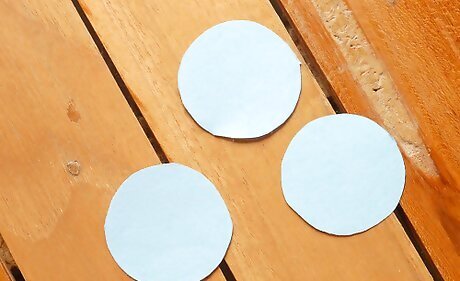
On stiff paper, print colorful figures or shapes that are appropriate to your lesson or activity. Cut out the paper shapes, leaving a very large border around the edge.

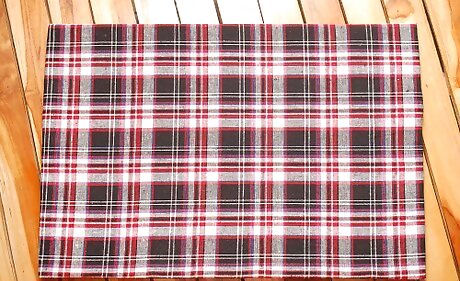
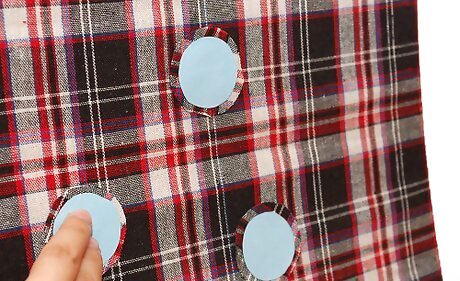
Lay more flannel material on a work surface, fuzzy side down, the wrong side up.
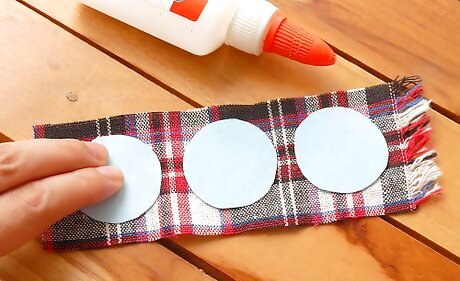
Cover the back of paper shape with a thin layer of glue, edge to edge. Place shape, glue side down, onto flannel material. Repeat for each paper shape.
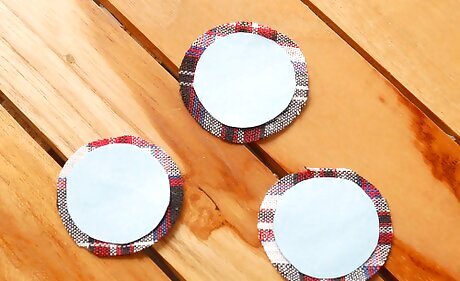
Trim paper/flannel shapes. Leave a thin border to outline the shape. Allow the glue to dry and you are ready for an exciting class.
The flannel-backed shapes are placed on the flannel-surfaced background. The shapes stay where they are placed because of the fuzzy nap on both surfaces and the angle of the easel. They appear to be magnetic.


Comments
0 comment