views
Making a Bow from PVC
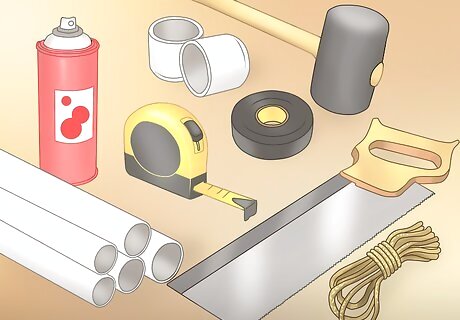
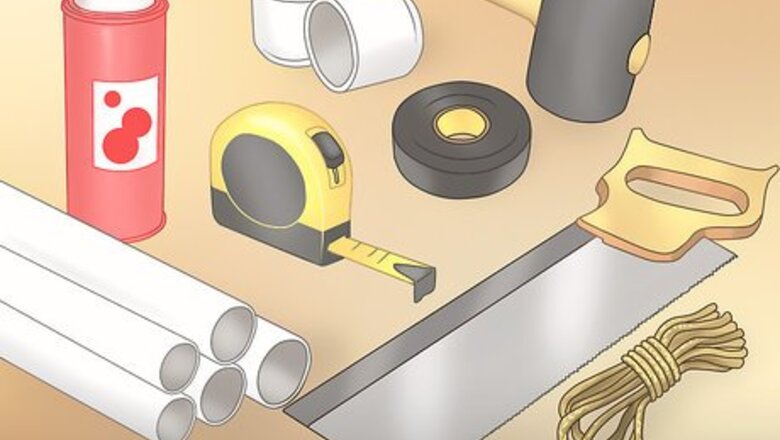
Gather the materials. You can use several tools in place of the suggested tools to create a wood bow, but be sure you are using proper safety precautions. Here is a list of suggested tools: 62 inches (160 cm) section of ⁄4 inch (1.9 cm) PVC pipe 12 inches (30 cm) section of 1 inch (2.5 cm) PVC 2–4 inches (5.1–10.2 cm) sections of ⁄2 inch (1.3 cm) PVC pipe 2–4 inches (5.1–10.2 cm) of PVC pipe end caps (optional) 62 inches (160 cm) of 550 paracord ⁄2 inch (1.3 cm) thick Saw Rubber mallet Electrical tape Tape measure Paint
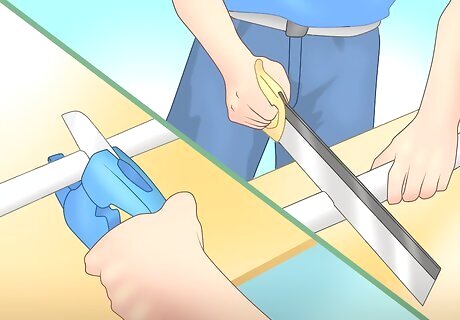
Cut the pipes. If you did not purchase PVC fiberglass pipes that are already the required measurements, you need to cut them. Use a PVC pipe cutter or multi-tool saw bit to cut the main bow pipe to 62" long. Then, cut one 12" section of 1" PVC and two 4" sections of 1/2" PVC fiberglass.
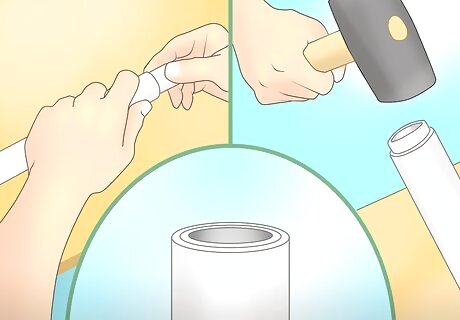
Combine the PVC pipes. Fist, insert one 4" PVC pipe into the main bow pipe. Use a rubber mallet to hammer it in. It will be a tight squeeze, so you may need to use a lot of force. Force it all the way in until the tops of both pipes are flush at the end. After the first one is in, do the same with the second 4" pipe on the opposite end.
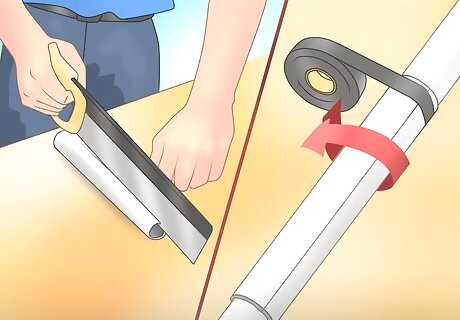
Create the hand grip. Cut the 1" section of PVC pipe down the middle on one side. This will help you slide it over the main bow. Once you have it cut and placed in the center of the main bow, use the electrical tape to secure it on. Try overlapping the tape to create one sturdy layer. Face the side with the cut on the outside of the bow away from where the string will be. This is important because when you bend the bow during use, the cut may open and close. If the cut is facing the wrong side, it may pinch your fingers or rip the tape.
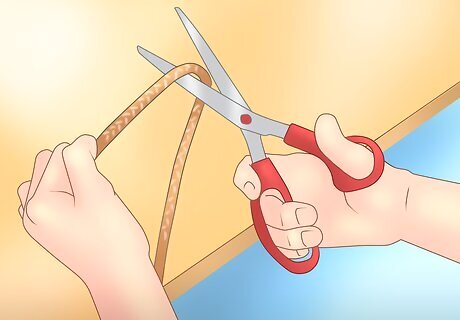
Cut the paracord with scissors. You will need about 62" of paracord to tie onto your bow. This length is a couple inches longer than you need, but you will lose some length as you tie the paracord onto the bow. Measure out 62", and carefully cut the paracord straight across with sharp scissors. Seal off the ends with a flame. You can use a lighter or a match to lightly burn each end of the paracord. This will keep the ends from fraying.
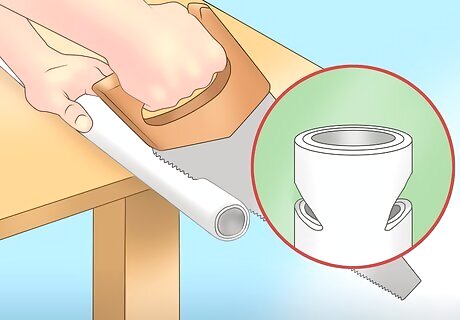
Make a groove on each end of the bow. Use a hacksaw, or a saw of your choice, to create a 1/2" wide groove that sits at a 70 degree angle. Angle the groove towards the back of the bow so it goes the same direction as the paracord as it is pulled. This angle helps the paracord stay secure, and a 1/2" groove allows the paracord to fit snugly so it does not slip out.
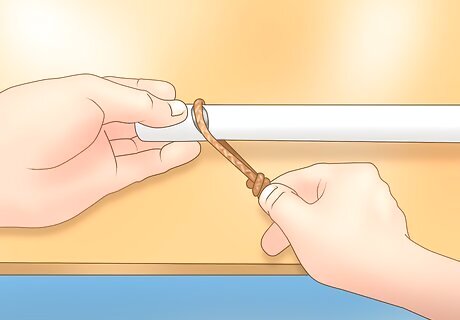
Slip the cord into each groove and tie a knot. Start on one end, and when you have a firm knot secured, bring the string up to the other end and tie a second knot. There should be enough tension in the string so you can pull it with your finger, and it will snap back.
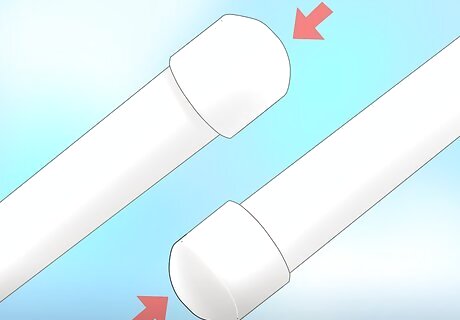
Place on the PVC caps. To help finish the look of your bow, and protect the paracord on each end, consider placing on PVC caps. The 4" inch caps should fit snugly onto each end. Do not glue the caps on because you want to easily remove them in case a string breaks, and you need to restring the bow.
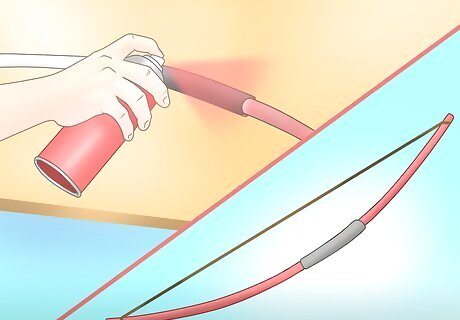
Paint the bow. If you want to decorate your bow with some color, try using spray paint. Lay your bow down on a piece of cardboard outside, and spray directly onto the bow. Be sure to remove the paracord and PVC caps before painting, and allow the paint to fully dry before using your bow. Follow the directions on the label for the paint you decide to use.
Making a Bow from Wood
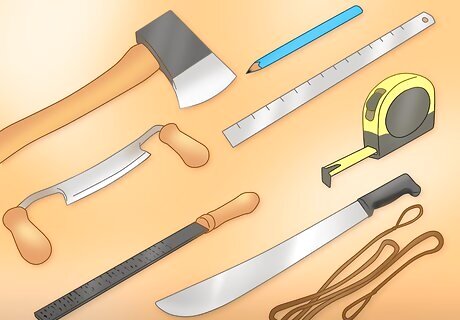
Gather the materials. You can use alternate tools in place of the suggested tools to create a wood bow, but just be sure you are using proper safety precautions. Here is a list of suggestion tools: Hand axe Machete Draw knife Wood rasp Carpenters pencil Tape measure Straight edge Bow string
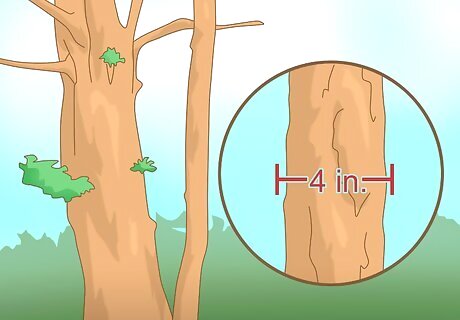
Select the right tree. A hunting bow can be built from just about any tree, but there are certain qualities to look for. Find a tree that is about 4" in diameter, smooth, and straight.
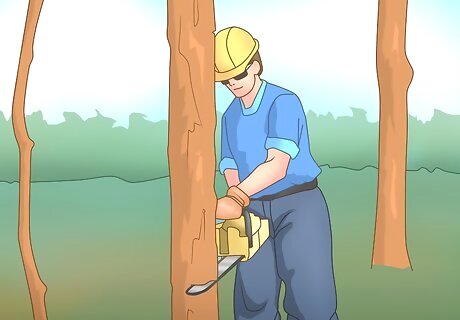
Cut down the tree. Look for the straightest six foot section, and cut it down with a handsaw or chainsaw. Let the wood, or stave, mature for about six months in a dry place so the wood can dry out.
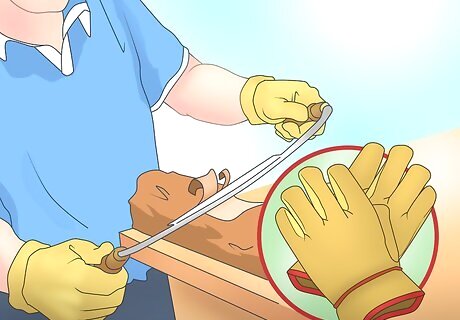
Peel off the bark. The easiest way to remove bark is to use a draw knife. A draw knife is a woodworking hand tool that works nicely for skinning bark and roughing off corners. Use caution when working with a draw knife, and consider wearing gloves to protect your hands.
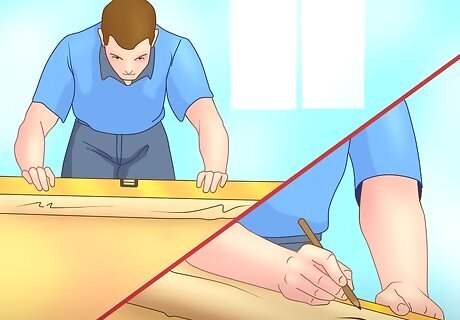
Inspect the wood. Look for the cleanest and straightest side of wood that will fit the proper measurements for the bow which should be 68" long. Try to find sturdy areas that do not show any signs of rot or weakness. Wood can be smoothed out, but there isn't anything you can do about wood that has started to break down. Once you find a good area, use a thick carpenter's pencil to mark where you will cut.
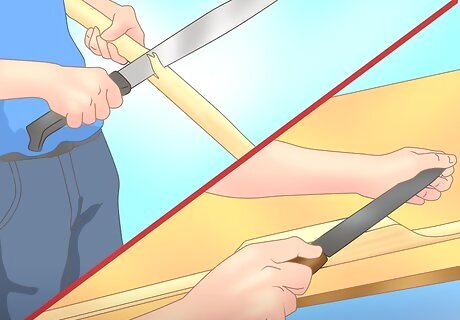
Cut the wood. Use a hatchet and machete to cut the ends. You want to make the limbs about 1/2" thick near the ends, and leave the 4-6" handle section in the middle about 2" thick. To help shape the limbs to the appropriate thickness, use a wood rasp which has small teeth and is meant to shape and smooth out wood.
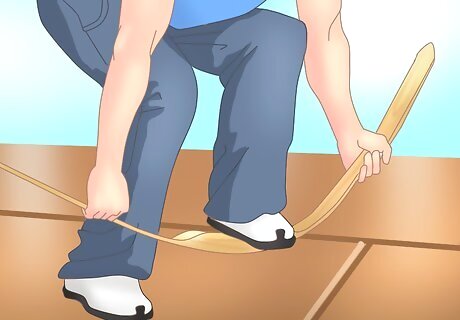
Bend the limbs. After you have finished shaping the bow, place the bow limbs on the floor and give gentle pressure in the middle with your foot. You want to make sure the limb bends uniformly. Be careful when applying pressure, and go slow. You want to test the flexibility of the bow, but not break it. Check to see if the bow can bend into a semi circle. If the wood refuses to bend with ease, scrape away more wood to weaken the limb.
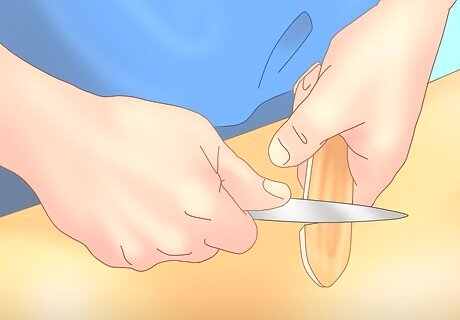
Create the notches. At both ends of the bow limb, you need to cut notches that are about 1" deep that will hold the string or paracord. Angle the notches towards you and away from the front of the bow. This will help secure the string at you are using the bow.
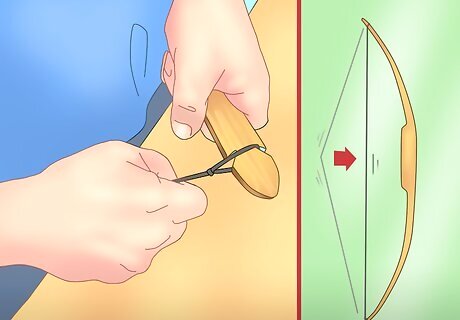
String the bow. Tie a knot around each end through the notches. Tie off one end, and then bring the string down to the other side. Make the string have enough tension so that it snaps when you pull it.
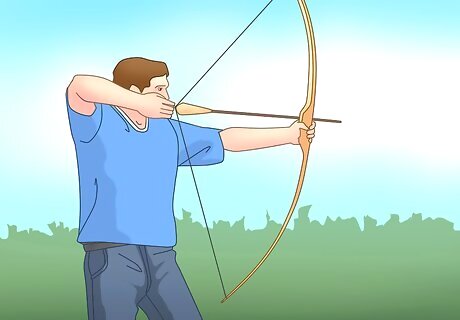
Try out your new bow. You can either purchase arrows or make those yourself too. Be careful when using your new bow, and always practice caution.




Comments
0 comment