views
X
Research source
The only downfall of the Slurpee, other than the brain freeze, is the fact that you need to be near a location that sells them. Luckily, there are a few simple ways to create a Slurpee at home with just a few commonly found ingredients.
Making a Kool-Aid Slurpee
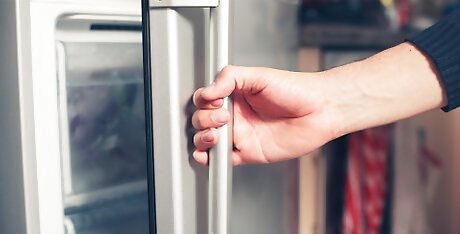
Chill your club soda for 15 minutes in the freezer. Purchase any brand of club soda from your local grocery or convenience store. To make the traditional Slurpee that's found at gas stations, it'll be necessary for you to carbonate your drink. You can experiment with flavored club sodas to see how that will affect the taste of the Slurpee at the end. Remember not to leave the club soda in your freezer for too long or it may freeze. Set a timer to remind you to take it out.
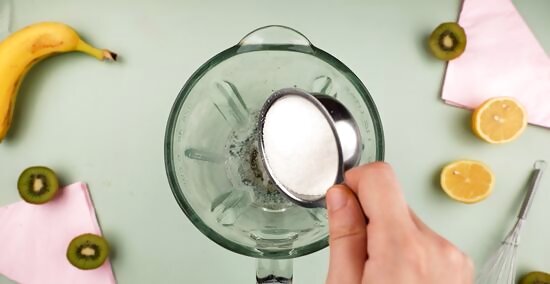
Add one cup of club soda, sugar, Kool-Aid mix, and cherry extract to a blender. Pour half of your club soda into the blender and set the other half aside for later. The other ingredients can be mixed with your club soda in any order. Maraschino cherry juice can act as an alternative to cherry extract. You can also use fresh or frozen fruit during this stage to add flavor.
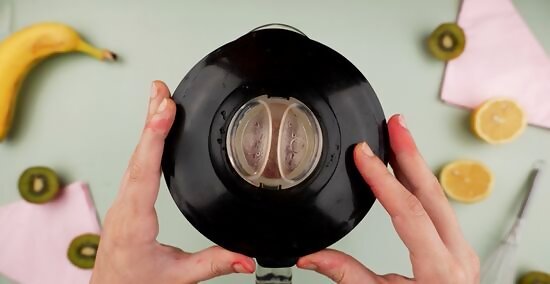
Blend on high until your drink is smooth. Combining the ingredients together will ensure that the Kool-Aid, cherry extract, and sugar are sufficiently mixed. Make sure there are no clumps in your blender from the sugar or Kool-Aid mix. You can use any flavor of Kool-Aid. Choose a flavor that you like best and see how it is in Slurpee form.
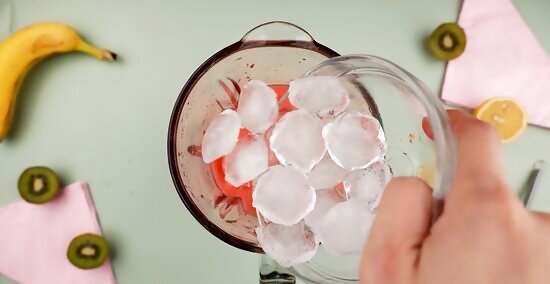
Add ice and remaining club soda and blend again. Mix the drink until it's slushy. Be careful not to blend it so much that the ice melts, and it becomes liquid. It should have a slushy consistency, and the ice should be broken up into little pieces.
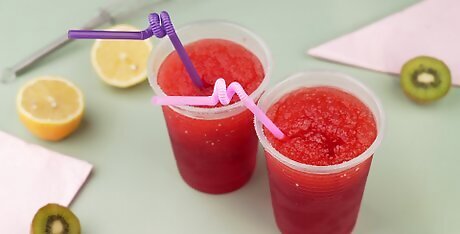
Place the Slurpee in your freezer for 15 minutes. Chilling your Slurpee will allow it to thicken. Once you remove it, you can stir it with a fork or spoon to loosen it up before drinking. You can put your blender in the freezer or pour out your Slurpee into a glass or cup before putting it into your freezer.
Making a Healthy Slurpee
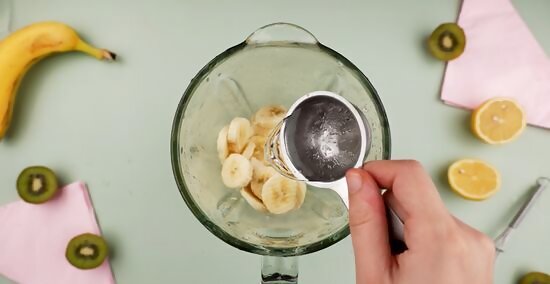
Add fruit and water into your blender. Make sure to peel and cut your fruit into pieces that your blender can manage. Your fruit can be frozen or fresh depending on your preference. Some healthy fruits that you can use include, banana, watermelon, mango, and peaches.
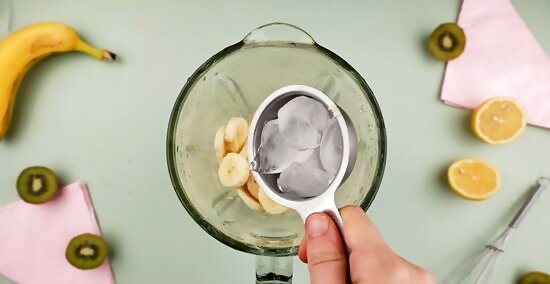
Add agave nectar or lemonade and ice to your blender. Agave nectar is a healthier alternative to sugar and will help enhance the taste of your Slurpee. If you can't get Agave nectar, you can use lemonade or more sparkling water as an alternative. If you like your Slurpee sweeter, then add more agave nectar.
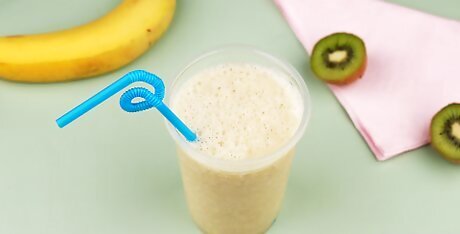
Turn your blender on high until your drink is slushy. Blend all of the ingredients together until your drink reaches the desired consistency. Mixing the Slushee for a longer period will result in your slushy being more watery than the traditional Slurpee found at stores. Drink the Slurpee as soon as you're finished blending, or the ice will melt, and it will lose its consistency.
Making a Soda Slurpee
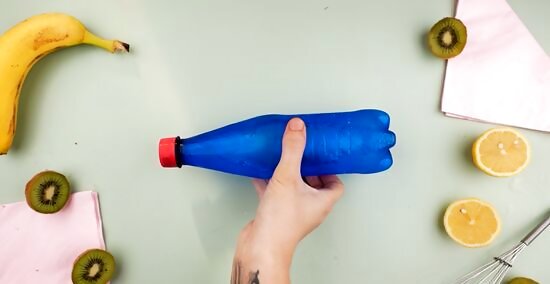
Shake an unopened bottle of soda for 5-10 seconds. Shaking the drink will build up pressure in the bottle. Make sure not to open it after shaking, or it will explode and leave a mess. You can use whatever flavor soda you prefer.
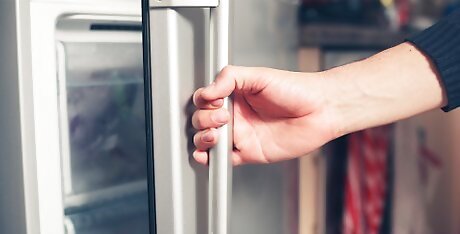
Leave the soda in your freezer for 3 1/2 to 4 hours. The goal is to get your soda as cold as possible without actually freezing the soda. Check on your soda every 20 to 30 minutes to ensure that it hasn't completely frozen. Freezing times will vary depending on your freezer.
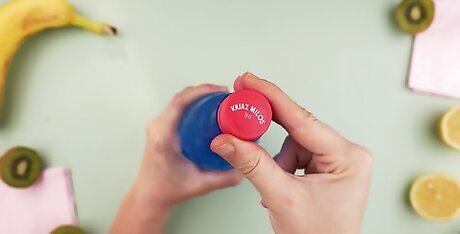
Twist the bottle cap slightly, then tighten it back up. Do not completely remove the cap from the bottle. The goal is to relieve some of the built-up pressure from the soda but not all of it. You should hear air being released from the bottle as you open it. Do this over the sink to prevent a mess.
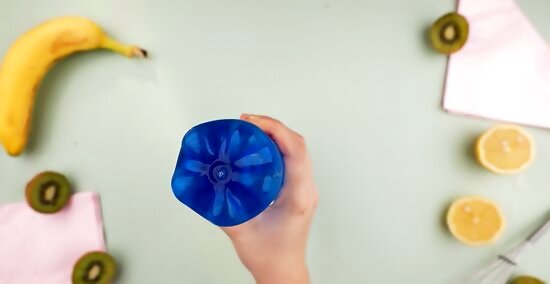
Turn the bottle upside down, then turn it upright. Once you set the bottle the right side up again, you should see ice crystals inside of the bottle begin to form. Once you've waited 1-2 minutes, pour it into a glass and enjoy.





Comments
0 comment