
views
Homemade halters are great to use to teach livestock, like cattle, sheep, and goats, to lead, to do routine handling in day-to-day activities, and to restrain them when necessary.[1]
X
Trustworthy Source
Science Direct
Online archive of peer-reviewed research on scientific, technical and medical topics
Go to source
A halter's low cost allows the producer to make extras to place around the farmstead where and when needed.
- Use a 12 to 15 ft (3.7 to 4.6 m) piece of 3-stranded cotton or nylon rope.
- Whip both ends of the rope to prevent fraying and unraveling.
- Separate the strands and use a series of knots and loops to make the halter.
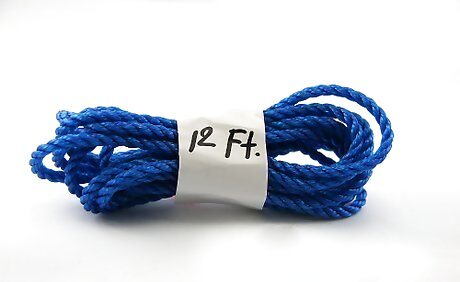
Select a 12' to 15' (feet) (3.6m to 4.5m) length of half-inch (1.27cm) three-stranded rope. Any type of rope, from cotton to nylon will work. However your choice depends on the strength needed, durability required, and the cost. Smaller rope that is 1/4" to 3/8" (6.35mm to 9.52mm) diameter is suitable for sheep and goats.
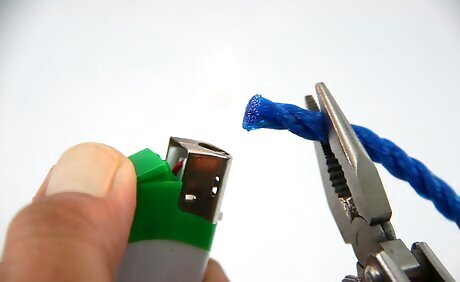
Finish one end of the rope by whipping it, clamping it with a ferrule, dipping, or heat-treating it. Note that the method you select depends on your wishes and the type of rope being used. Failure to finish the rope ends will result in fraying and un-laying. Temporarily finish the other end of the rope with tape or string. You will need to form a crown knot into this end after the halter is completed.
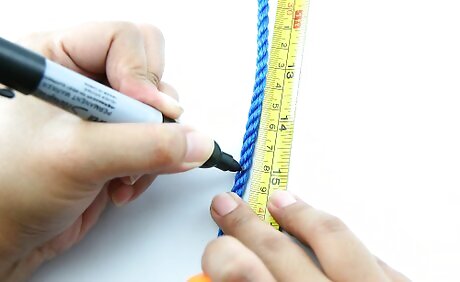
Mark a point with your hand about 12 to 15 inches (30.5cm to 38cm) from the whipped end of the rope. Refer to this length as the short end of the rope. The remaining length is the long end.
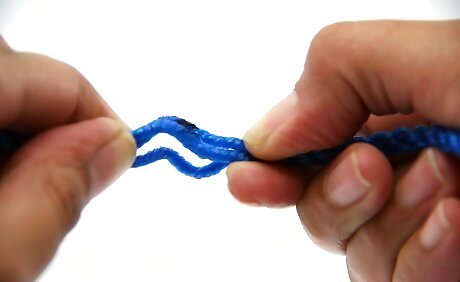
Place the short end on your right and the long end on your left. Grasp the rope at the 12" to 15" (30.5cm x 38cm) mark between your thumb and first two fingers (fore and middle) of both hands. Separate your right and left hands by around 2" (5cm) apart. Rotate the rope clockwise with your right hand and counterclockwise with your left. This will open the strands of the rope between your hands.
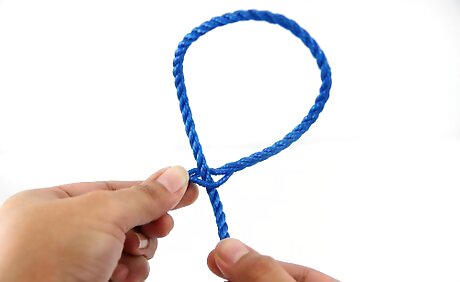
Isolate any one of the open strands with your thumb and index finger of your left hand. Use your right hand to insert the whipped end of the short end of the rope under the strand opening until the loop formed has an eye opening of around double the diameter of the rope.
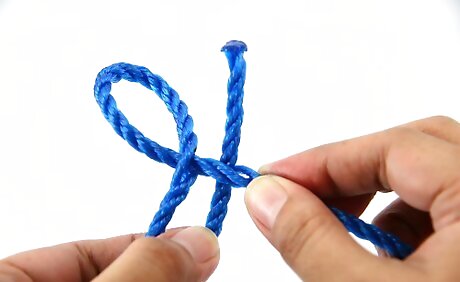
Position the rope so that the eye loop is on your left hand with the short end pointing towards 3 o'clock and the long end pointing towards 6 o'clock. Grasp the eye loop and the single strand running across the short end of the rope between your left thumb and forefinger. With your right thumb and forefinger, grasp the short end of the rope at a point near the eye loop. Twist the eye-loop and short end of the rope with your hands until you have isolated two strands between your right thumb and forefinger.
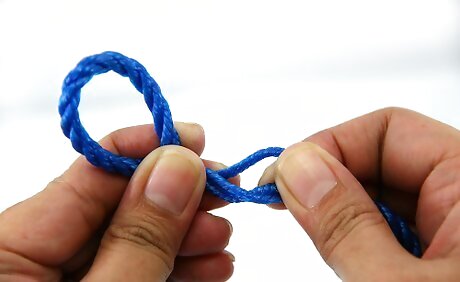
Use your left hand to insert the long end of the rope from the bottom up under and through these two strands. Pull it completely through until there's no slack. If you have done it properly up to now, one side of the loop will show three strands lying smoothly side-by-side. This is important because they will be positioned against the animal's face.
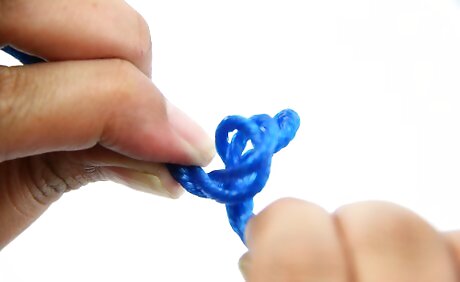
With the eye loop in your right, grasp the short end of the rope between your left thumb and forefinger about 2 inches (5cm) from the whipped end. Two inches farther from the whipped end, grasp it in the same manner in your right hand (your hands should be 2 inches apart, the left closest to the short end than the right). Open the strands by twisting clockwise with your right hand and counterclockwise with your left. When the strands are opened wide, push your hands together. This will cause the strands to buckle and fold over, forming three loops.
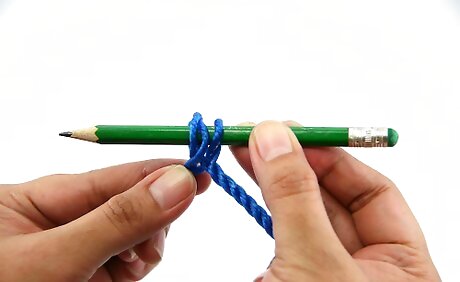
Line these three loops up in order and work a sharpened stick of the same diameter of the rope into the loops. Use your right hand to feed the long end of the rope into the loops, starting at the one closest to the eye loop. Remove the stick from one loop at a time as you run the long end of the rope through them.
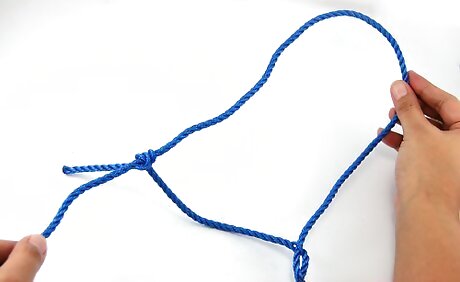
Run the long end of the rope into and through the eye of the loop. This completes the halter!
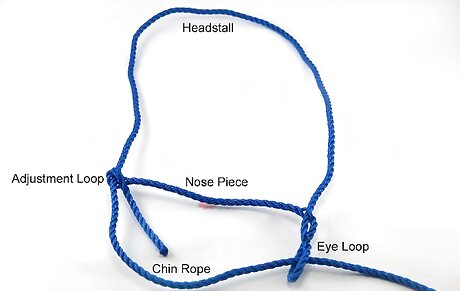
Permanently finish the long end of the rope halter in the manner you choose. Consider making a crown knot at the end because a crown knot and back splice creates a convenient handle. Do not use a hog ring to finish the end since it could catch and tear the skin of your hand.




Comments
0 comment