
Using Borax
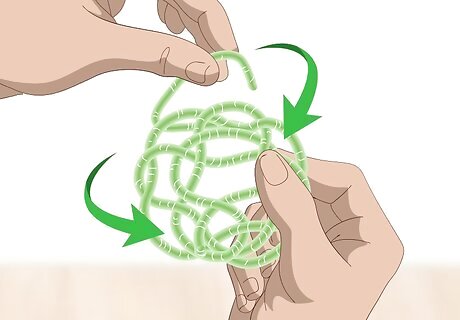
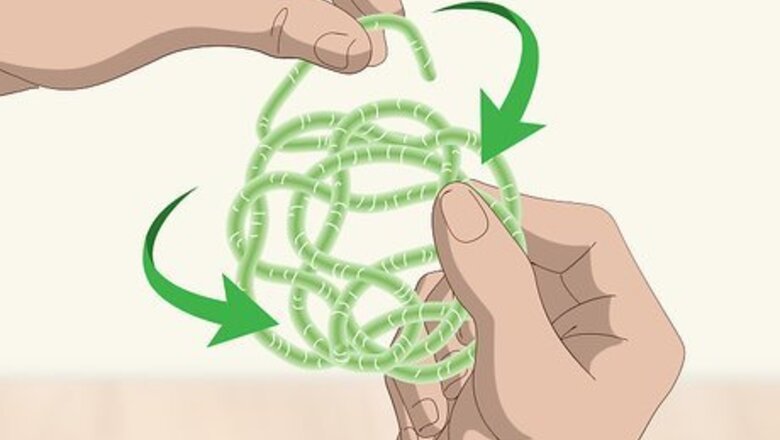
Shape 3 pipe cleaners into a circle. Make a long line of pipe cleaners by attaching 3 to each other. Attach them by twisting their ends together. Begin shaping and twisting the pipe cleaners into a circle. Weave the pipe cleaners in and out of the circle to create a secure, round shape. It should look like a miniature woven basket at the end of the process.

Twist 1 pipe cleaner into a shape to make an ornament. Make a star, triangle, or flower. Use a cookie cutter to help you shape the pipe cleaner. Place the pipe cleaner around the edge of the cookie cutter. Press it against the edges of the cookie cutter to make the shape. Alternatively, use wooden ornaments instead of pipe cleaners. Use any wooden ornament that you have, like wooden crescents, stars, leaves, Christmas trees, circles, or squares.
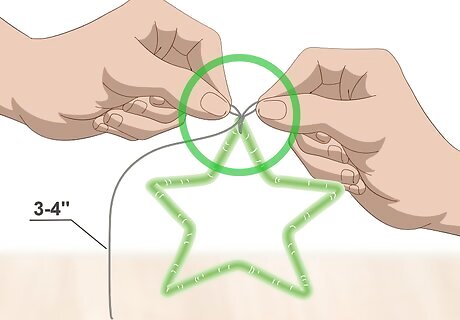
Tie a piece of thread to the pipe cleaner or ornament. Loop the thread through a section of the pipe cleaner or ornament. Tie a double or triple knot. Cut 3 to 4 inches (7.6 to 10.2 cm) of string from the spool of thread. Then tie the loose end of the string around a pencil, chopstick, skewer, or a butter knife.
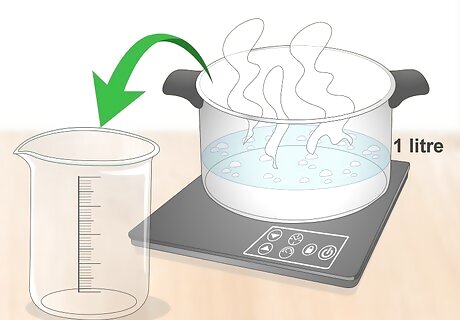
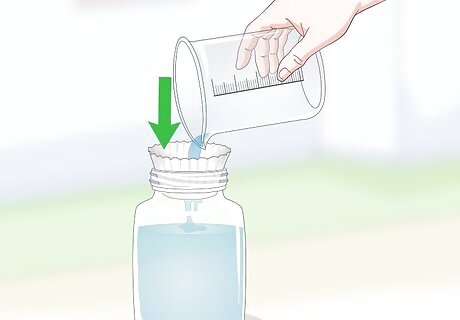
Boil 1 litre (4.2 c) of water in a pot. Pour the water into a pot. Place the pot on the stove. Set the heat to medium-high. Wait for the water to boil, about 8 to 10 minutes. Pour the hot water into a glass beaker, or a wide-mouth mason jar.
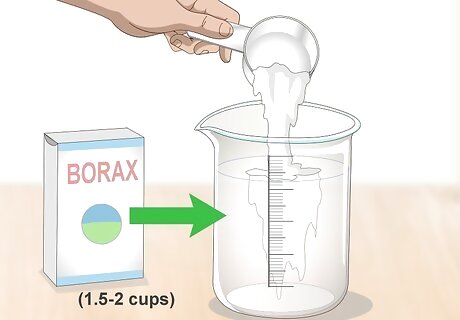
Add 1.5 to 2 cups (350 to 470 ml) of borax to the water. Mix the borax in the water until a cloudy solution forms. You should see deposits of borax at the bottom of the solution. The goal is to have a dense mixture of borax and water. If the solution isn’t cloudy, then add more borax. You can find borax in the cleaning section at your local grocery store or online.
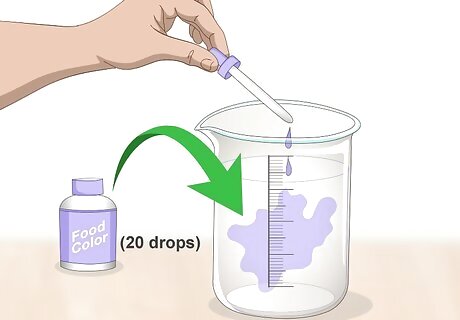
Add 20 drops of food coloring to the mixture. Use green, red, purple, blue, orange, or yellow food coloring. Use a spoon to mix the food coloring into the solution. If you want your crystal to have a lighter color, use only 10 to 15 drops of food coloring. If you want it to have a darker color, then use 25 to 30 drops.
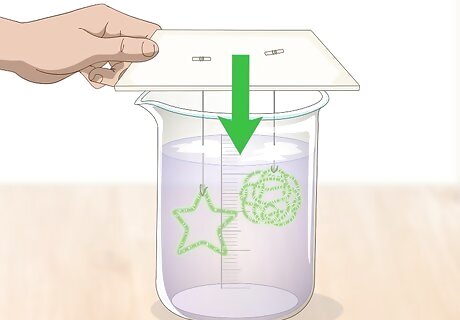
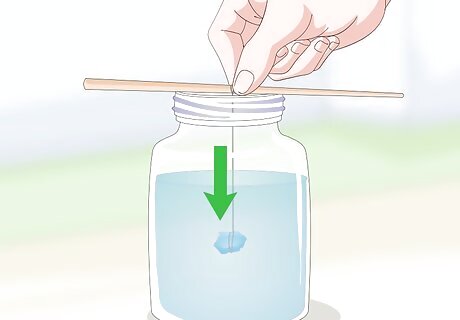
Place the pipe cleaner coil into the solution. Place the coil in the solution while it is still hot. The coil should be suspended in the solution. Place a piece of cardboard on top to protect the solution from any impurities in the air. If the coil is touching the bottom of the glass beaker or jar, then you will need to cut the string shorter and re-tie it to the pencil.
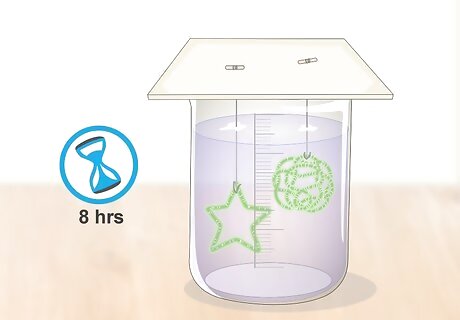
Let the coil set for at least 8 hours. If you want a bigger crystal, then let the coil set overnight.
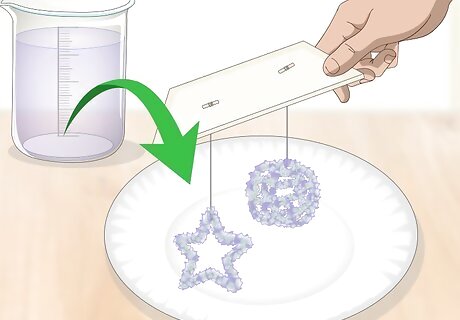
Remove the crystal after it has finished setting. Place it on a dry surface, like a paper plate, to dry. Make sure it is completely dry.
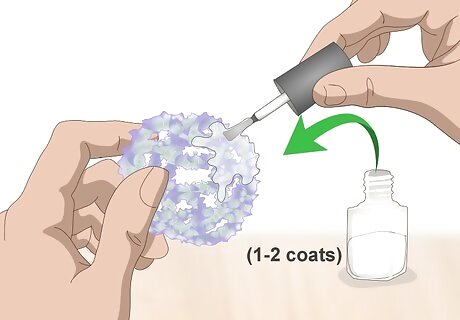
Cover the crystal with 1 to 2 coats of clear nail polish. Cut the excess string from the crystal. Cover the entire crystal with nail polish. Let the first coat dry before adding the second coat. The nail polish will protect the crystal from deterioration.
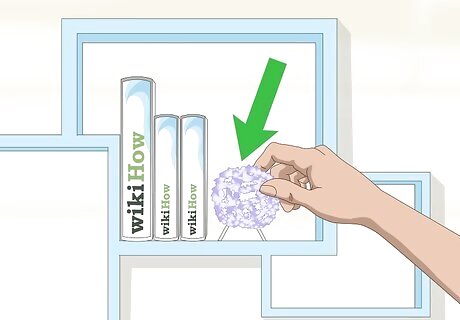
Display the crystal on a shelf. Place your crystal on a bookshelf or a fireplace mantle. You could also place it on your bathroom counter. Or, illuminate it with light by placing it on a windowsill in your kitchen or bedroom.
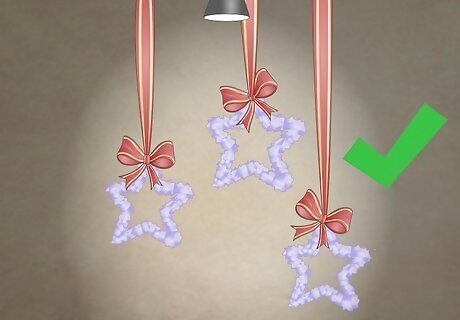
Hang your crystal on a wall. Tie a colorful ribbon around your crystal to make a hanging ornament. Hang your crystal on a wall or in a window. Alternatively, place the crystals aside and hang them on your Christmas tree when the season comes.
Using Copper Sulfate
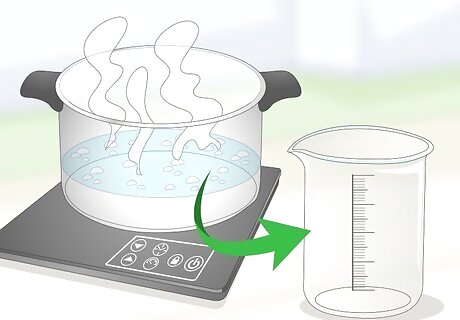
Boil 200 millilitres (0.85 c) of water. Pour the water into a pot and place the pot on a burner. Set the heat to medium. The water should start boiling in 8 to 10 minutes. Once the water starts to boil, pour it into a wide-mouth mason jar or a large, glass measuring cup.
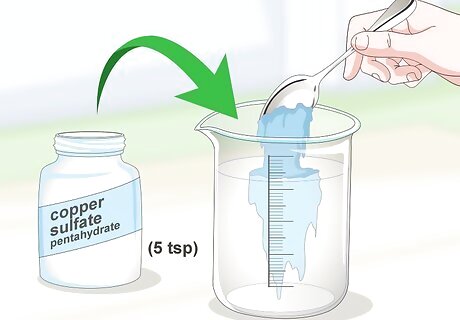
Add 5 teaspoons (25 ml) of copper sulfate pentahydrate to the water. Use a spoon to mix the copper sulfate pentahydrate thoroughly in the water. You can purchase copper sulfate pentahydrate online, or from your local hardware store.
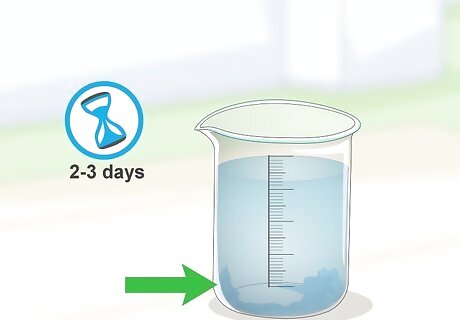
Let the solution set for 2 to 3 days. This will allow tiny crystals to grow at the bottom of the jar. These crystals will be used to grow larger crystals.
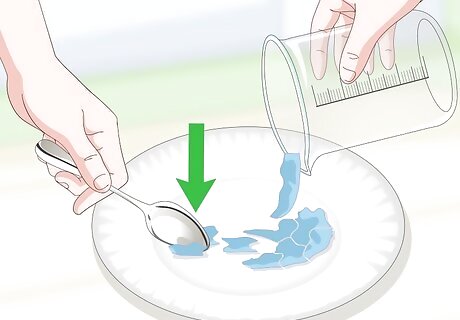
Break up the crystals and remove them. Pour the solution out. There will be a solid crystal left at the bottom of the jar. Use a spoon to gently break up the crystal. Pour the crystals out onto a plate.
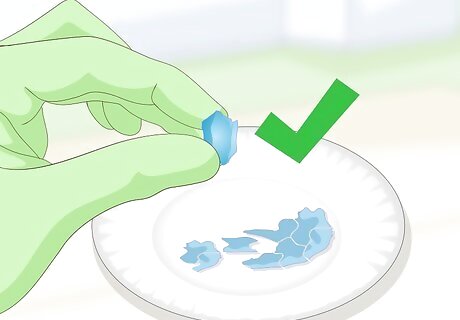
Choose a crystal that is smooth and large. Because copper sulfate is toxic, do not touch it with your bare hands. Put on nylon gloves before touching the crystal.
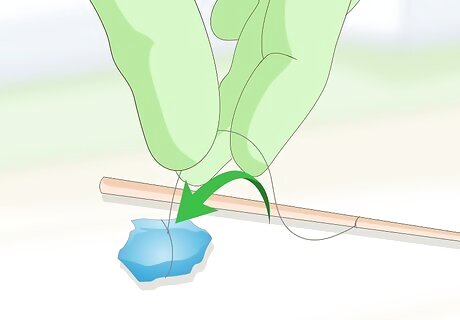
Tie a piece of thread around the crystal. Double or triple the knot. Trim the short end of the string. Then cut the thread loose from the spool. Tie the loose end of the string around a chopstick, skewer, pencil, or butter knife.
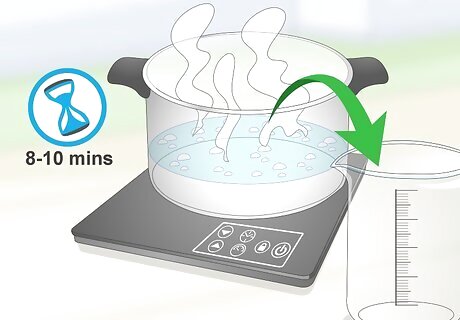
Boil 1 litre (4.2 c) of water. Pour the water in a pot. Set the heat to medium-high. Wait for the water to boil, about 8 to 10 minutes. Pour the water into a glass beaker or a wide-mouth mason jar.
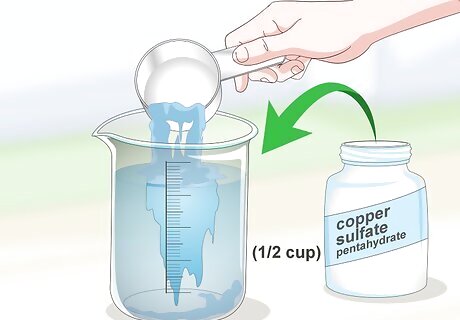
Add ⁄2 cup (120 ml) of copper sulfate to the water. Add the copper sulfate to the water while it is still hot. Use a spoon to mix the copper sulfate until a cloudy solution forms. You should see deposits of copper sulfate at the bottom of the jar.
Filter the mixture. Place a coffee filter over a wide-mouth mason jar. Pour the solution through the filter. The filter will remove any impurities in the solution.
Place the crystal in the solution. Put the jar with the crystal aside in a dark cupboard. Let the crystal set for at least 5 days. The longer you let the crystal set in the solution, the bigger it will grow. You can leave the crystal in the solution for up to a month. Re-filter the solution every 5 days if you are letting the crystal grow for more than 5 days.
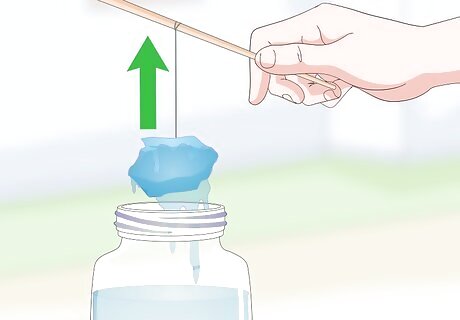
Lift the crystal out of the jar. Grab onto the pencil or the skewer to lift it out of the jar. Place the crystal on a paper plate to dry. Make sure it is completely dry before coating it with nail polish.
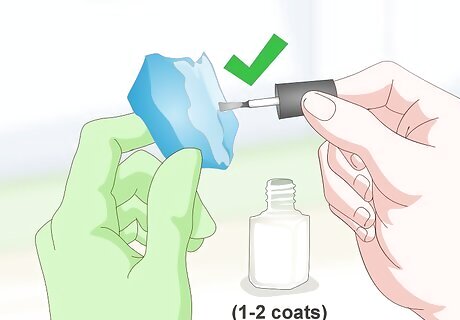
Coat the crystal with clear nail polish. Before touching the crystal, put on nylon gloves to protect your hands. Spread 1 to 2 coats of nail polish over the entire crystal. The nail polish will protect the crystal and make it safe for handling without nylon gloves.


Comments
0 comment