views
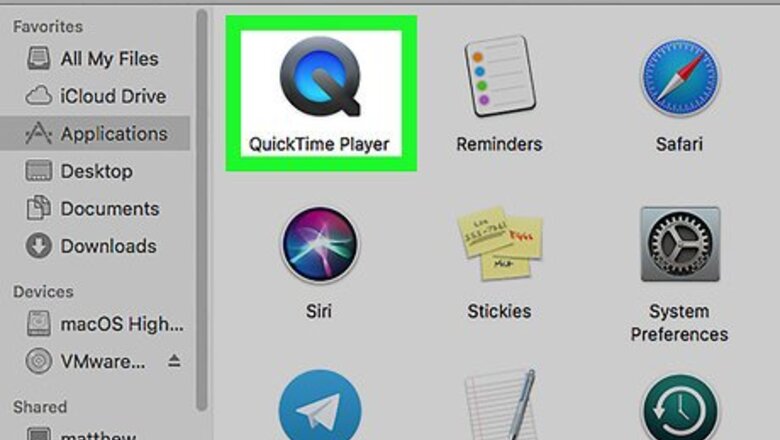
Open QuickTime Player.
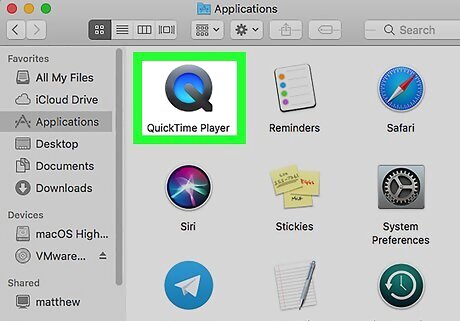
Double-click the QuickTime Player app in your "Applications" folder. It's the icon of a black letter "Q" filled with blue inside. Alternatively, you can: Click Spotlight Mac Spotlight. Type quicktime player. Double-click the QuickTime Player app.
Click the "File" menu.
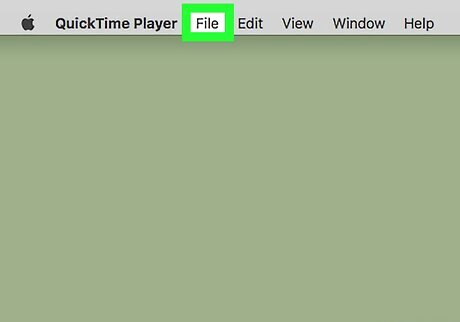
Click File at the top of the screen. This opens a drop-down menu.
Click "New Audio Recording."
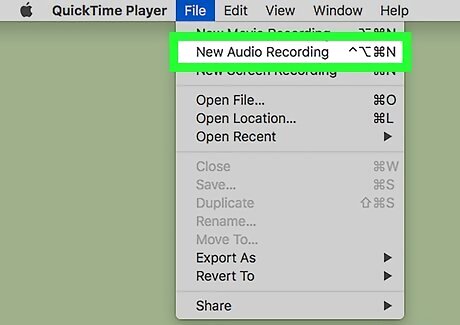
It's the second option from the top. This opens a new audio recording window.
Click the red button to begin recording.
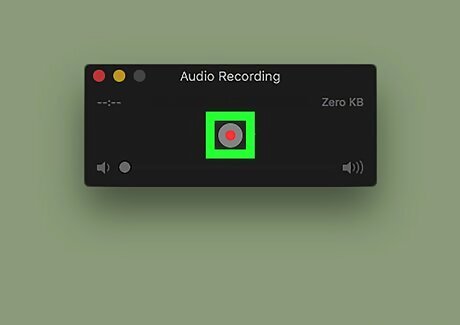
It's in the middle of the Audio Recording window. As soon as you click this button, your Mac will be recording.
Speak directly to your microphone.
You can use your built-in microphone, headset, or any other input device. You should see the bars in the middle light up as you speak to indicate that it is receiving audio.
Click "Stop" when you're finished.
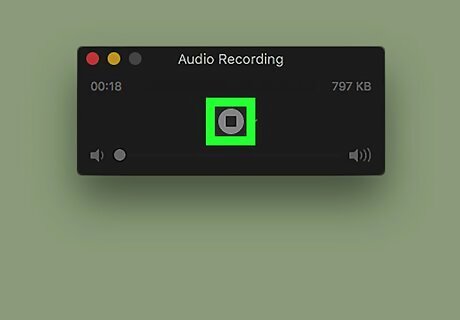
Click the black 'Stop' icon to stop recording. This stops the audio recording. You can click the triangle 'Play' button in the middle to listen to your recording.
Save your recording.
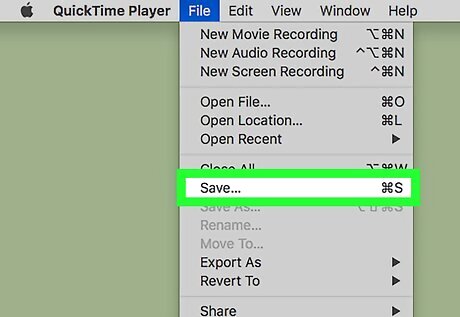
Click the File menu and select Save to save your recording. The default file is "Untitled" but it's best to replace it with something more descriptive. For example, "MeetingNotes." Once you click Save, you can quit QuickTime by clicking QuickTime Player in the top menu bar and selecting Quit QuickTime Player.




Comments
0 comment